
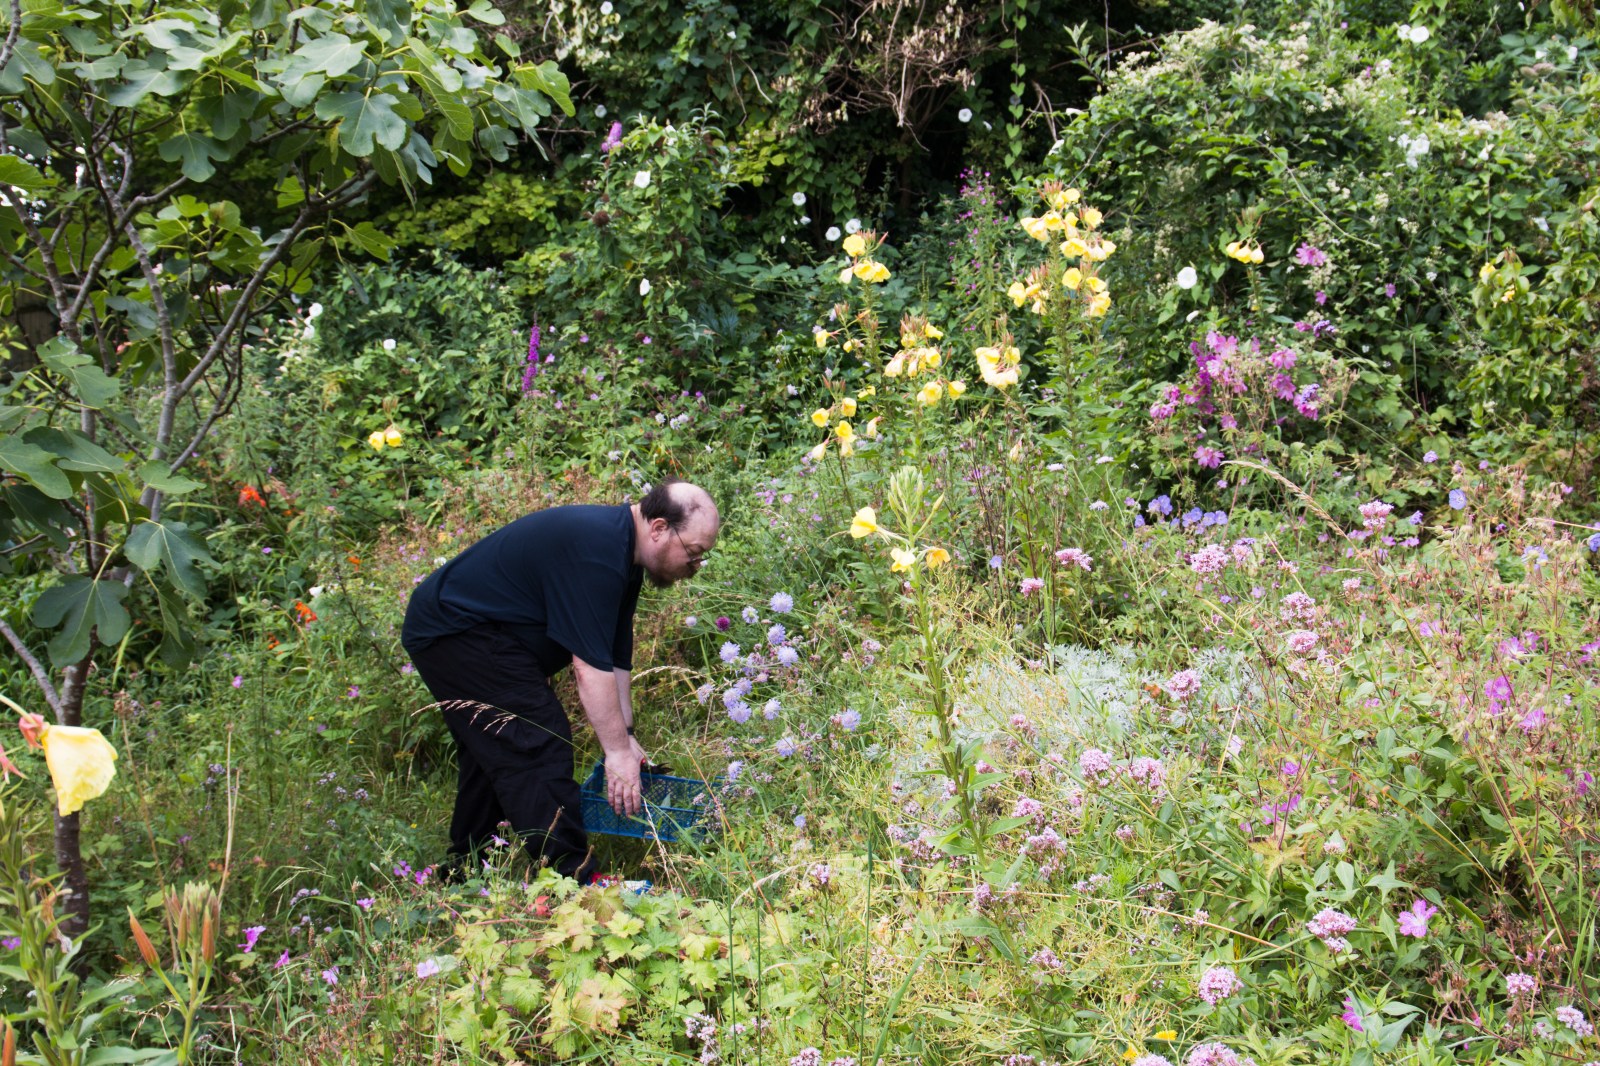
This week, I ran a cyanotype workshop as part of Photofringe, at Moulsecoomb Forest Garden, a community gardening project in Brighton. The workshop was for eight adults who use the space and have special educational needs. The idea was to forage for interesting plants in the garden and use them to create cyanotypes, engaging the participants in a direct physical photographic process without using a camera.
In this blog post, I want to share what I did, and what I learned, in the hope that it will be useful if you want to do something similar yourself. At the end, I’ll share my checklist and session plan to help you prepare.
Keep in mind that my context and constraints will be different from yours, so you’ll need to adapt some of these ideas. In particular:
- Who are you working with: adults, young people, children, people with special educational needs, artists, some intersection of the above? (I was working with adults with varying special educational needs)
- Can you rely on having sunshine? (Unlikely in the UK!)
- Do you have any budget for materials or equipment? (I didn’t)
- What resources do you have on site? (e.g. a place to make a dim room, sinks for washing, etc.)
Workshop overview
Preparation
- Site Visit: I visited the site a few weeks in advance to identify spots for different activities like coating paper, exposing prints, and washing. This helped me plan the flow of the workshop, and adapt the process to account for conditions onsite.
- Materials Testing: I tested various materials, including different papers and cyanotype solutions. Usually, I use specific materials under controlled conditions, but for this workshop, I had to adapt to an outdoor setting and potential lack of sunlight. I tested different types of paper and also plastic for covering the prints since glass wasn’t an option.
This testing process ended up taking a huge amount of time. It was like being a beginner cyanotype maker again. Because I couldn’t rely on my usual tried and test setup, I had to check many new combinations of paper, covering material, weather conditions and coating solutions. - Backup Plans: I prepared for both sunny and cloudy weather by pre-coating paper with Mike Ware’s new cyanotype solution (which you can buy from Fotospeed in the UK), which exposes quickly under a UV lamp. This provides a reliable alternative if there isn’t enough sunlight, but it’s very expensive, and I could only use what I had in my existing stocks.
- Detailed Session Plan: I created a session plan with timings and a list of materials to bring. This allowed me to plan out what needed to happen, where and how long it would take, and ensured that I had everything I needed.

On-the-day
On the day of the workshop, the weather was overcast, so I relied more heavily on my pre-coated paper and UV lamp setup. Here’s how it went:
- Setup: I arrived an hour early to set up all the materials, including extra supplies for various contingencies.
- Workshop structure: The workshop was split into two sessions with four participants each. This allowed for more personalised attention, especially since the participants had special educational needs.
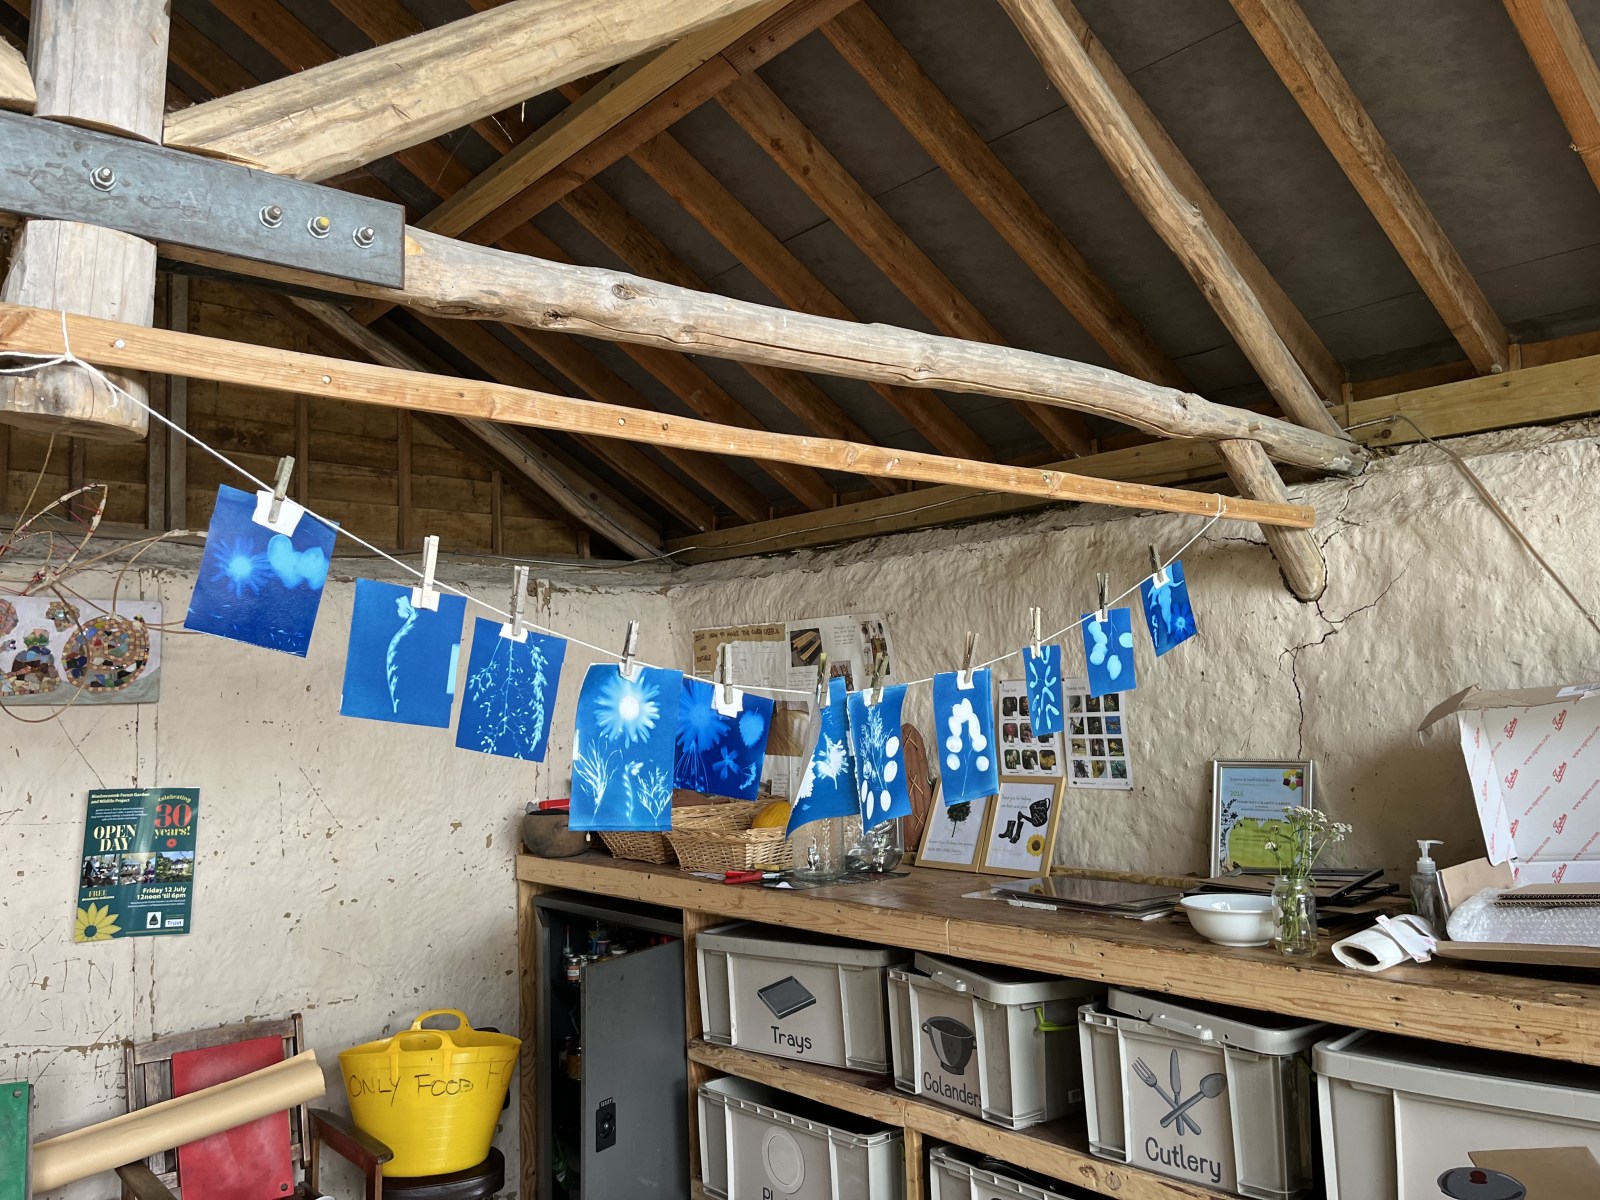
- Hands-on activities: Participants foraged for plants in the garden, arranged them on coated paper, and conducted exposures using a UV lamp. They also did the washing and drying of the prints themselves, which was a real highlight.
- Support and assistance: I was assisted by two people from Photofringe and one from the Forest Garden Project. The second group of participants (who had more challenging needs) also had their own helpers.

What worked well
Using found materials
People loved foraging for plants in the garden. They come to the project in part because they love the space, growing food, and being in an outdoor environment, so this was a natural fit (in contrast to my own cyanotype process, which is more technical, and often uses digital negatives).
Getting hands-on
I encouraged participants to handle all aspects of the process themselves, from assembling materials to washing prints, and I resisted the temptation to step in and ‘correct’ them.
Immediate results
Cyanotype is a rewarding process because participants can see the changes happening in real-time. The disassembly and washing process, in particular, was a big hit; this is where the most dramatic changes happen.

Backup plans
I didn’t use every piece of contingency equipment and material that I had brought along, but I did use a lot. Having a well-prepared backup plan for different weather and other conditions paid off.
Lessons Learned
Design in flexibility
Be prepared to adapt to different conditions and participant needs. Having backup plans for both sunny and cloudy weather was essential.
Adjust the complexity of the activity and your explanations based on the participants’ abilities and interest levels. As soon as I stood up in front of the first group of people, I realised I was going to have to adapt my loose script to keep them engaged.
Let people lead
Letting participants do the reveal and other hands-on activities themselves is crucial for their engagement and enjoyment.
Allow participants to make mistakes and learn from them. With the first group, we had time to do two exposures; letting them get to grips with the process on the first time round gave them more confidence on the second go.

Do it yourself …
Running this cyanotype workshop was a rewarding experience, and I hope my insights can help you plan similar activities. Remember to consider the specific needs and context of your participants, be prepared for different scenarios, and allow people to do it their way. You might even learn something yourself!
… Or, ask me to do it
Alternatively, ask me to come and deliver a workshop for you. I love this kind of work, and would like to do more with artists, young people and others.
Workshop preparation checklist
I’ve included a PDF of the checklist and session plan I prepared. It’s quite tailored to this particular workshop, but you can use it for inspiration.
- Materials: List of all materials and equipment, including backup supplies.
- Spaces and facilities: e.g. Dim room, sink and water, drying line, kettle for warm water.
- Session plan: Introduction, foraging for materials, assembling materials for exposure, exposure, washing, and drying.
Download the Workshop Preparation Checklist
Let me know how it goes 🙂

Leave a comment