
Some things I’ve figured out right at the start of learning something new.
I’ve been learning bookbinding for a few weeks now. While I don’t claim any expert knowledge, I do claim inexpert knowledge. Sometimes when you’re starting out, it’s good to hear an inexpert point of view, as the experts often take things for granted that beginners find baffling. So before I get too good at this, I’m recording some beginners thoughts.
I also want to share some early projects I’ve done. In my experience, these have been good beginner projects; with a variety of skills to learn, and a reasonable ramp up in difficulty so you can have some early success while learning something new.
I should say, my interest is in modern bindings, particularly softbacks. At least right now, I’m not interested in traditional conservation and restoration, or craft ornament or the conspicuously handmade. Your mileage may vary.
Sidenote: I’ve embedded video tutorials where possible, but one of my favourite channels doesn’t allow embedding, so there are just links. You’ll see them with a DAS prefix.
A pile of failures
I’d classify my first 5 or 6 books as failures. Some are more noble that others, and all great learning, but none that I’d want to use or give as a gift. I’m not going to list the errors, but they mostly come from gluing up, or forgetting some step in the process, like putting in a moisture barrier when pressing.

It’s sometimes good to remember all the rubbish you’ve made to see how far you’ve come.
Some successful projects
However, I’ve now made 4 or 5 books that I’m pretty happy with. I’ll share some along with tutorials and reference I followed. Roughly in chronologial order:
1. Wrap-around softback
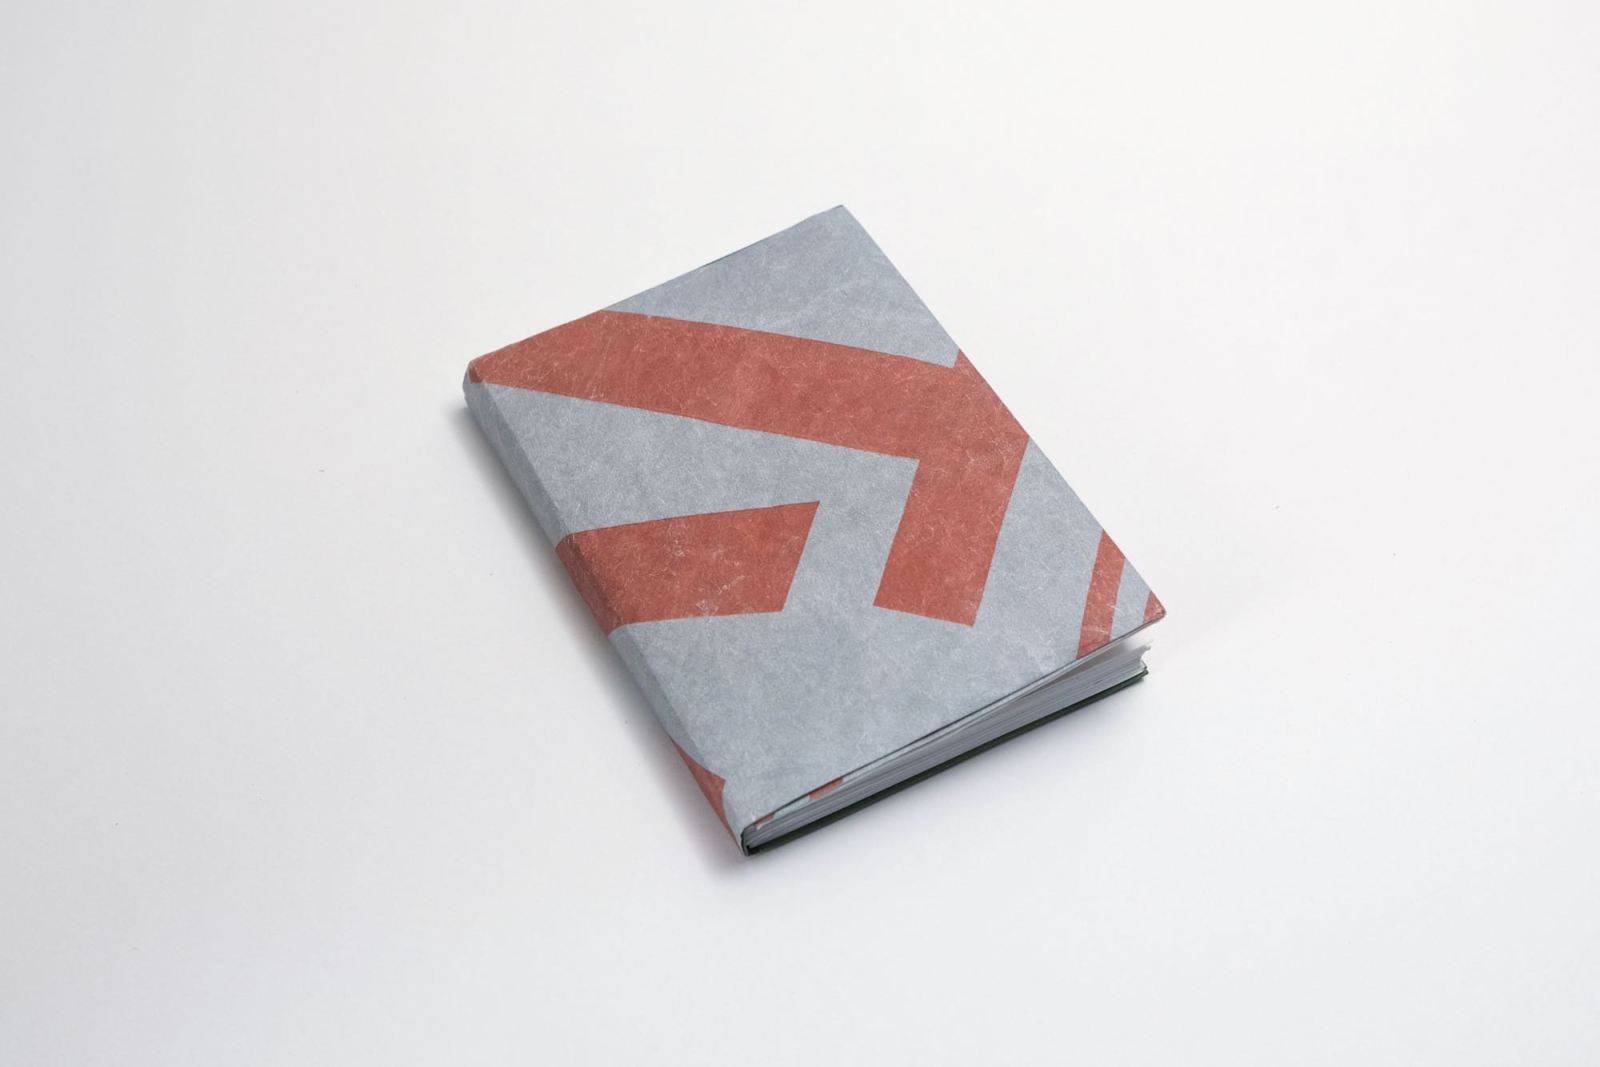
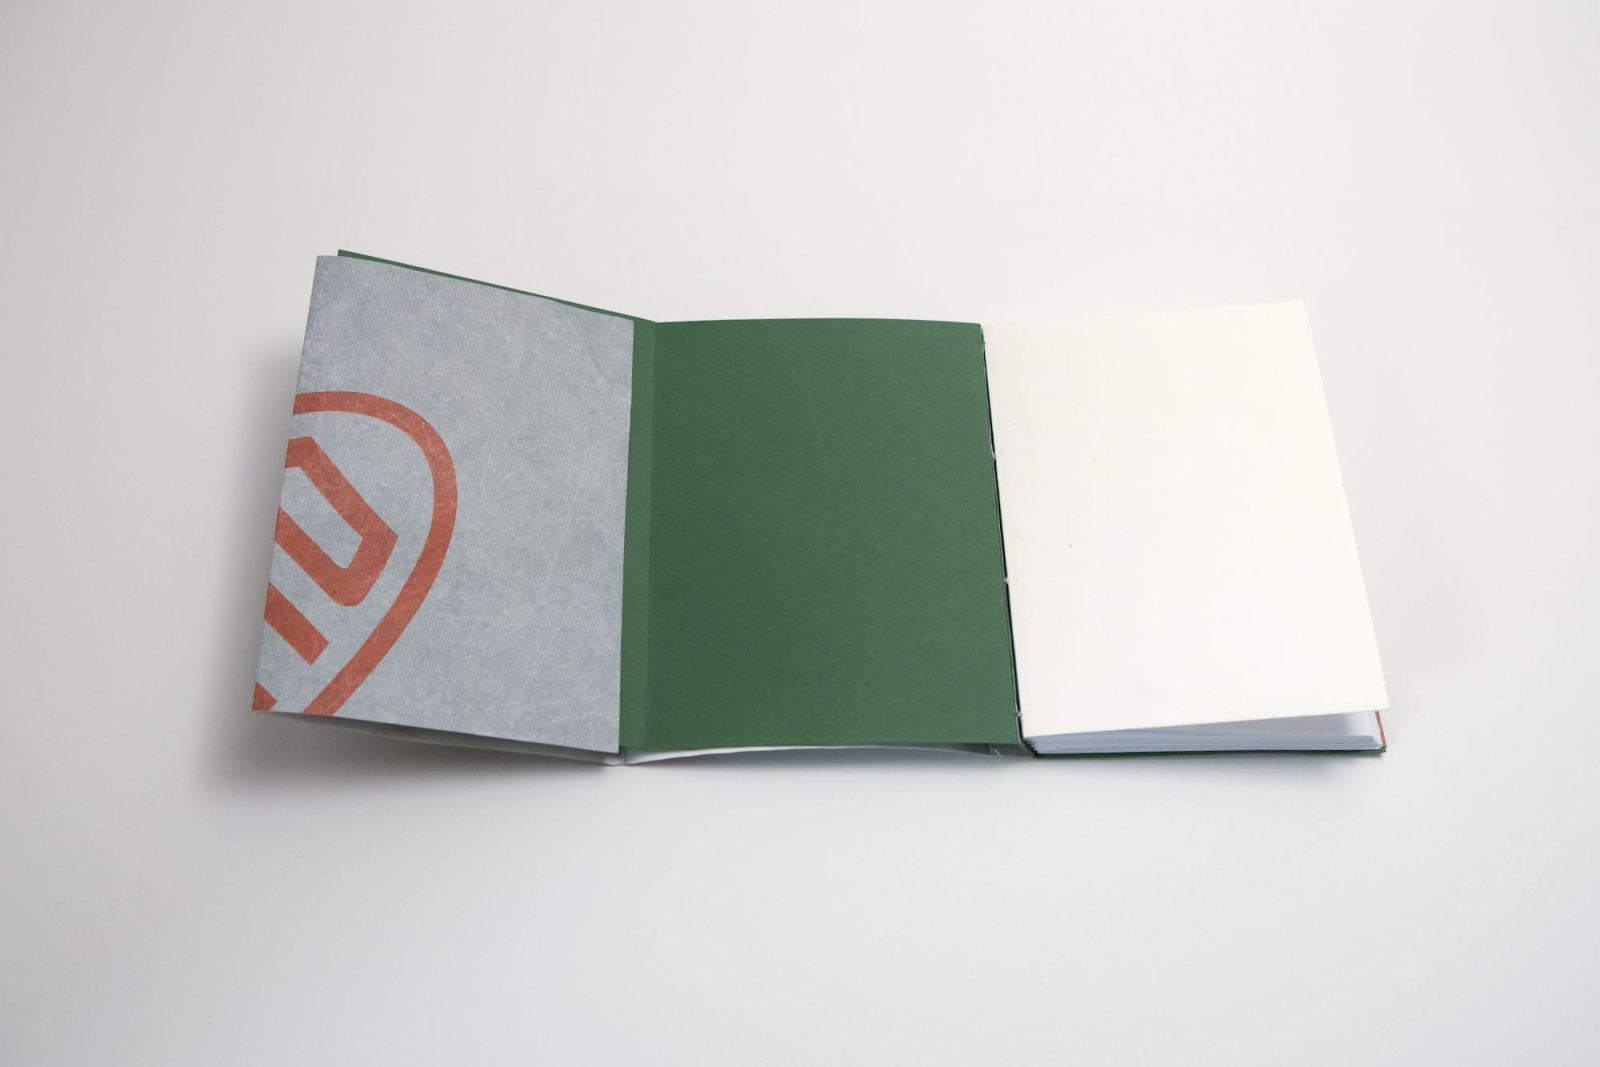
I like soft flexible books. My interest at this stage – unlike many bookbinders it seems – is to make well-crafted, creatively bound softbacks, not case-bound hardback books.
Kathy Abbot’s book, Bookbinding, a Step by Step Guide, has one multi-section softback project, and it features a nice integration of the wrap-around cover and signatures (folded pages) in the sewing. There is some glue, but only to sew a small piece of reinforcing fabric onto the spine of the cover before sewing.
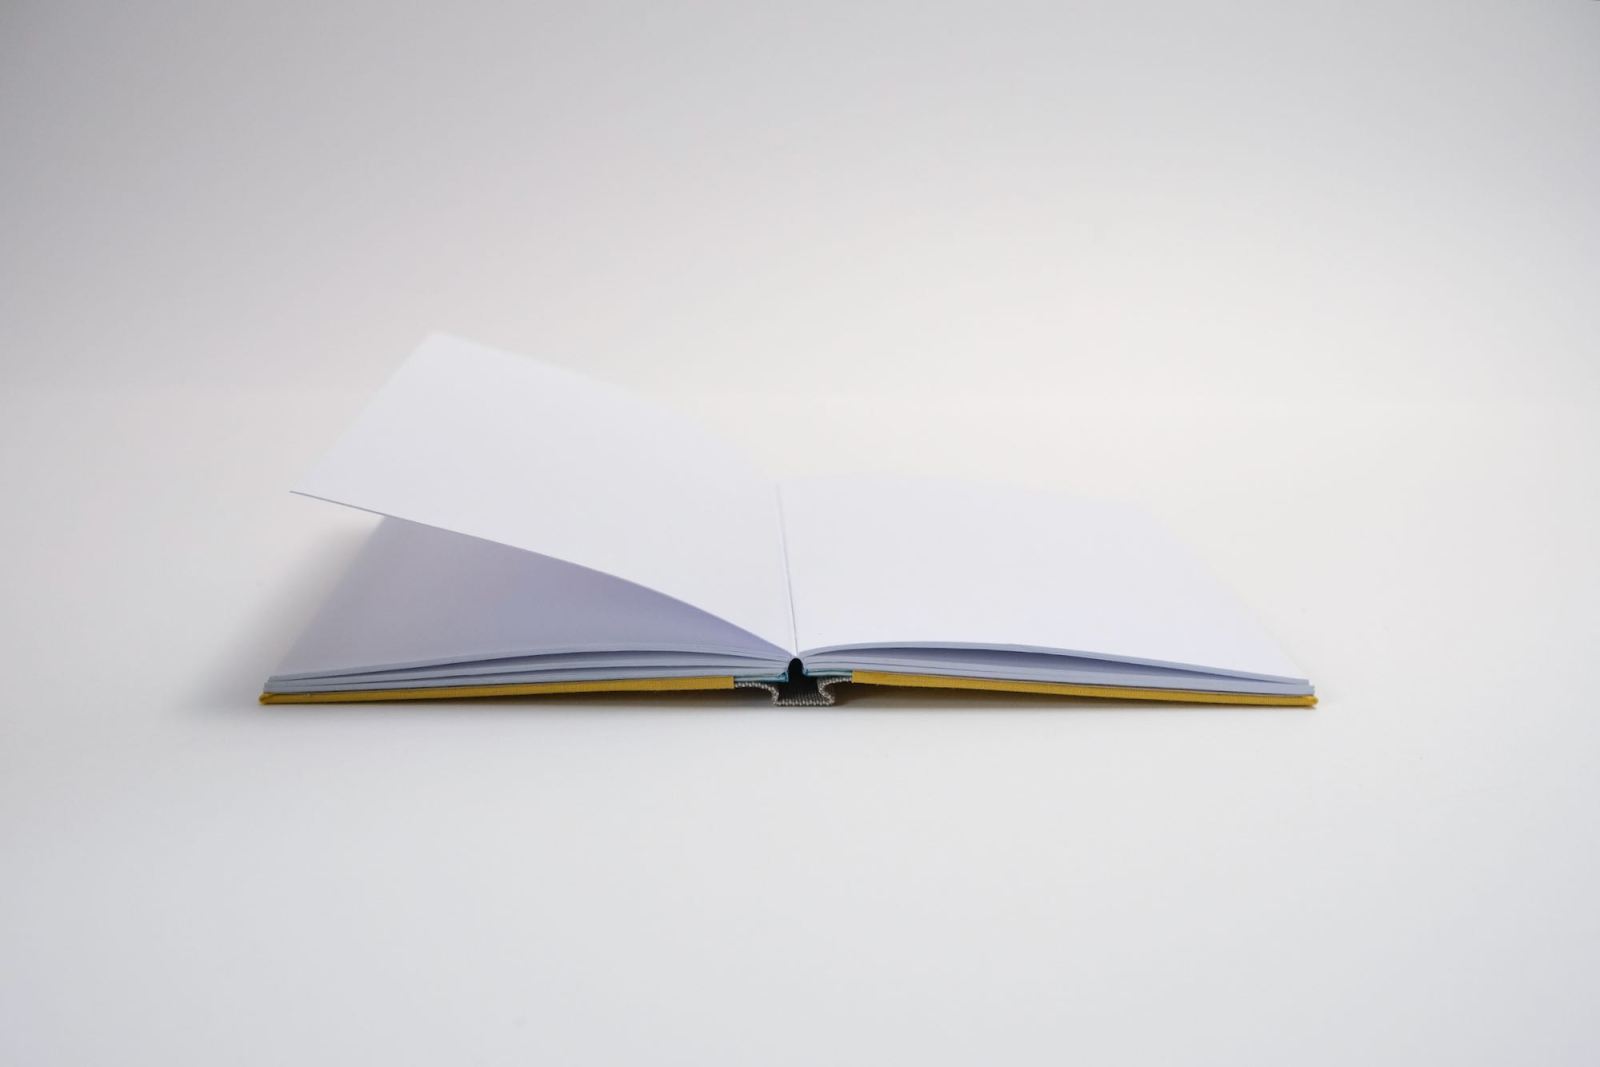
I’ve made a couple of versions of this, an A6 test book with a Tyvek dust jacket tucked into the wrap-around cover, and an A5 book with a simple softback cover, and no wrap-around. This one serves as my current notebook.
2. ‘Secret Belgian’ / Crisscross Binding
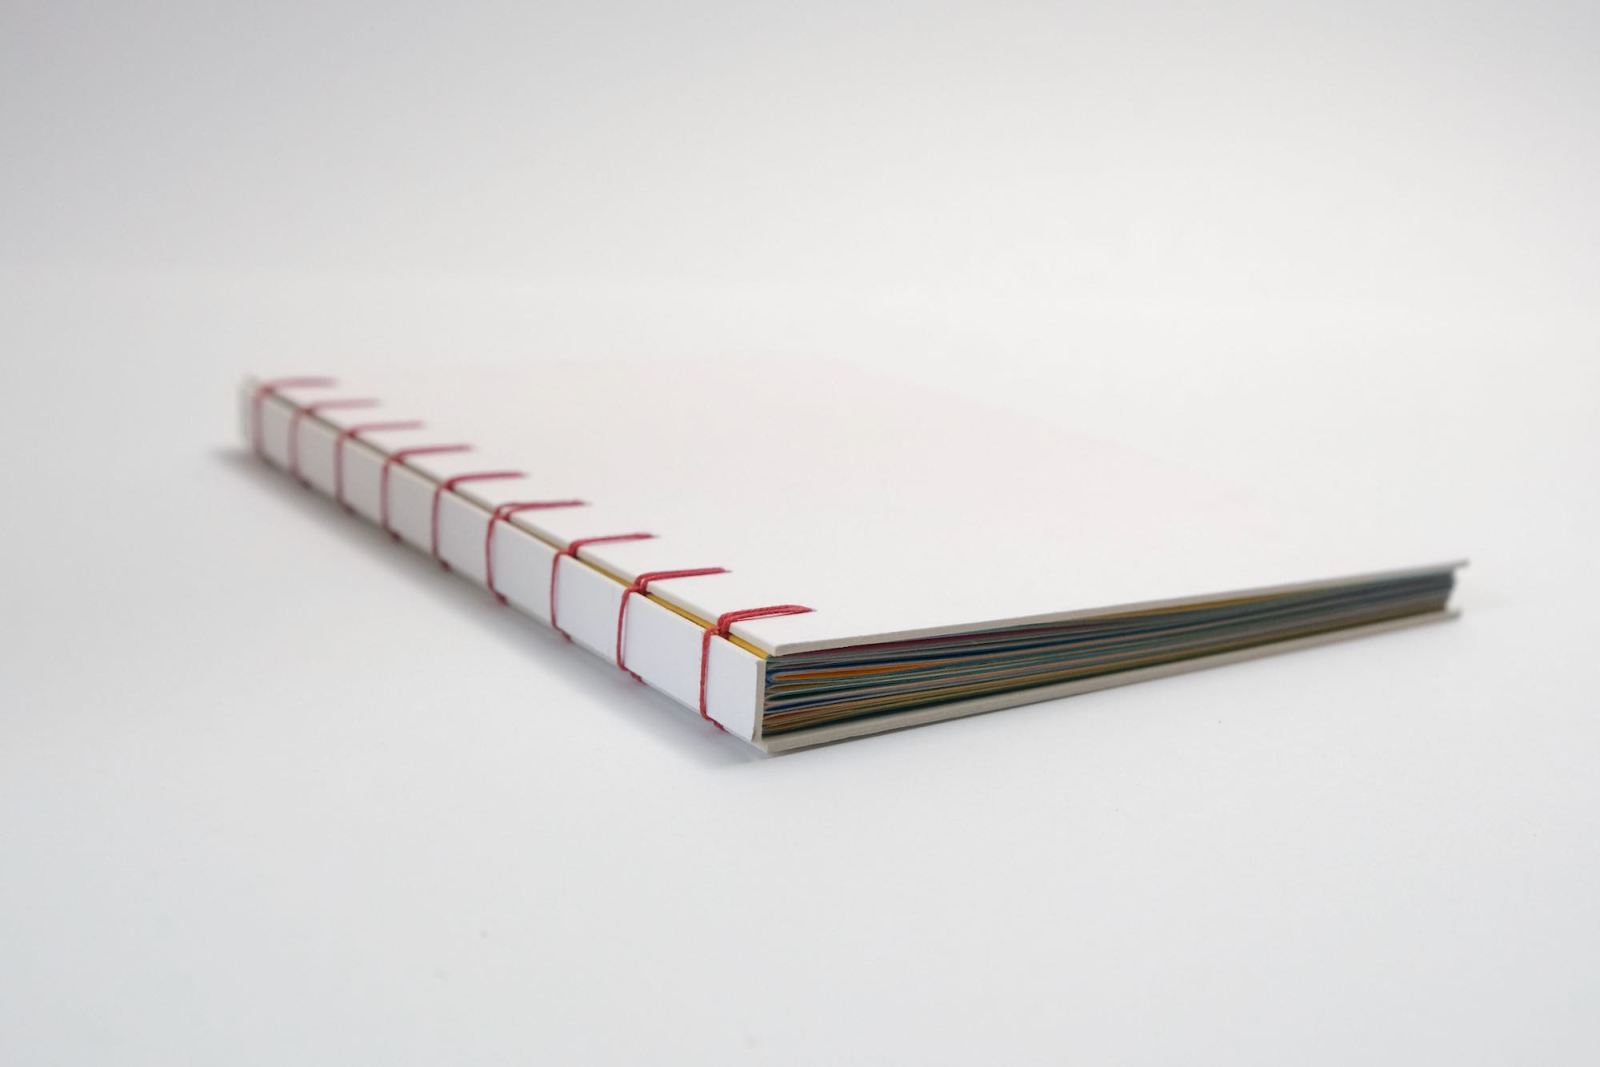
I saw this first on Sea Lemon’s YouTube, though DAS Bookbinding also has a tutorial. Another good no-glue project, but it feels a bit loose for that same reason. It’s mostly just a fun alternative to the Coptic Stitch bindings that use a similar assembly of loose signatures and cover boards.
DAS: Crisscross Binding Popular Variation aka Secret Belgian Binding
3. Sewn Board binding
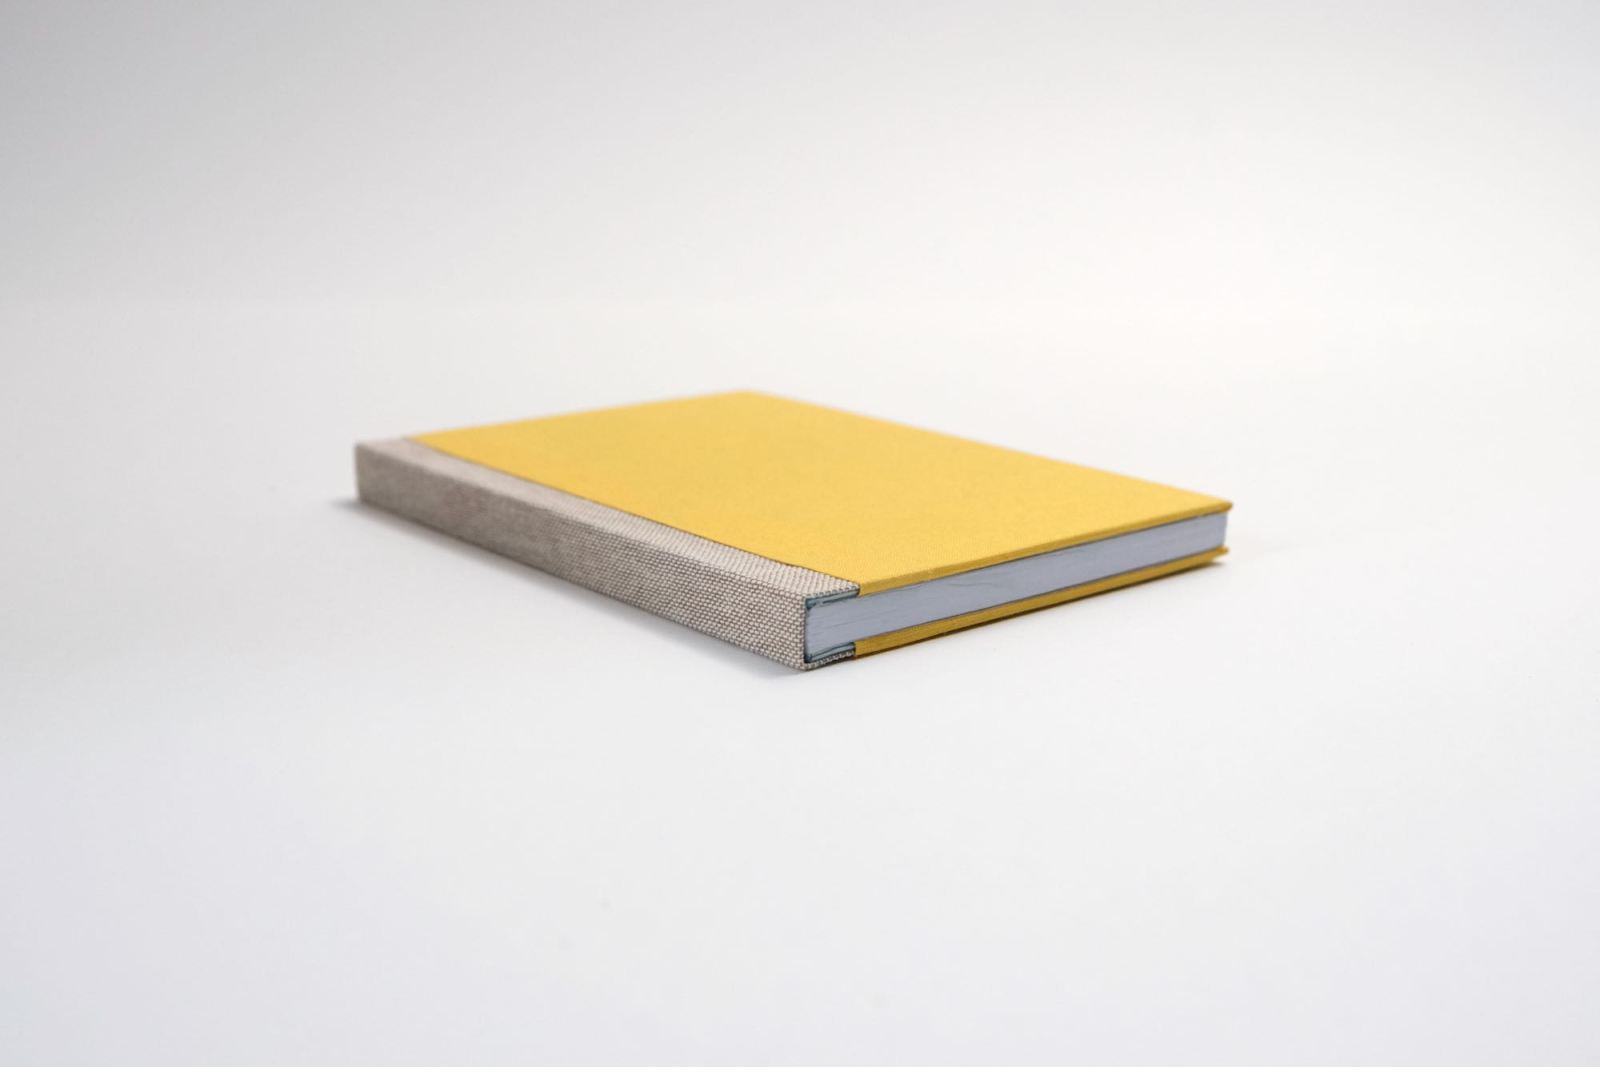
By this stage, I was almost exclusively following DAS Bookbinding YouTube tutorials. This design appealed because it has hard covers, wrapped in bookcloth, but doesn’t requires ‘casing in’ (where you take your sewn signatures and glue them into the hard case, which looks very difficult to do). It uses minimal glue, and comes together incrementally, so there are no super-scary steps where all your hard work can come undone in one go.
DAS: Sewn Board Binding
4. Stiffened Paper Binding


Another DAS tutorial, which has a number of variations, so I could try out a few new techniques. I used ‘all along sewing’ with linen tape supports. This was also my first time glue down endpapers to board. For my first attempt, I used EVA, which was a disaster, but I was able to remove the endpaper, tip in a new one and try again with starch paste, which was way easier, and I ended up with nice clean inside covers front and back.
DAS: Steifbroschuren; Stiffened Paper Binding
5. Softback (Lumbeck) Binding
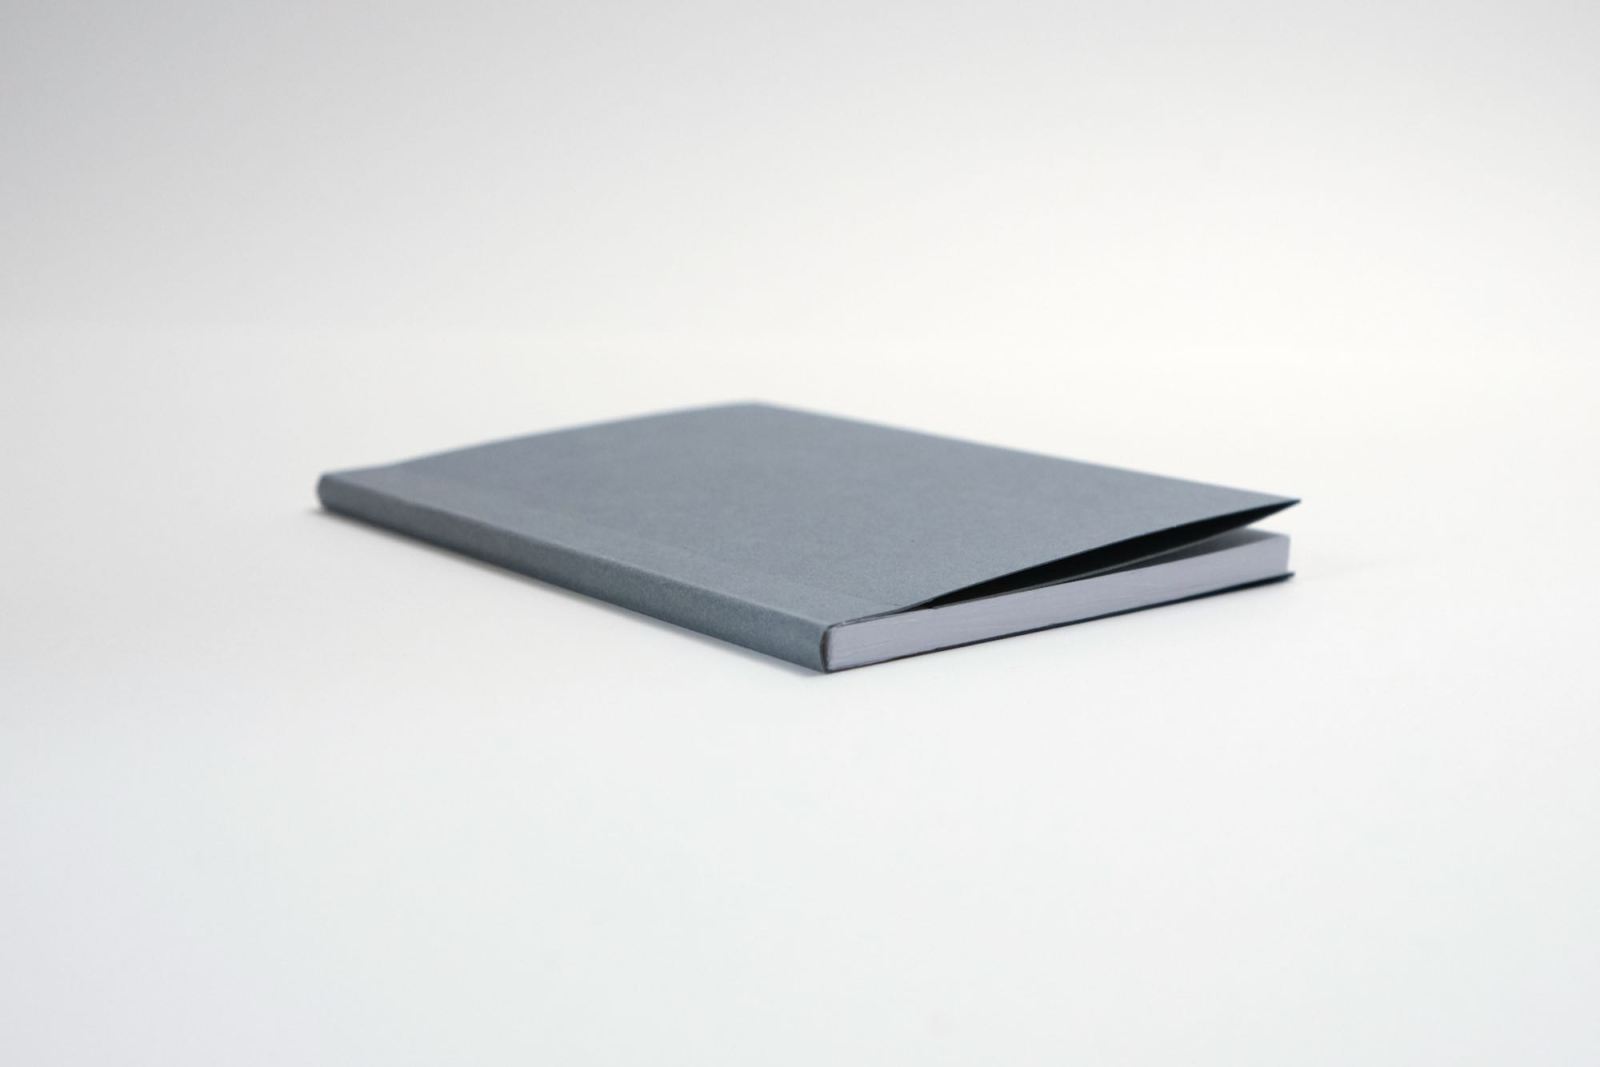

This is a technique for perfect binding (single sheets glued at the spine rather than folded signatures stitched together). It’s the most common form of industrial bookbinding, but not so easy to do by hand, and it seems that very few bookbinders are interested in it. I don’t know why – because it’s too industrial, or no traditional enough, or because many of them come from the world of book restoration? I don’t know; it’s a strange gap.
I actually bought the book Bookbinding, The Complete Guide to Folding, Sewing and Binding, by Morlok and Waszelewski to learn more about these industrial techniques, and so far, this is the only reference I’ve found that mentions perfect bindings, or covers softbacks in any depth.
For reference, I made the ‘Softcover with flaps’ variant on page 290 of that book.
The DAS video covers the perfect binding process in detail (there are no tutorials at all in the Morlok and Waszelewski book, just reference material) and in particular the process of fanning the spine to help the adhesive grab the pages (called ‘Lumbecking’ after its inventor, Emil Lumbeck). This is also referenced on page 144 of Morlok and Waszelewski.
One of the reasons I’m interested in perfect binding is that it’s well suited to processes where you can only print on one side of the page. This makes it useful for photo books where you’re printing on one-sided photo paper, or other collections of art (like plots or drawings) where perhaps you’re only using one side of the sheet. The downside is that the books don’t lay flat, which makes it less useful for a notebook or journal.
Some basic processes
Again, you should seek out an expert to find out about these techniques. I just wanted to highlight some things I’ve done early on when learning that I found useful.
Determining grain direction
I’ve found two techniques that work for me in determining grain direction.
- For paper, running your nail across the edge of a piece squeezing it against a finger on the other side. The edge that wrinkles most is across the direction of the grain (the wrinkles are the fibres expanding across their width and distorting the paper)
- For heavier stock and board, lightly wet one side. For a few seconds, depending on how thick the stock is, the sheet will warp into a tunnel shape. The direction of the tunnel (imagine you’re driving through it in a car) is the grain direction. The fibres swell across their width on the wet side of the sheet, making the wet surface ‘wider’ than the dry surface, forcing it into a ‘U’ shape.
Almost all the A4 paper I’ve tested is long grain, which means that it is ‘no good’ for folding to make A5 books. That’s one reason why most of my samples are A6. Cut into A5 sheets, they are short grain, which means that the fold follows the grain direction.
Gluing boards
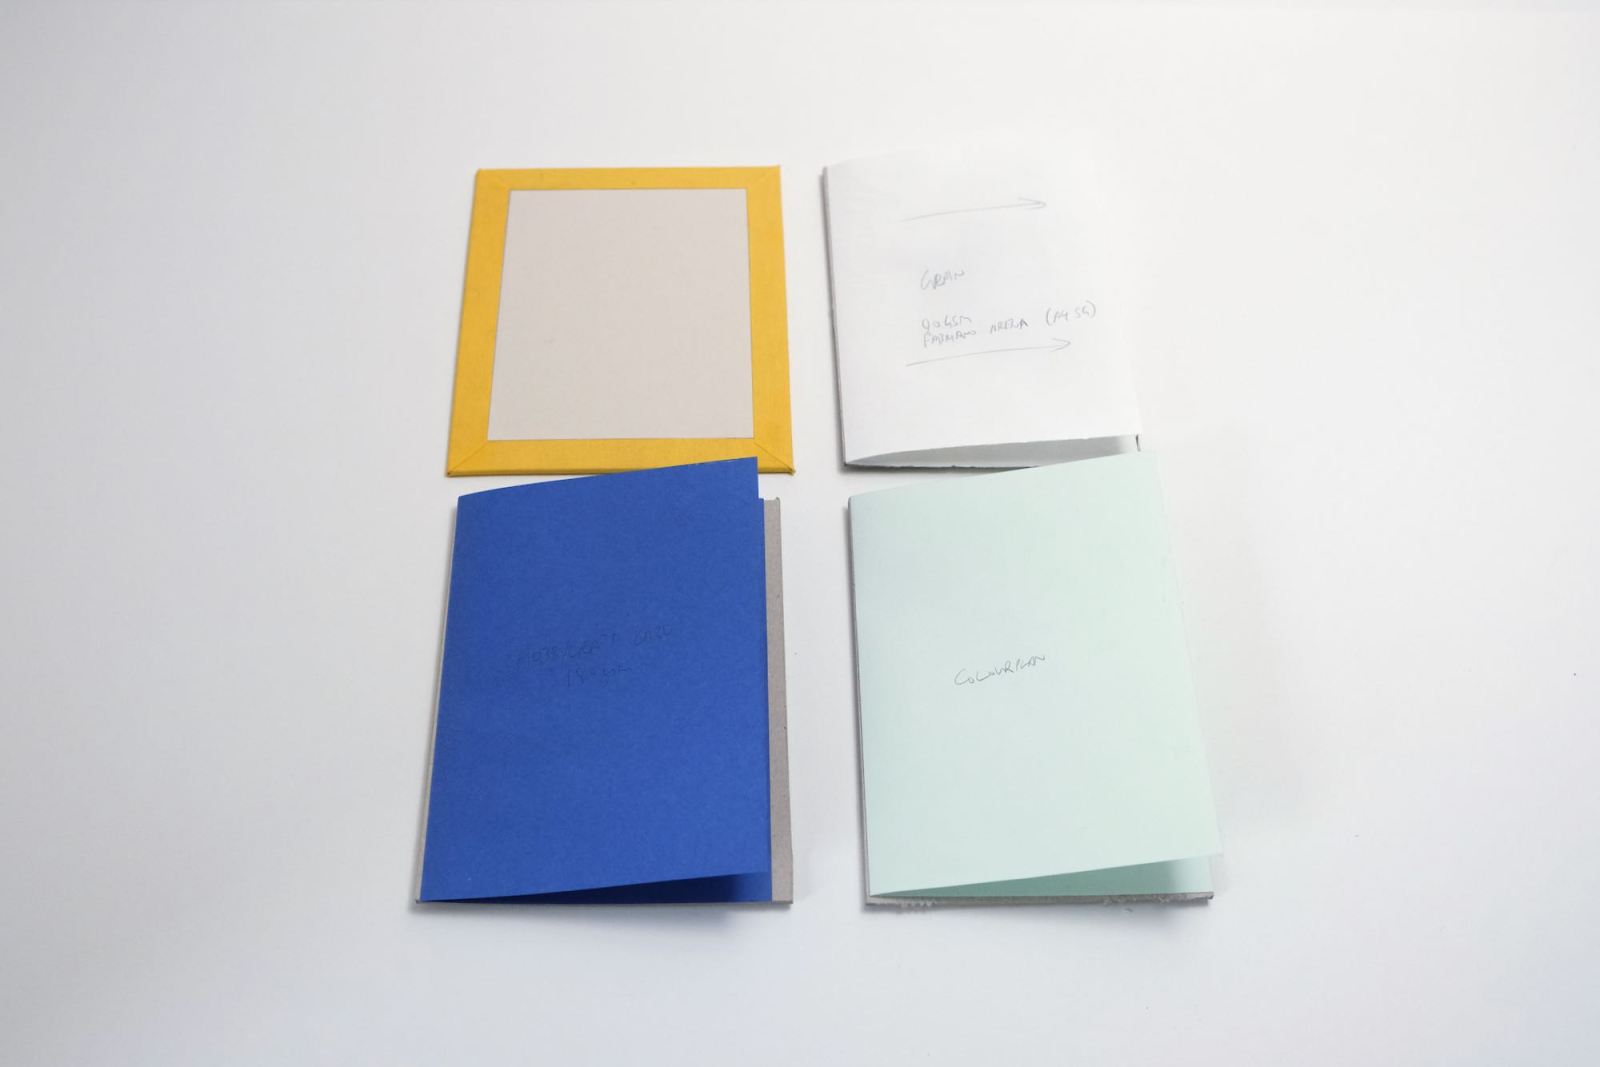
My early experiences gluing up boards to text blocks, or tipping in end papers were so disastrous that I was nervous of taking on any project that involved glue. Two things helped me make progress with this. I was given some starch paste, which is way more forgiving than PVA/EVA, and plenty strong. And I did some practice runs just gluing up different endpapers to boards to see how they would behave when gluing and when dry. These are still useful samples for reference.
When I got my first bookcloth, I also tried gluing up a sample board with that before using it on live project, so I could get a feel for how the cloth and glue behaved, and who it warped when dry (top left in this picture).
Trimming without a guillotine
You can just about get by with a very sharp knife and a ruler, but for a book of any thickness it doesn’t really work. The ruler slips, and it’s very difficult to keep the knife perfectly perpendicular to the book block on every past. But I’ve had great success with this technique demonstrated on the DAS channel (he clamps the block and then runs a chisel across the pages to be trimmed). You can do this in a workmate if you don’t have a press.
Book Edge Trimming Without… // Adventures in Bookbinding
It’s worth really sharpening your chisels first.
How to Sharpen a Chisel | Paul Sellers
Materials and tools
I’m not going to give an exhaustive list, but I will share my experience.
Starch paste. It’s way easier to paste down large sheets like endpapers with this, instead of struggling with EVA/PVA. A good investment.
Mull/Fraynot/etc. There are many materials used to reinforce spines or glue around book blocks. I’t very difficult to find anyone who can give a coherent description of what each of them, are, what they look like, other names they go by, or what their basic characteristics are. Fortunately most are quite cheap, so I bought some Mull and Fraynot from Shepherds and have had good results with both. Beware: Fraynot frays.
Paper. The first thing you will encounter when researching bookbinding is grain direction. Experts love to talk about how important this is. But when you’re a beginner it seems like overkill. And in the UK at least, it’s very difficult to find a paper seller who will tell you what grain direction their paper has (unless you go to a specialist like Shepherds).
Nevertheless, I’m quite happy to accept the experts’ opinions, and as I practice more, I’m beginning to get a feel for this myself.
Unfortunately, it’s very difficult to get paper with a useful direction (which I take to be short grain in the A4 size) in the UK.
Book press. I don’t have one, but I’ve found MDF boards, clamped with quick grips or in a workmate collapsible bench do the job. This is also what I use to cut my book blocks trim.

Recommended reading and watching
So far, the most useful books I’ve found are:
- Bookbinding, a Step by Step Guide, by Kathy Abbot (Amazon, Bookshop.org)
- Bookbinding, The Complete Guide to Folding, Sewing and Binding, by Morlok and Waszelewski (Amazon, Bookshop.org)
There are many other books available with craft bookbinding projects, but I think these two are pretty good, and complement each other well. Abbot gives a good introduction to materials, techniques, with clear step-by-step guides to some core bookbinding projects. Morlok and Waszelewski give an overview of modern book production, with an emphasis on industrial processes. There are no step-by-step tutorials, but it does give you a good sense of the whole territory.
For video, I started with Sea Lemon, which is very accessible, and has fun projects presented in a welcoming style. But now I have a little more confidence, I like the rigour and detail on the DAS Bookbinding channel.
Should you give it a go?
I’ll finish with one thought about how I found myself doing this. I was craving an analogue, craft skill to learn, and to relax in my very limited (toddler-constrained) free time. I started by trying to make paste papers, which I haven’t really talked about here, and I was lucky to have a few hours to make a mess one weekend doing that. They weren’t very good, but the experience re-energised me creatively and I decided to have a look at some other bookmaking techniques.
For me, there’s a very pleasing blend of skill and ease that makes bookbinding unusually accessible. Unlike (machine) sewing, with which it shares much in common, you’re much more in control (not racing to keep with the machine) and there’s less of the confusing turning things inside out and back to front. And unlke hand woodwork, you can get to a pretty good place quickly and with minimal special tools. So I’d say, yes you should.
