Bunkbed Rocket

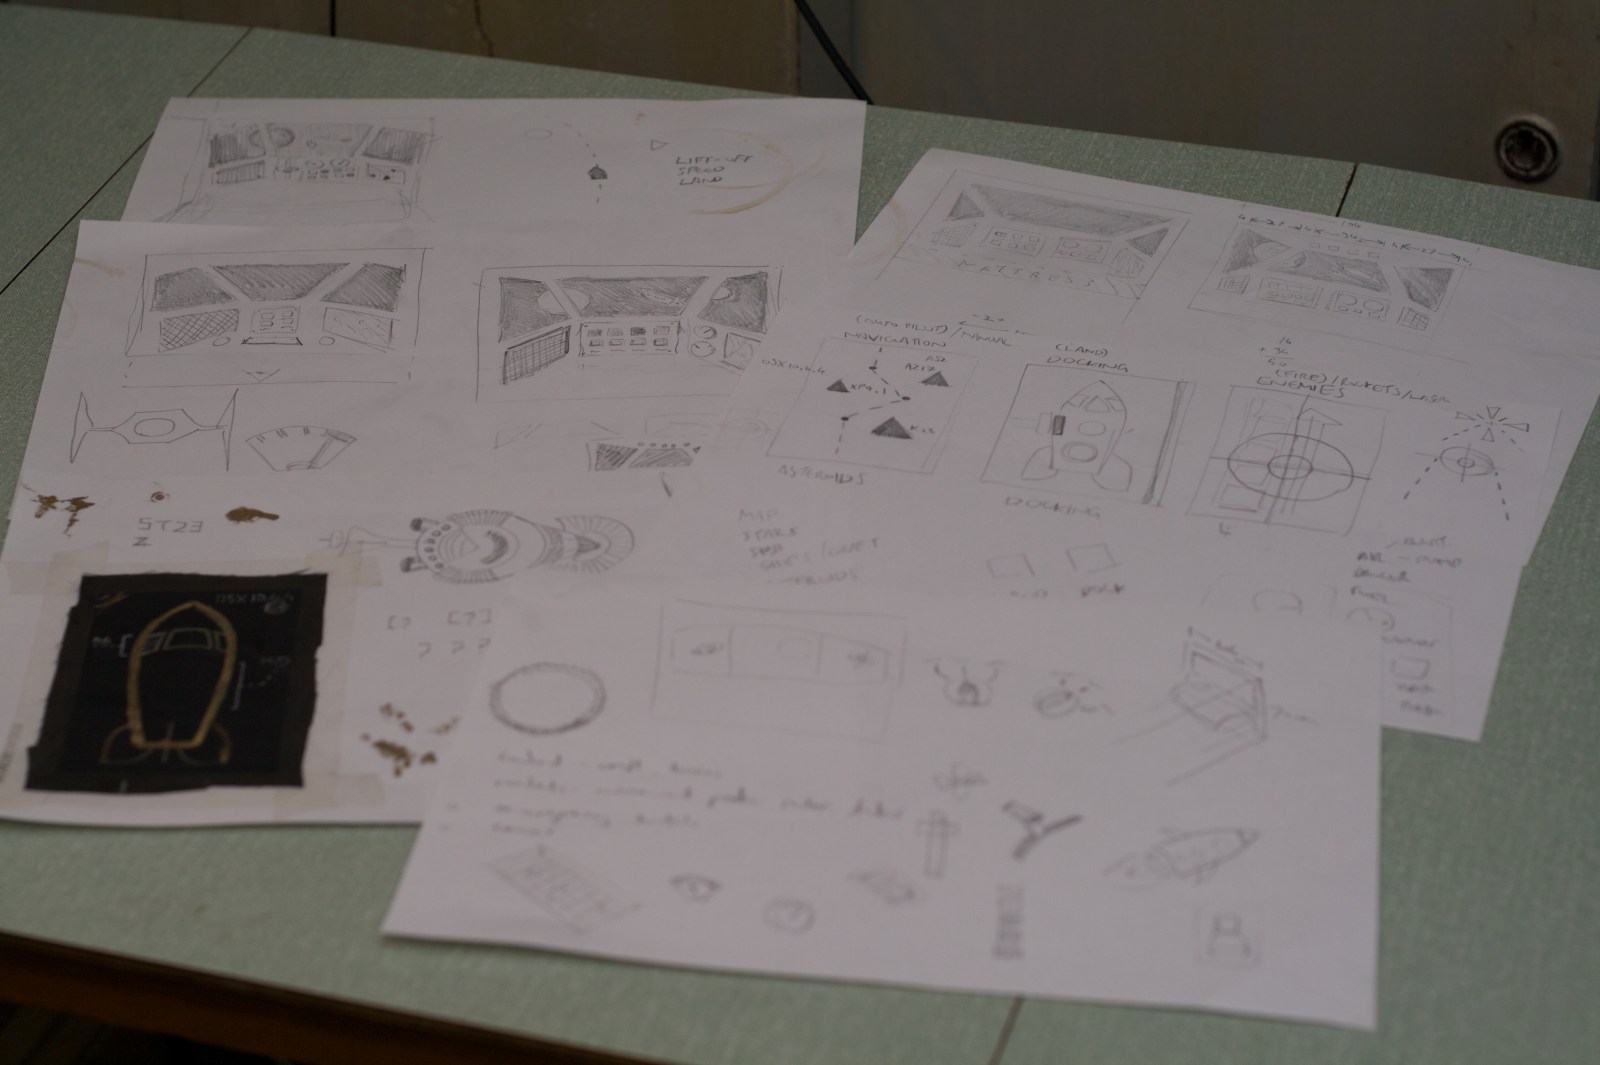
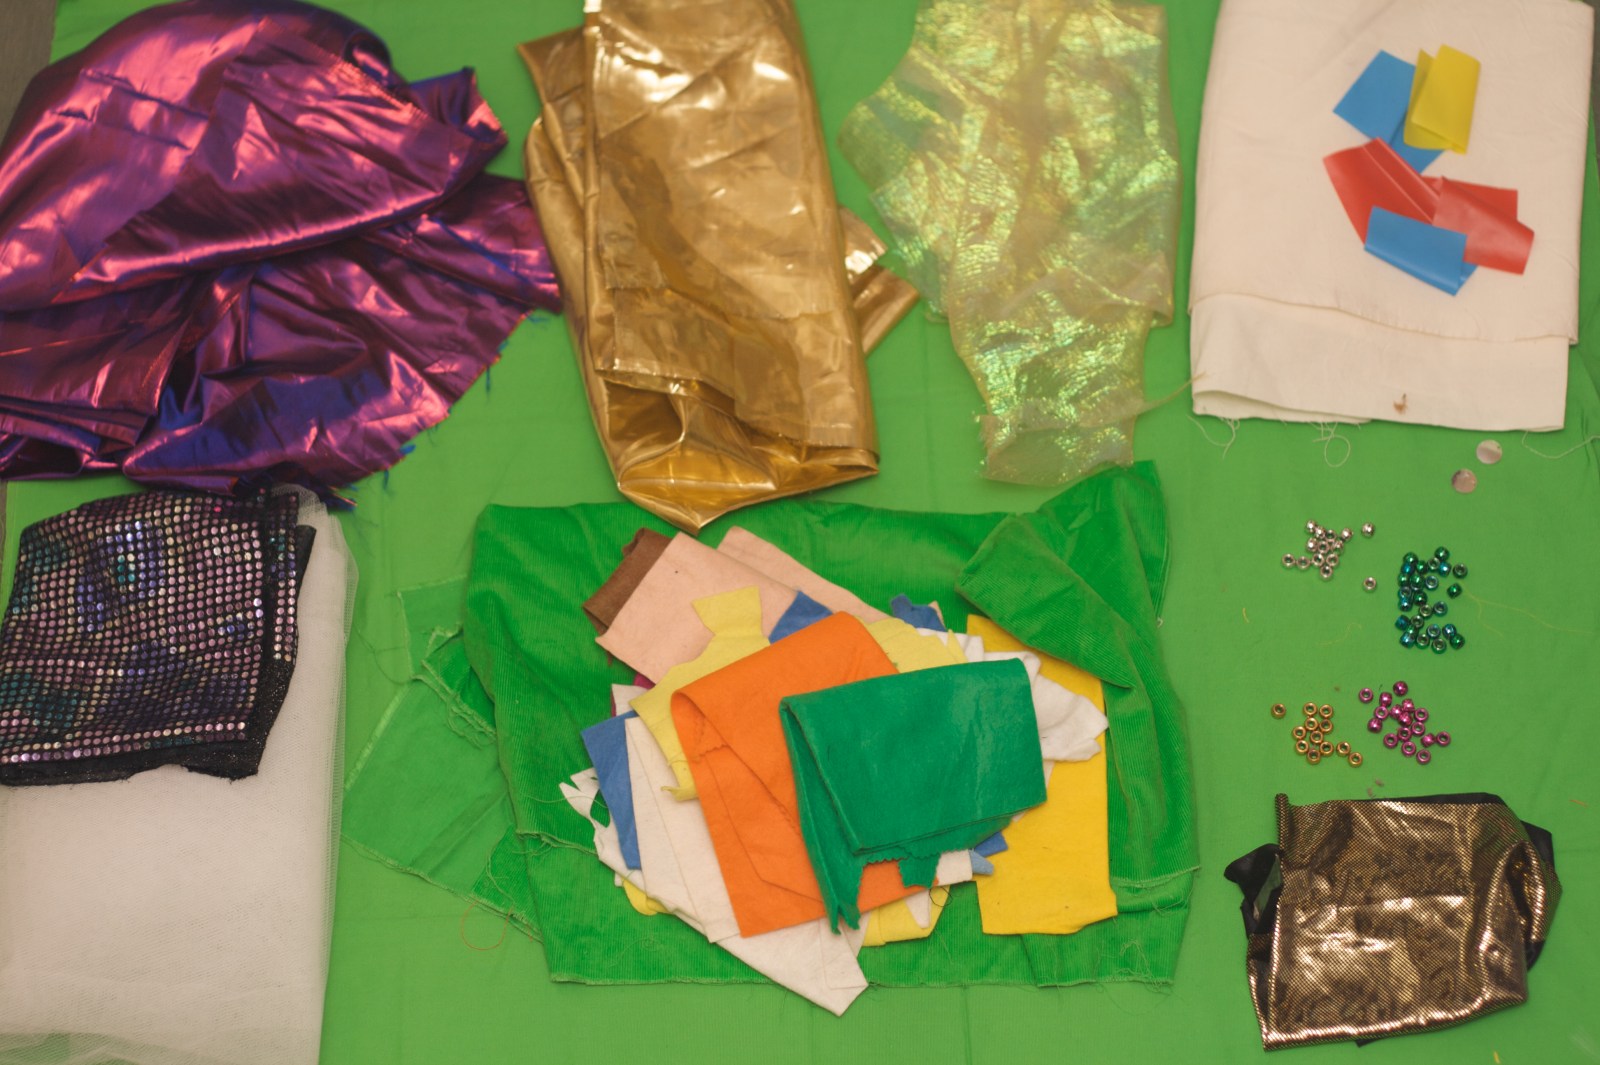
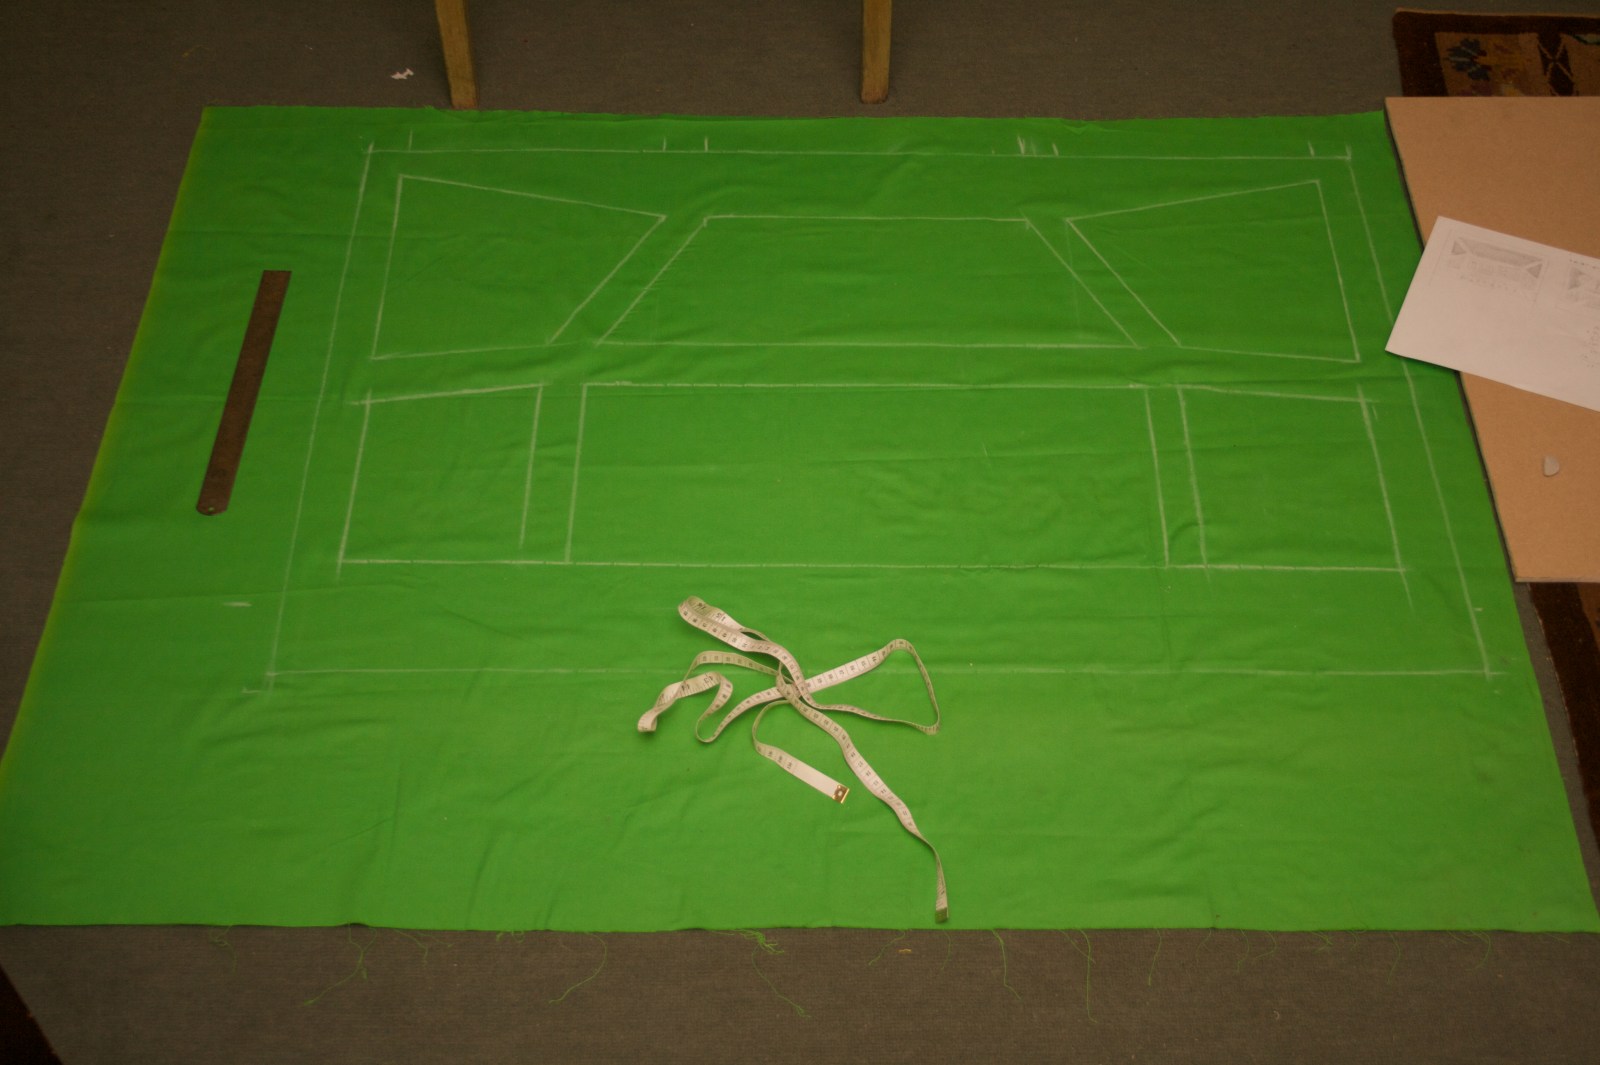
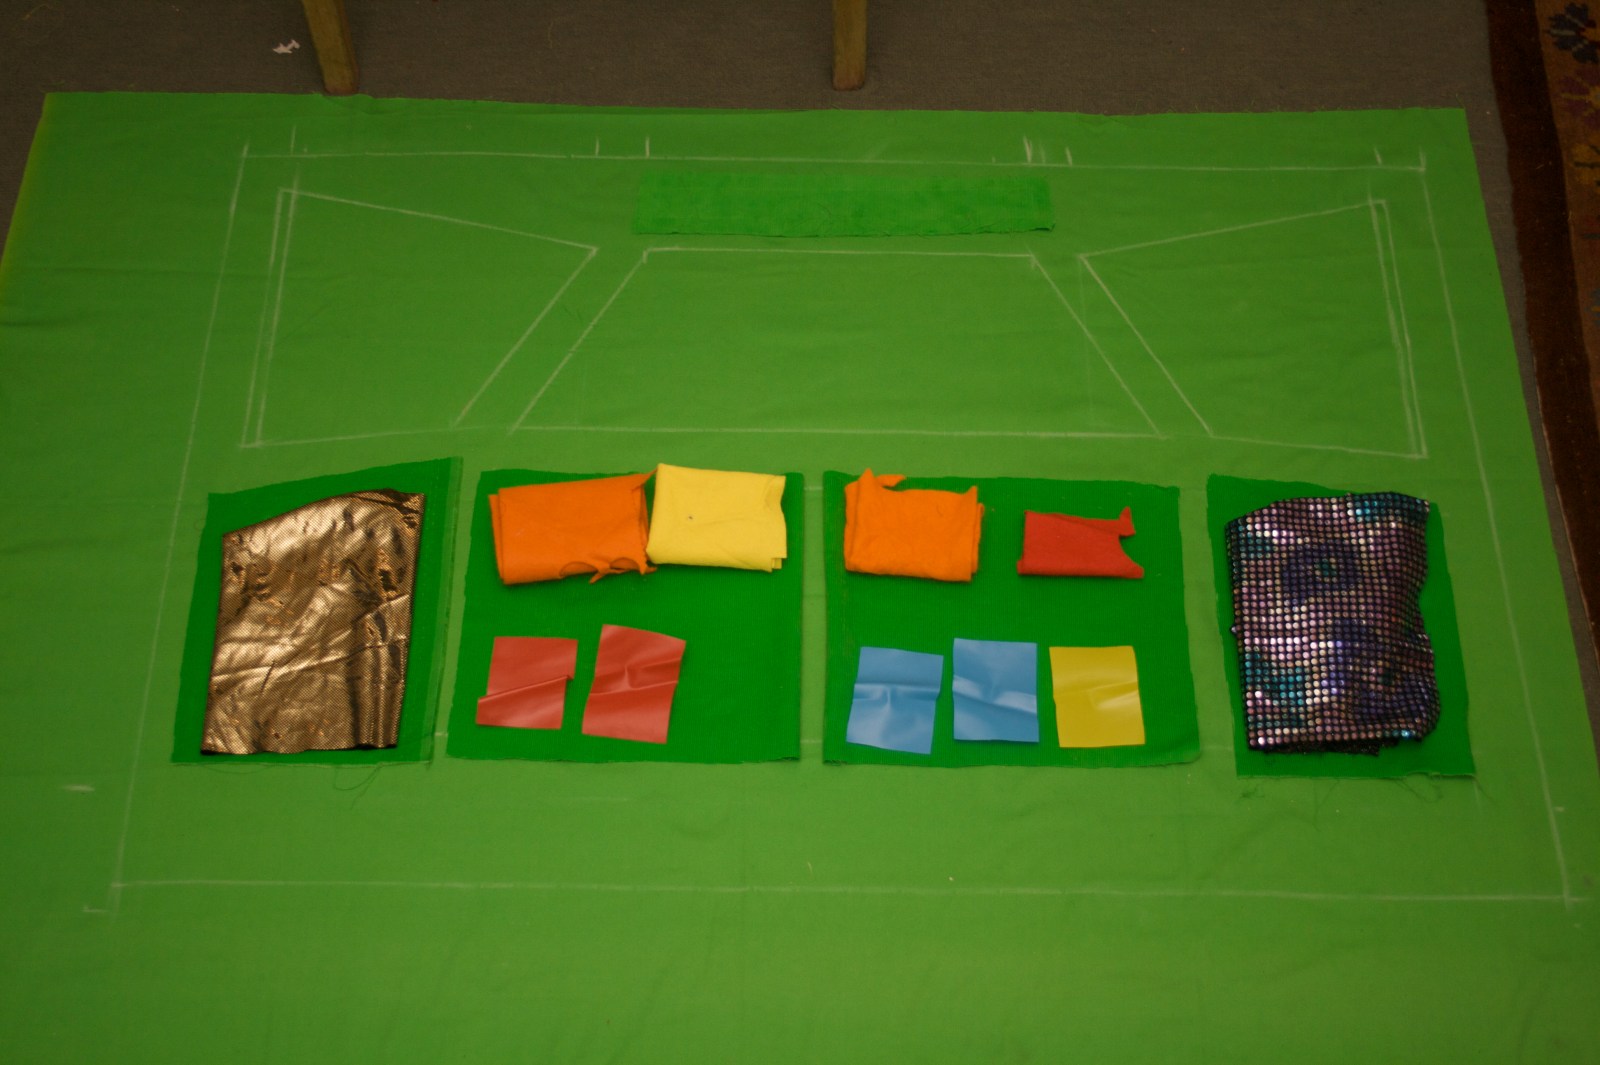
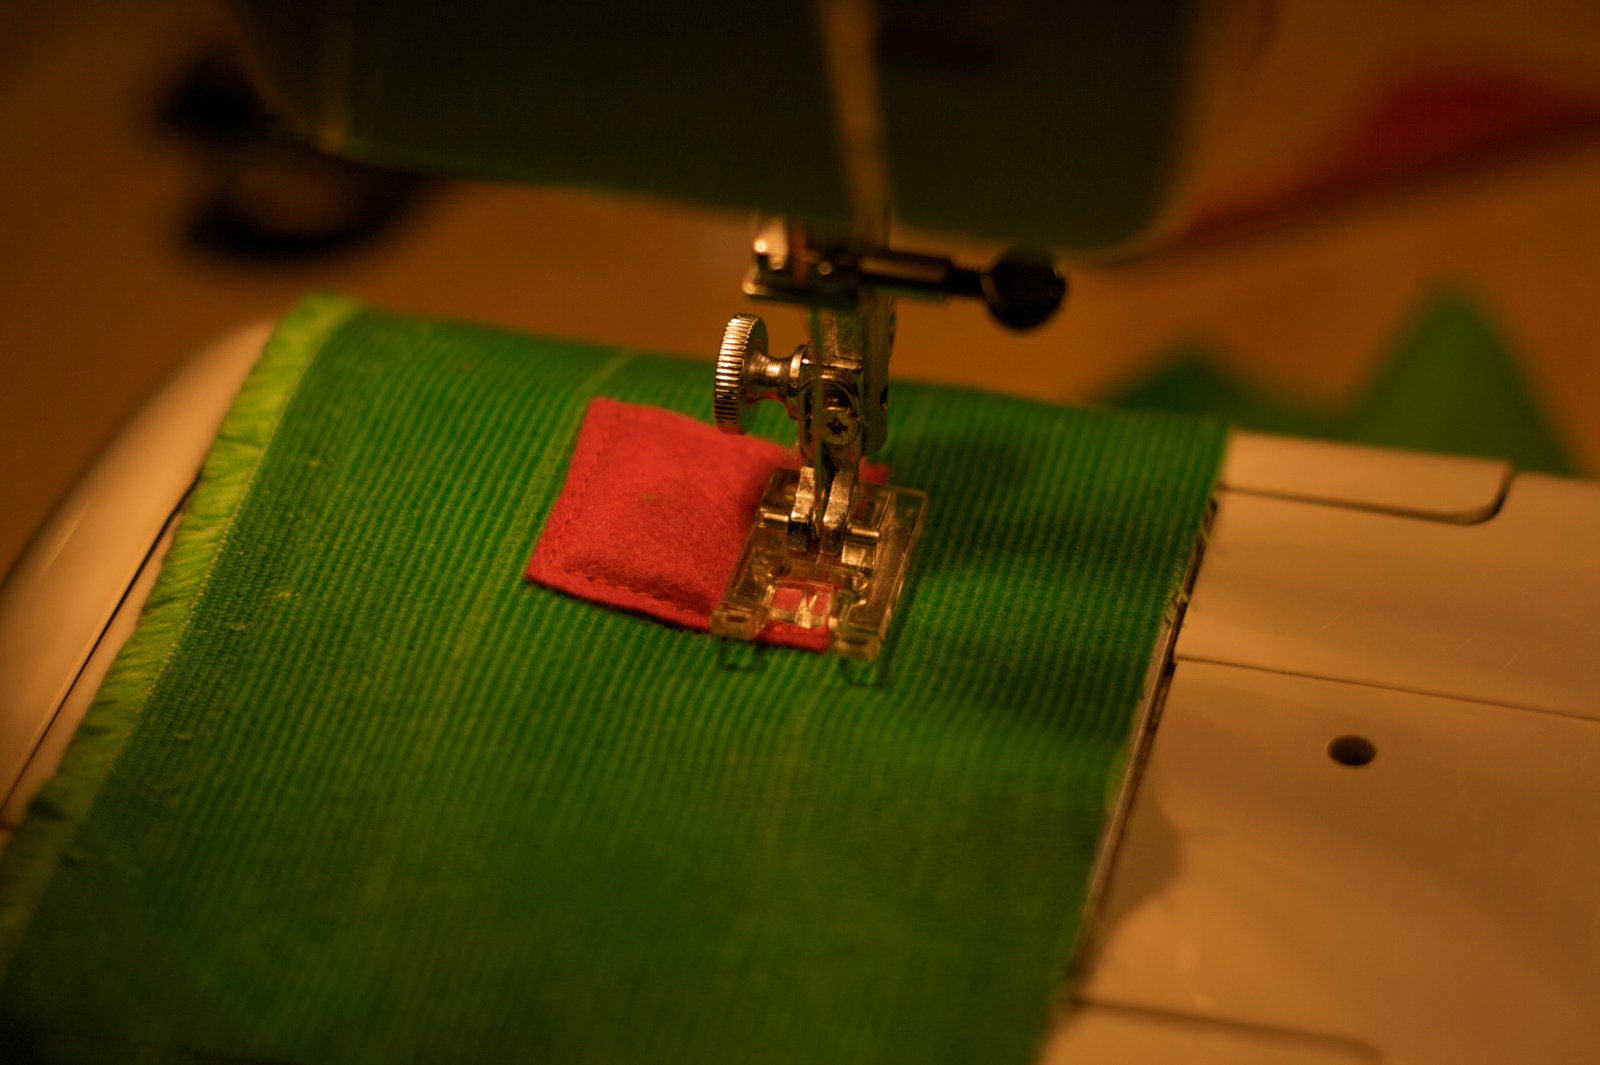
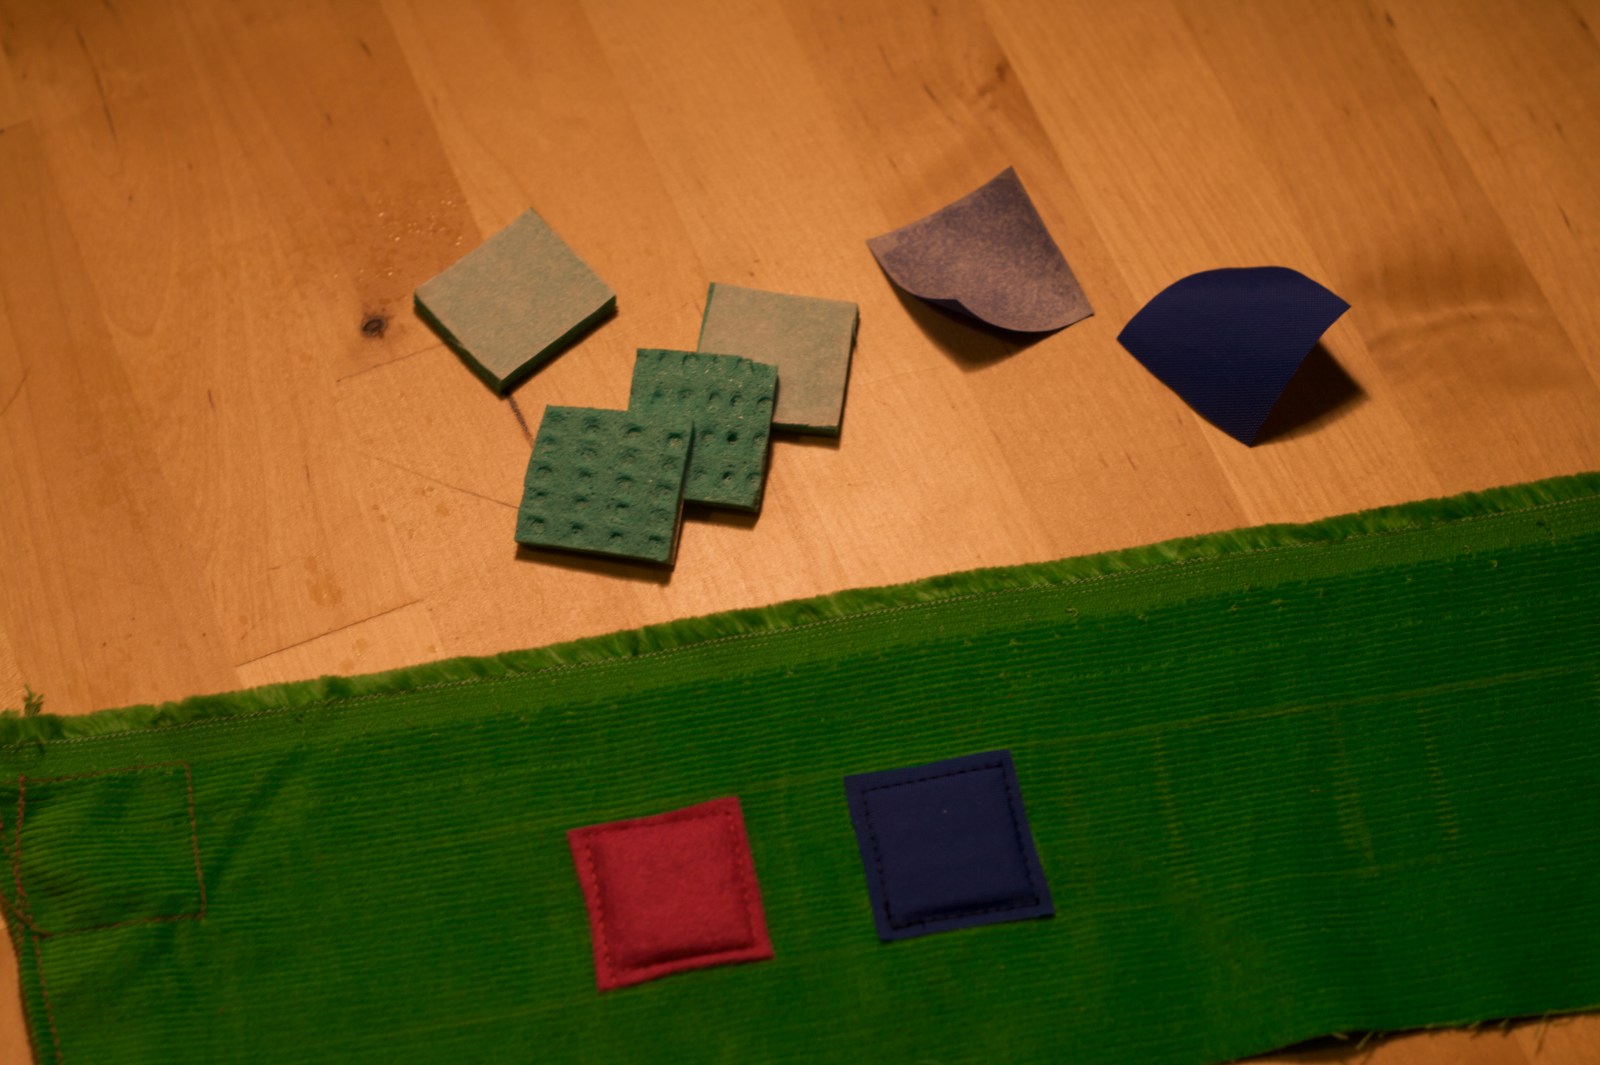
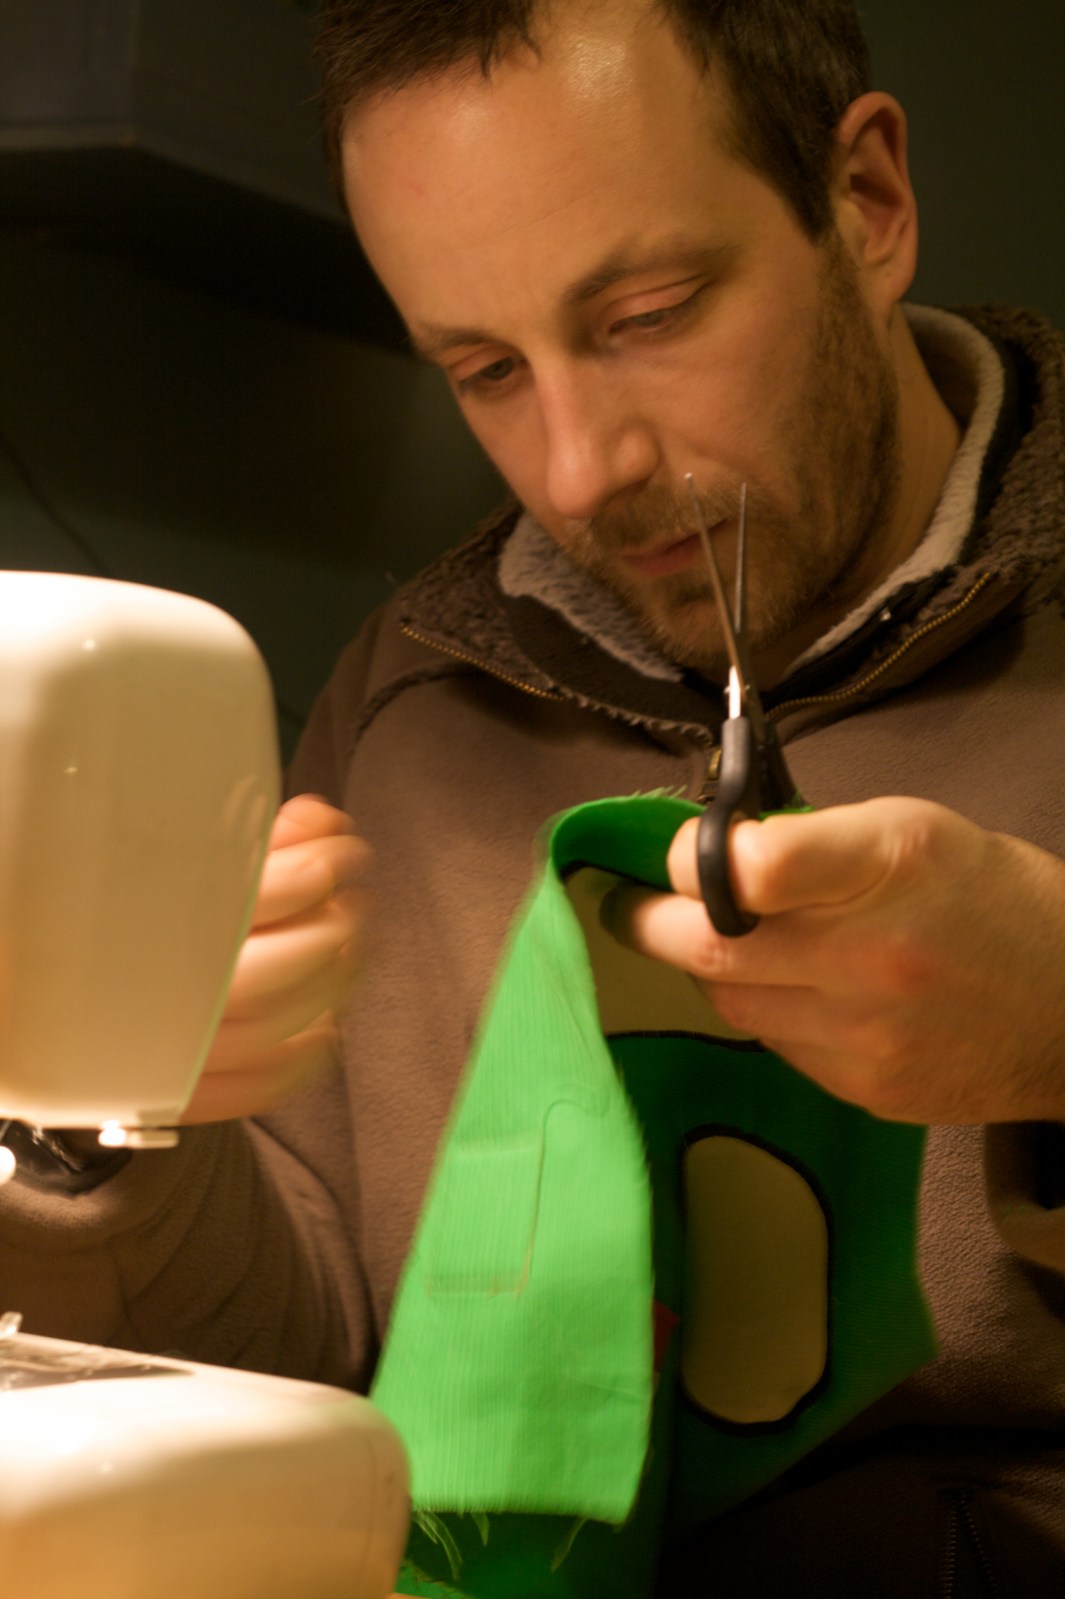
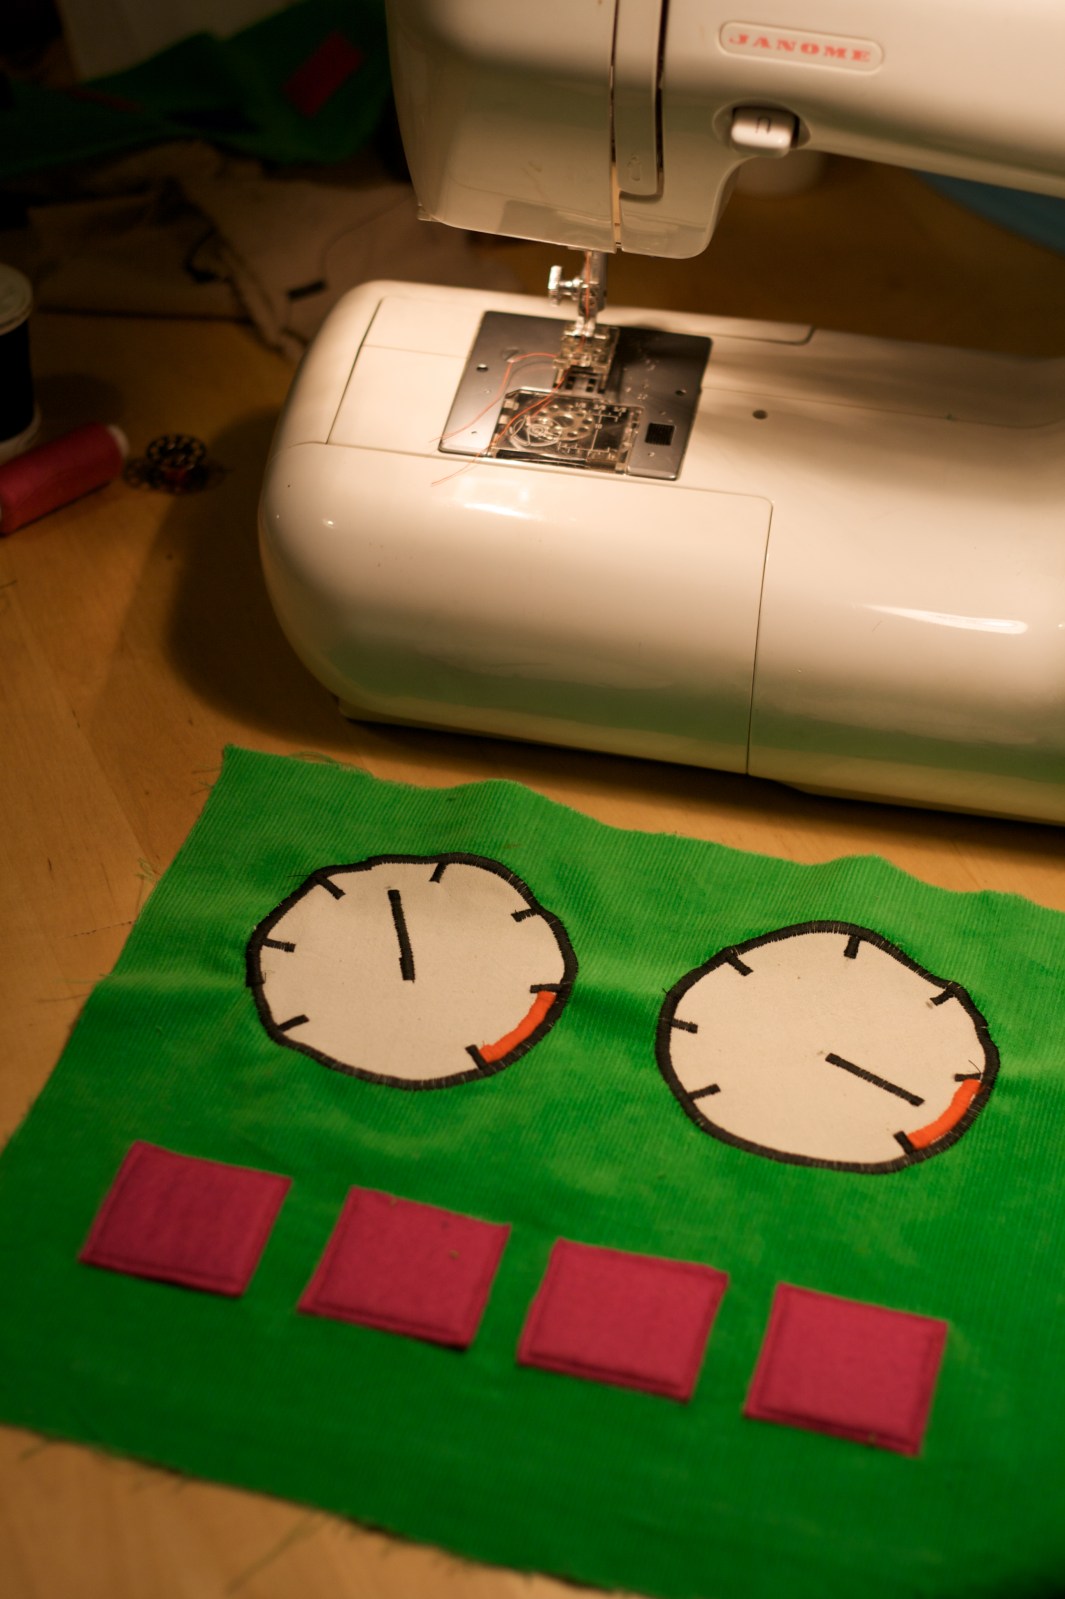
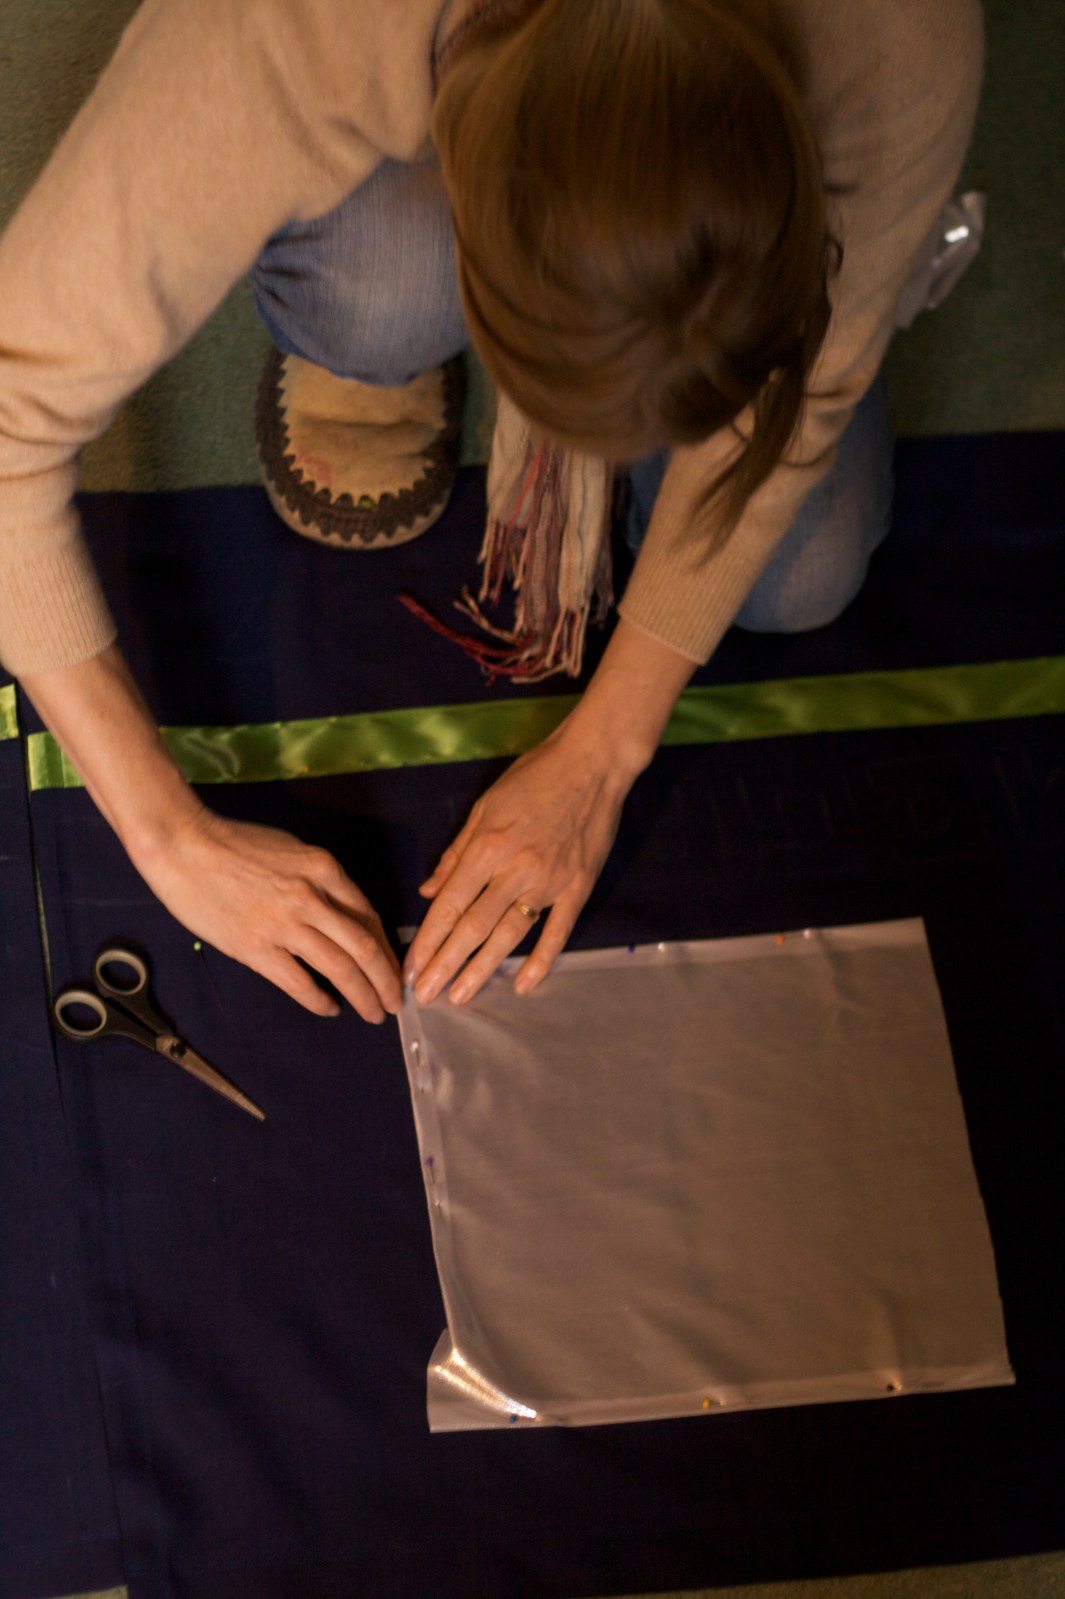
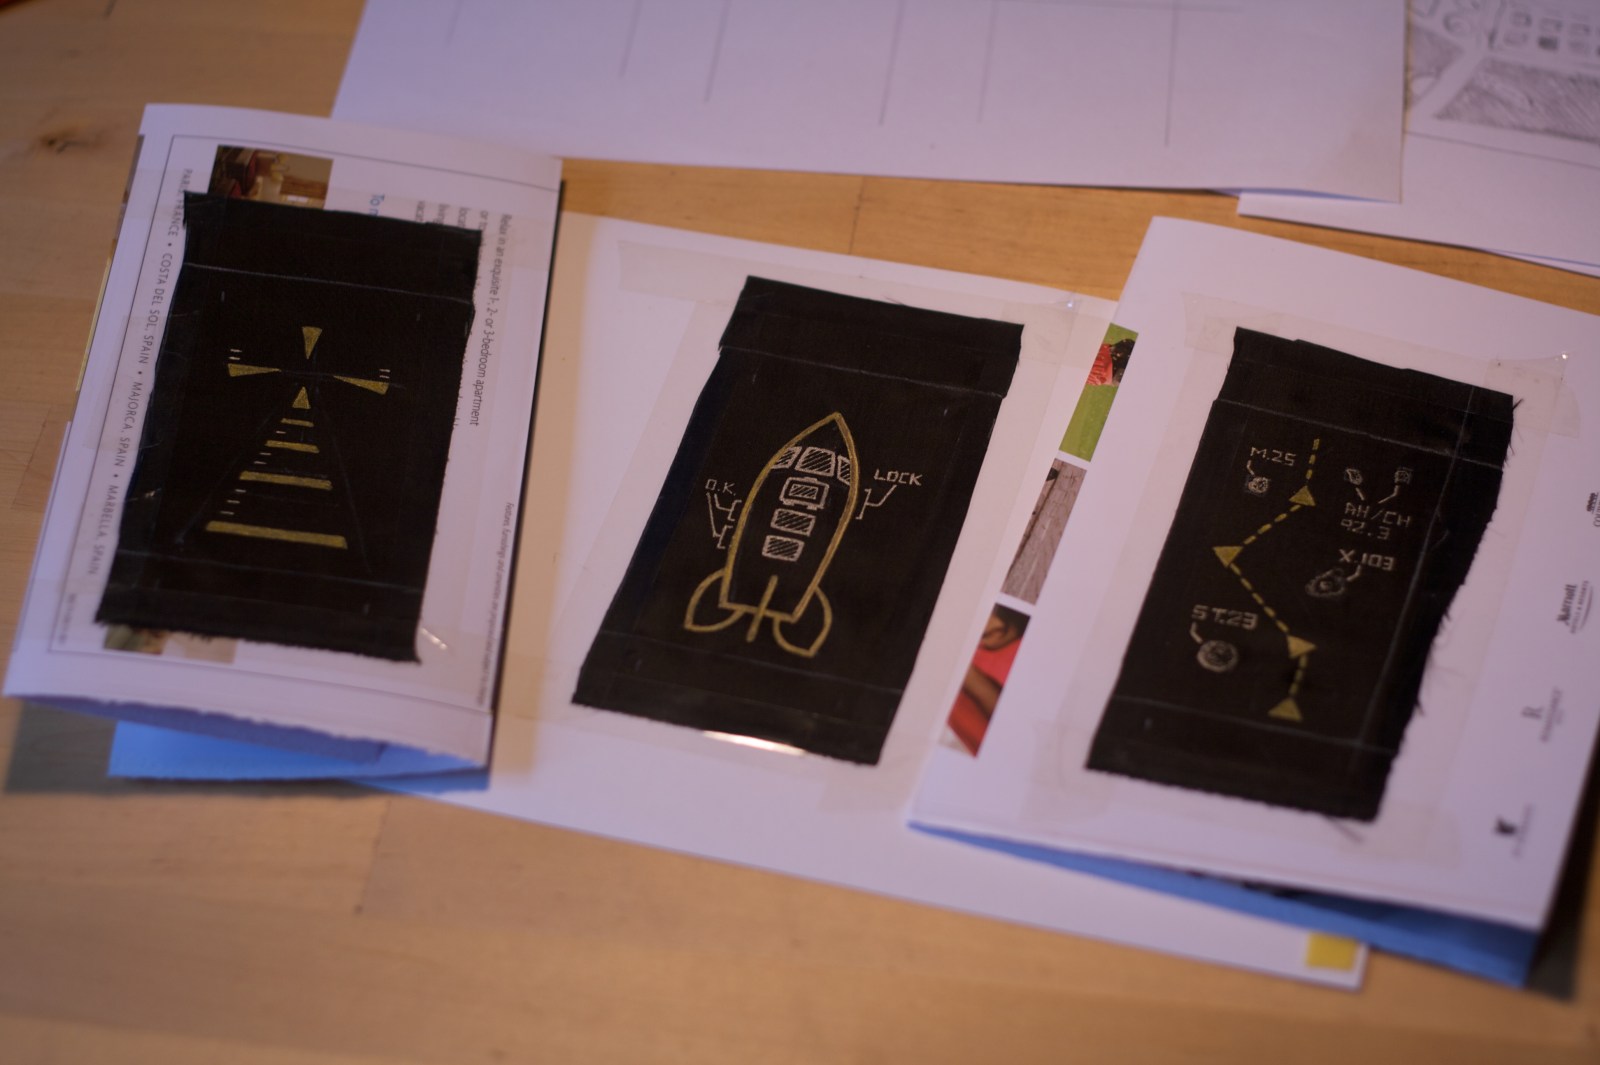
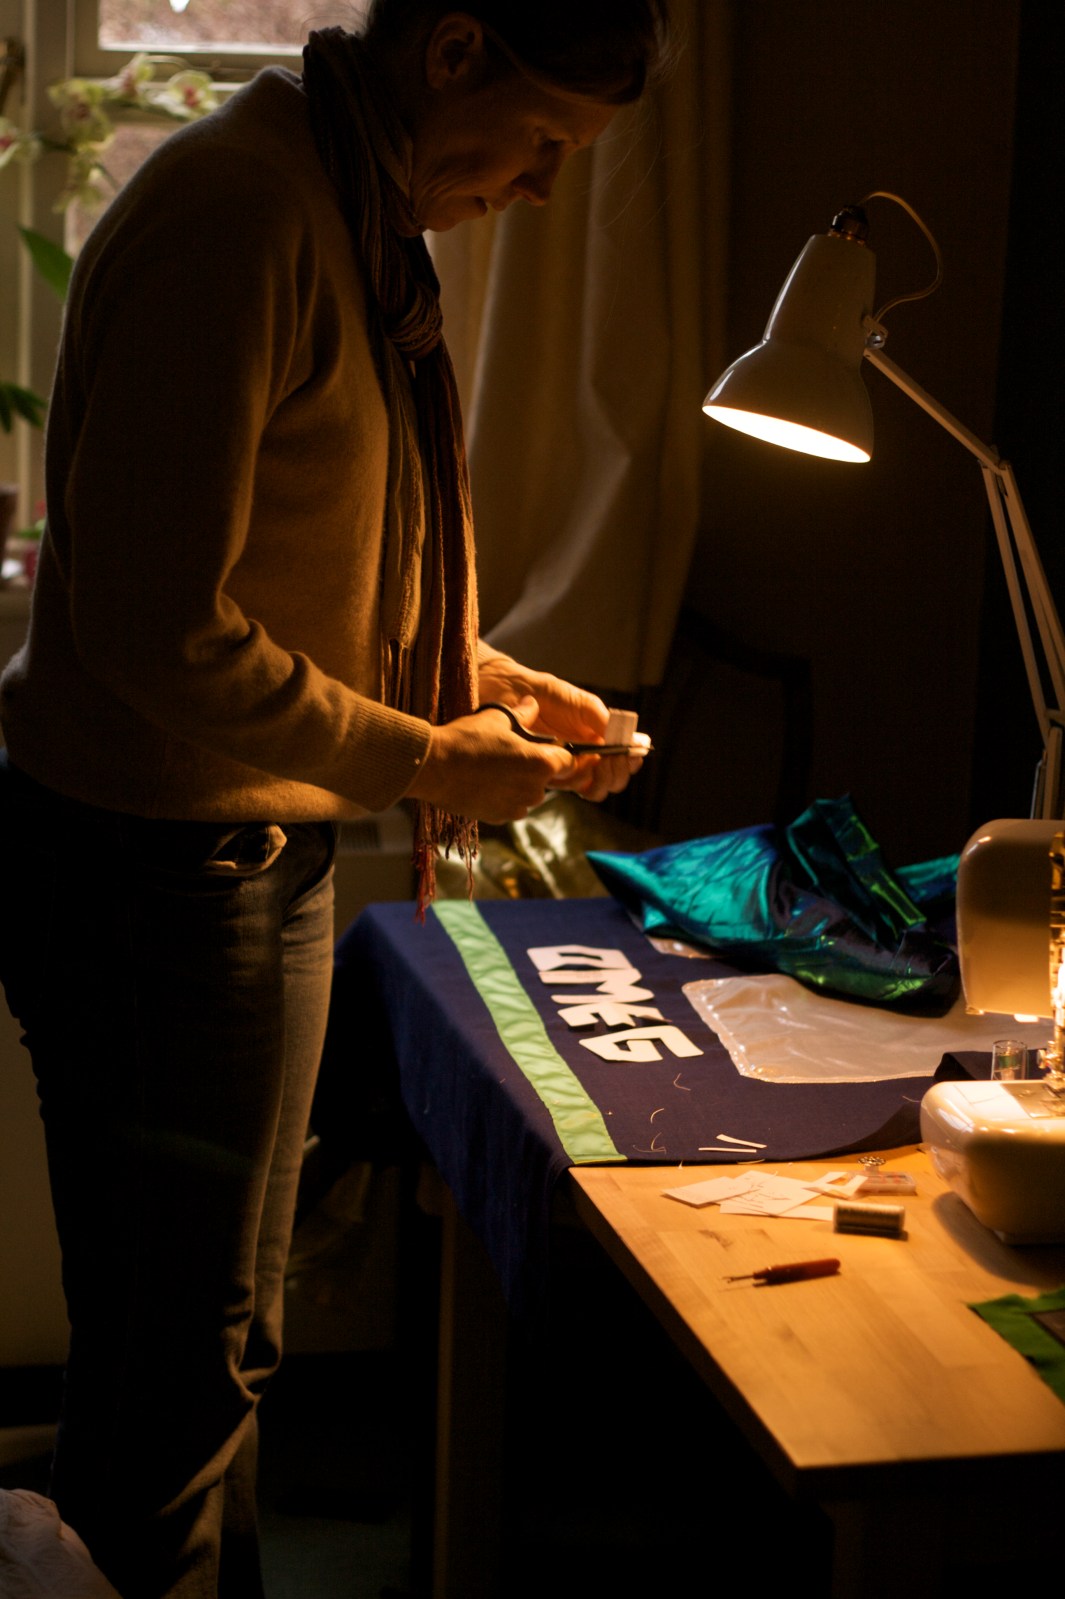
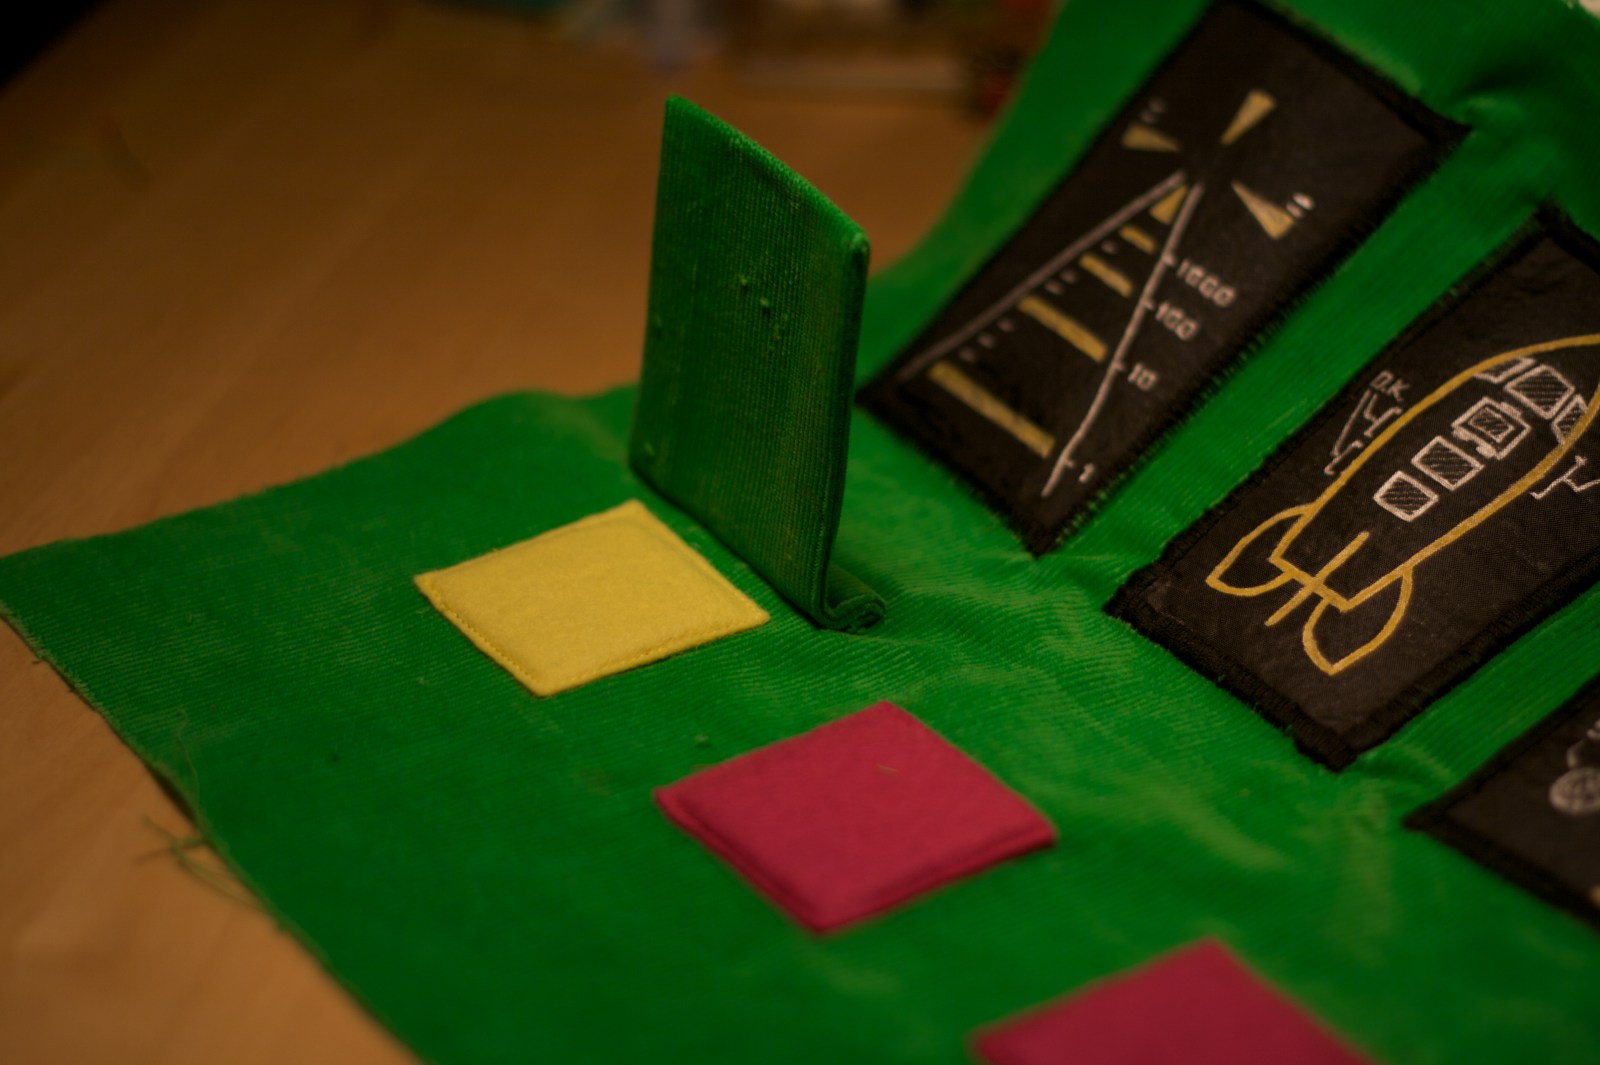
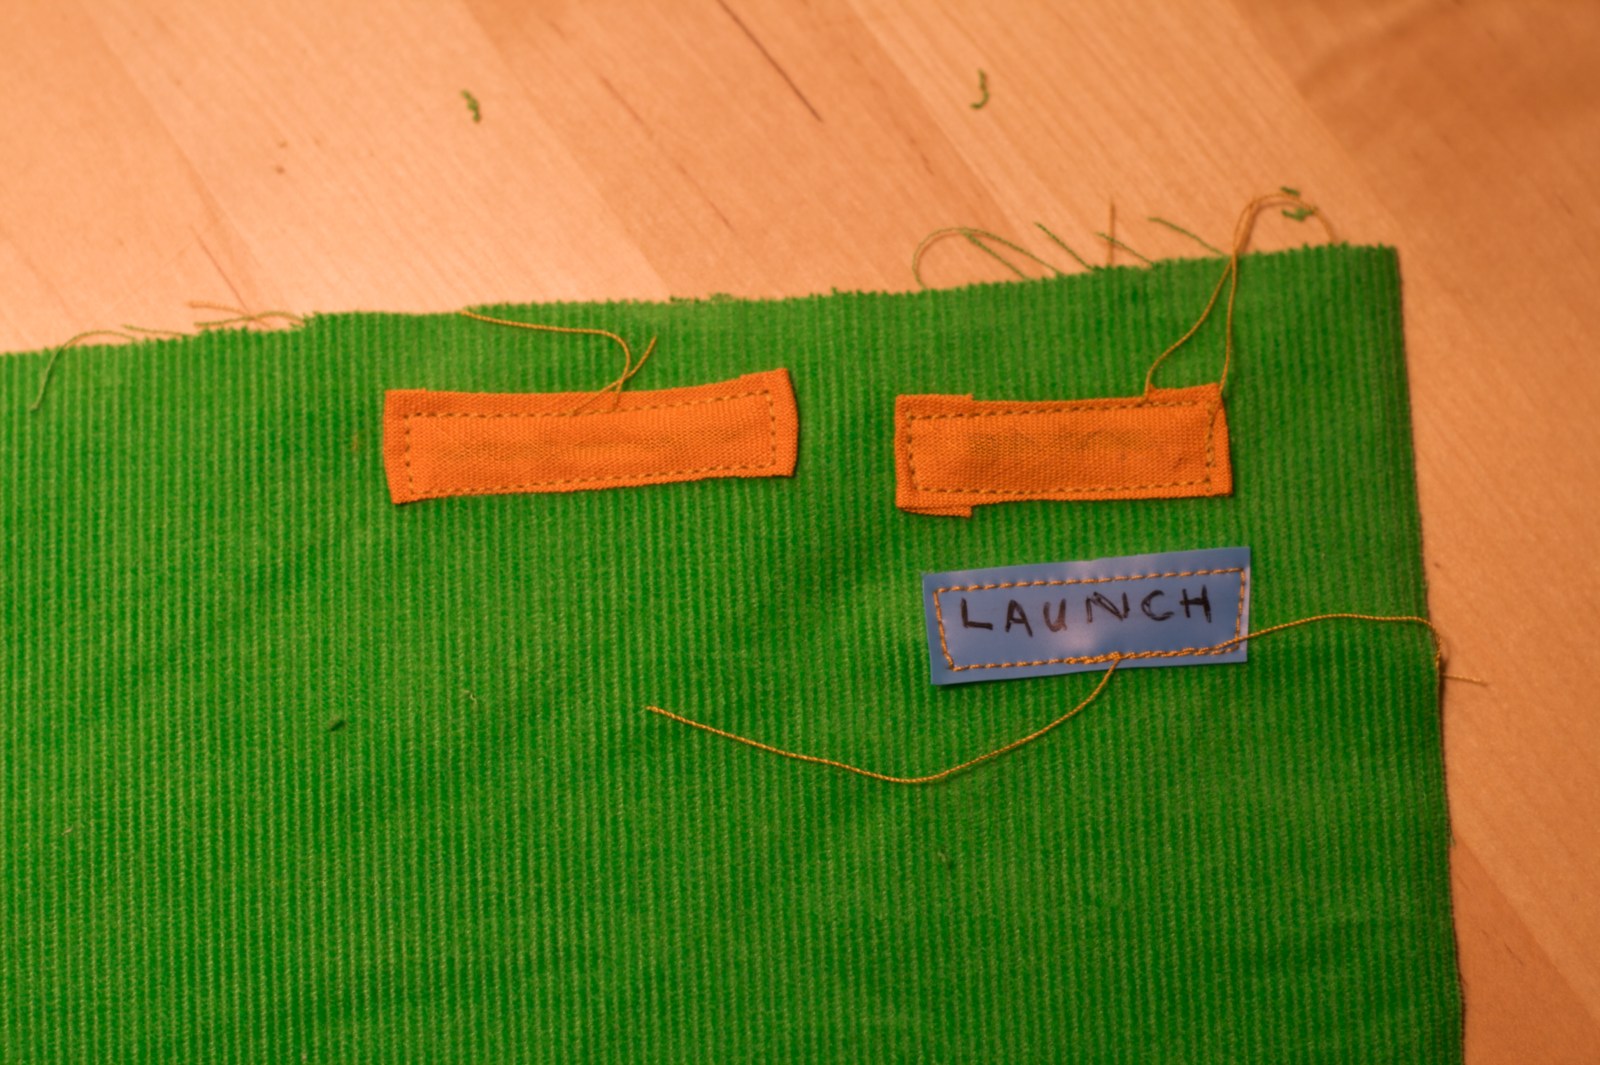
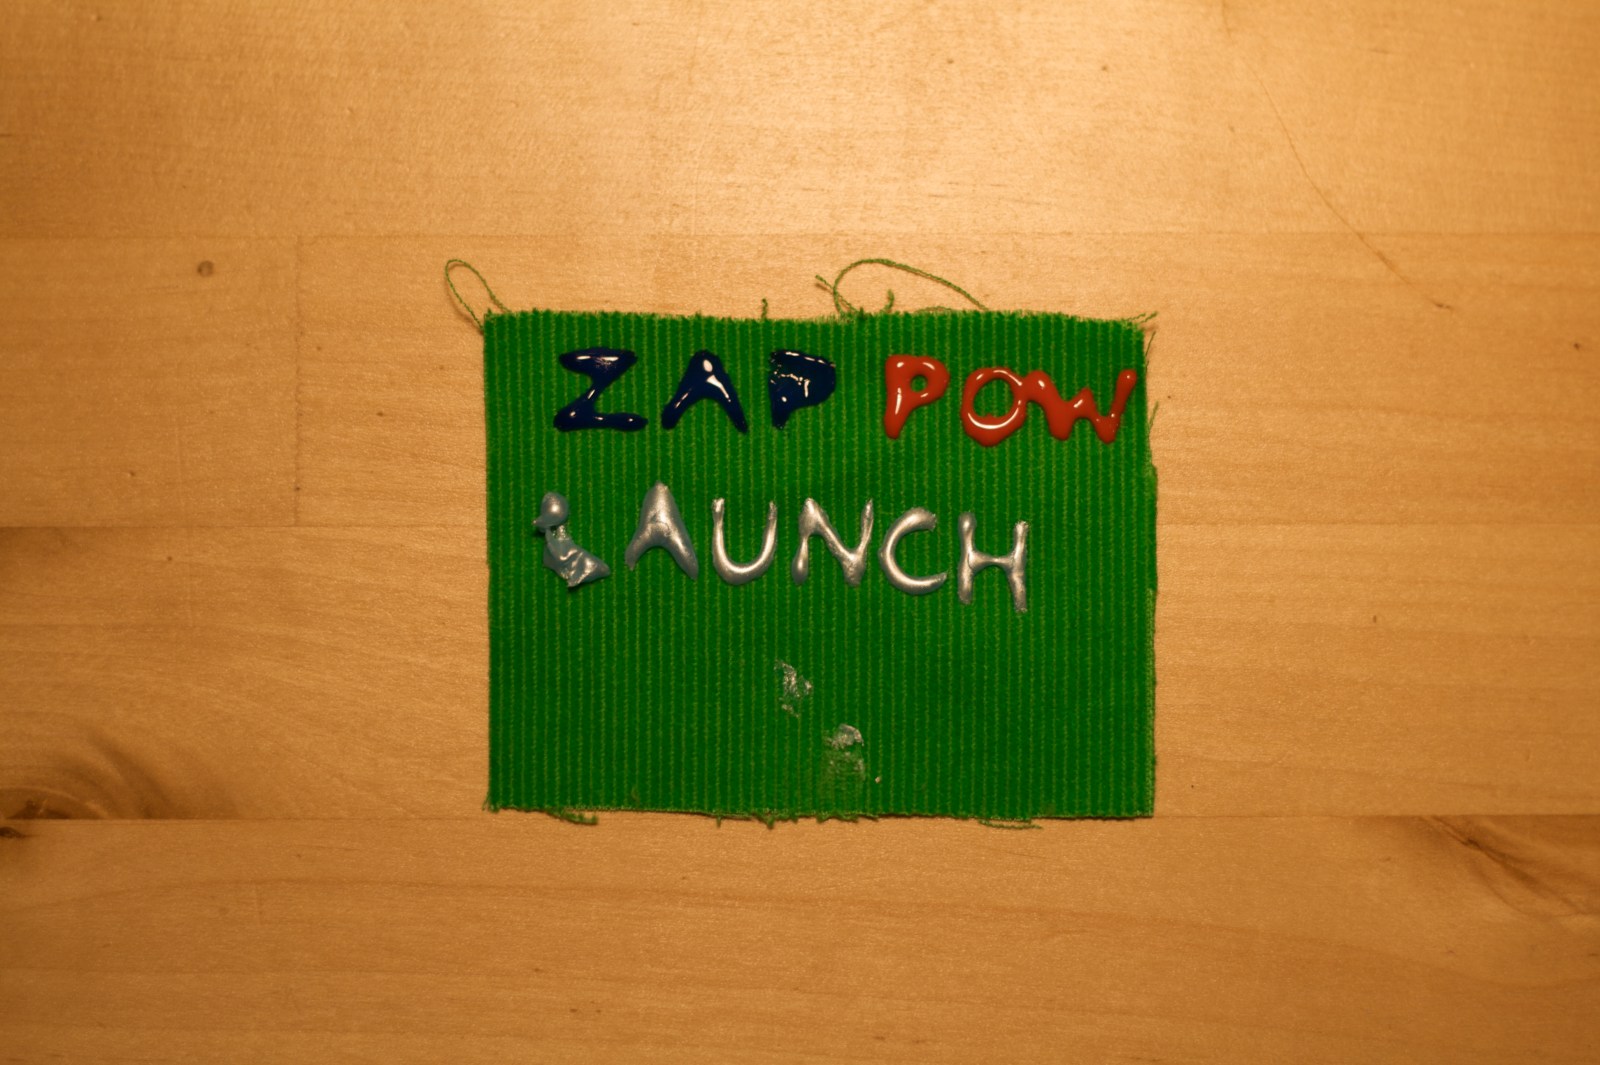
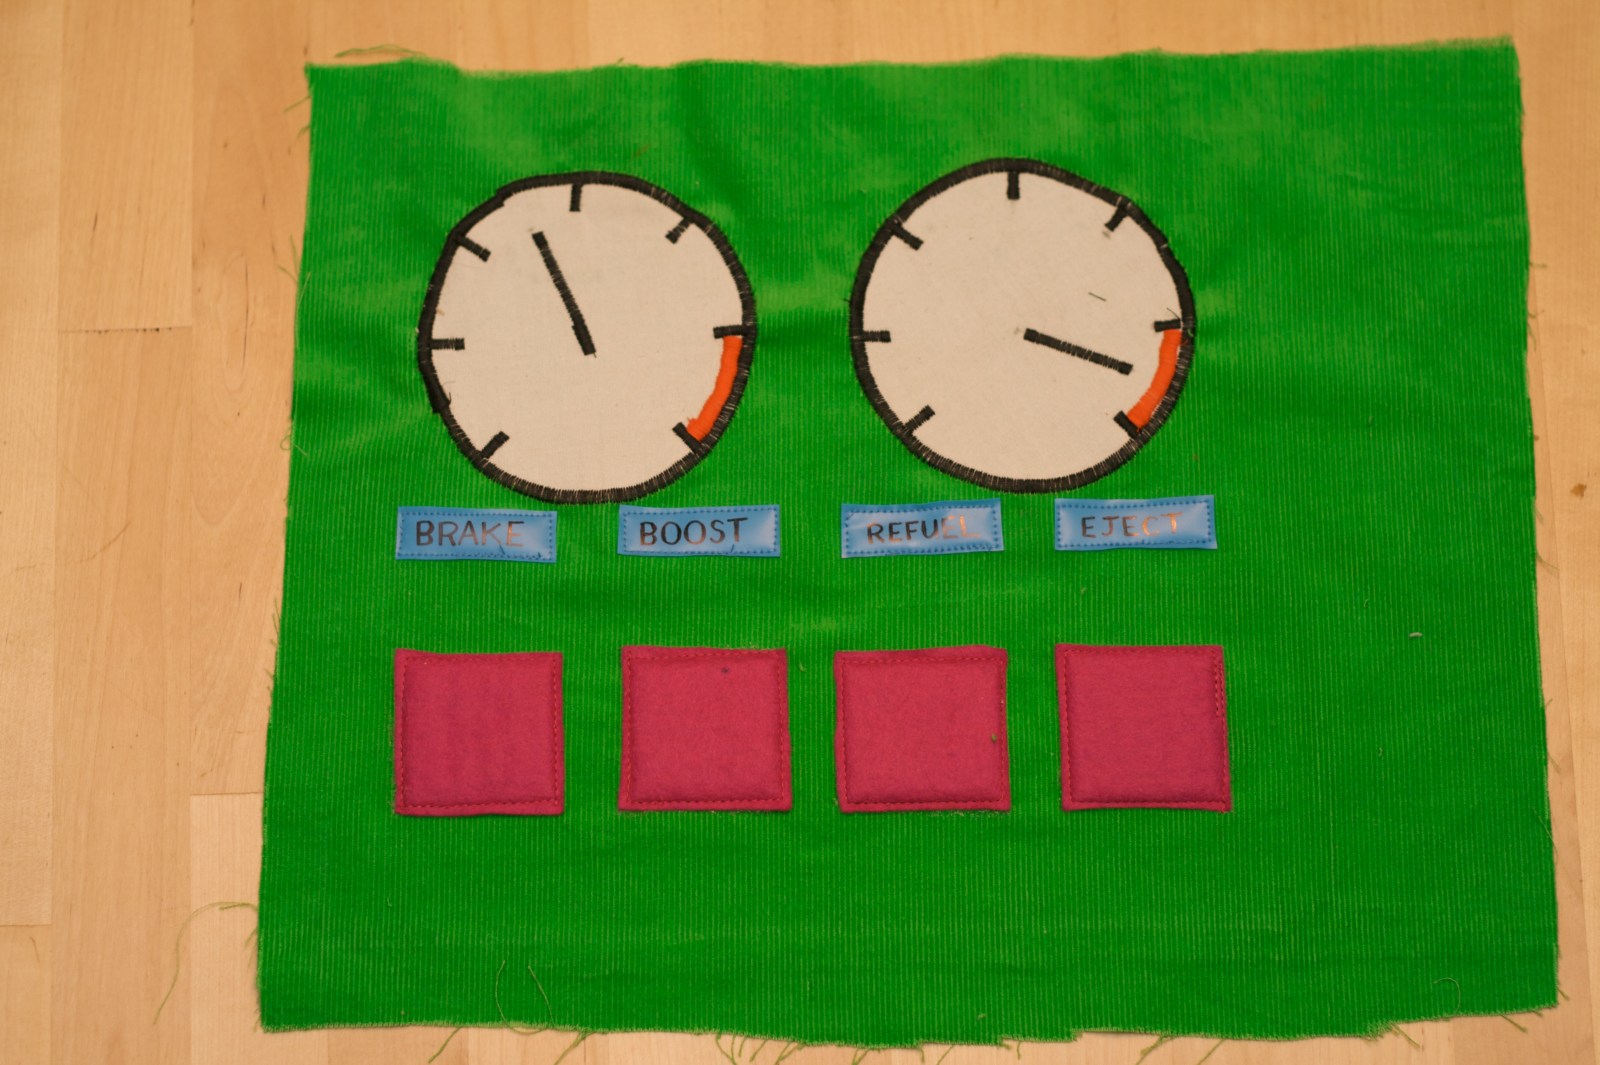
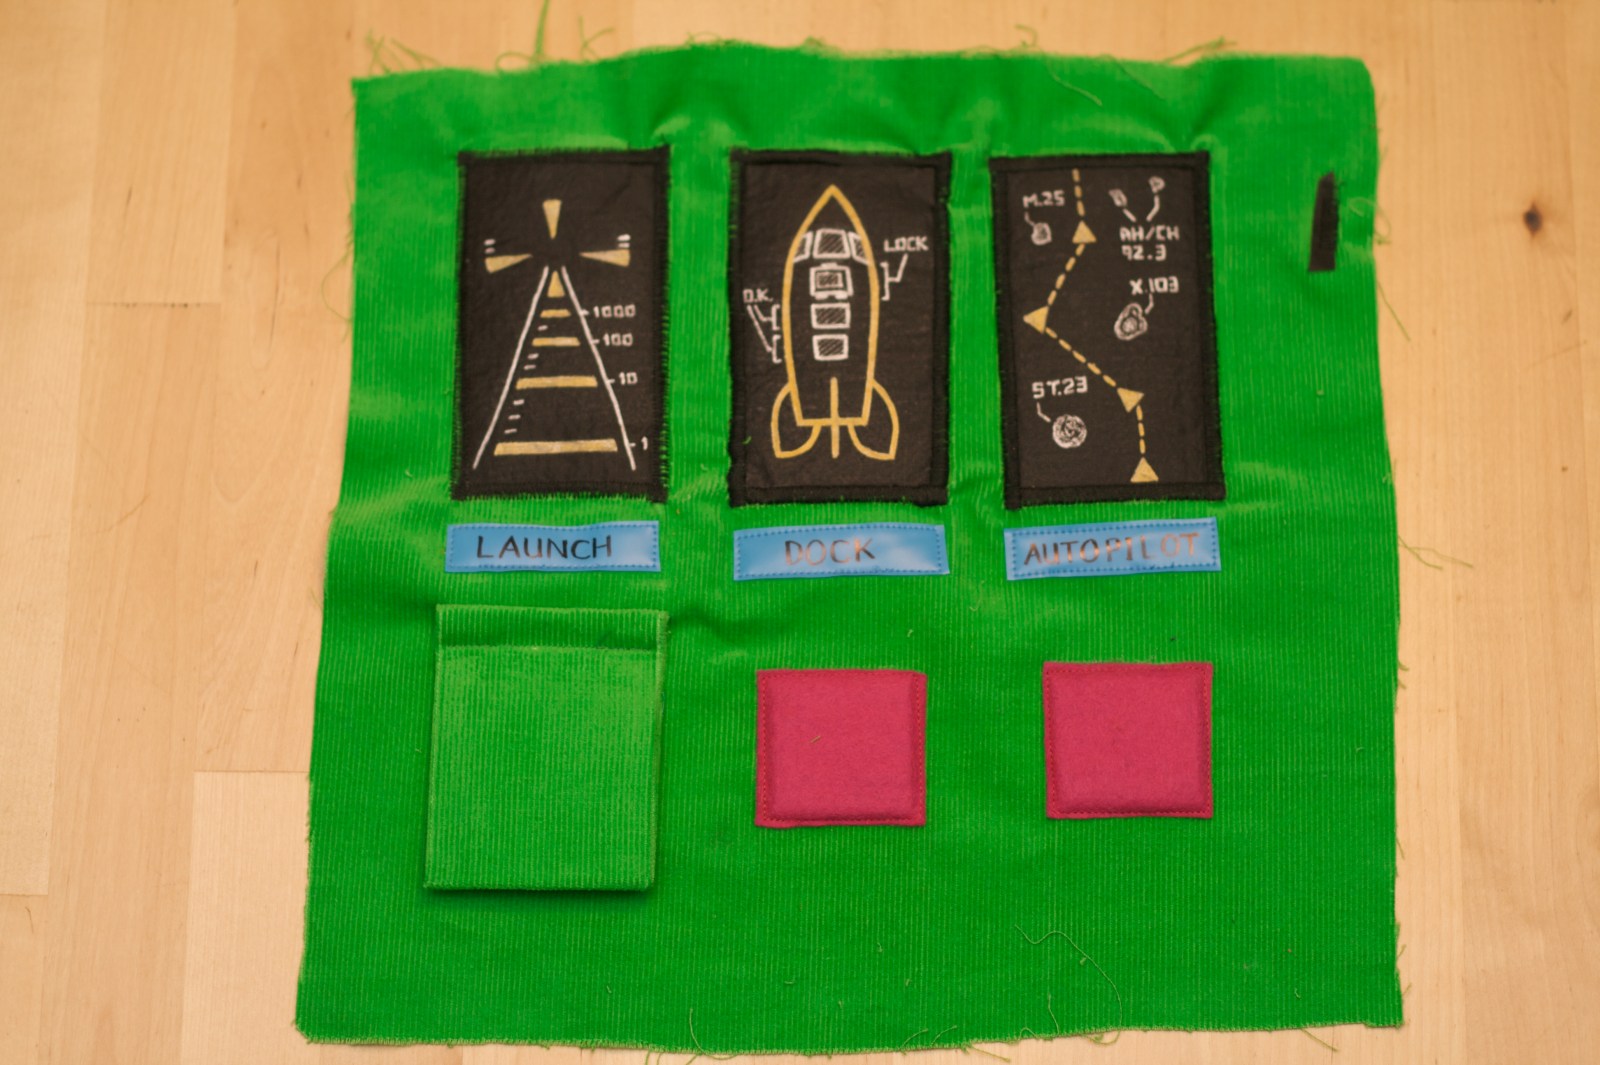
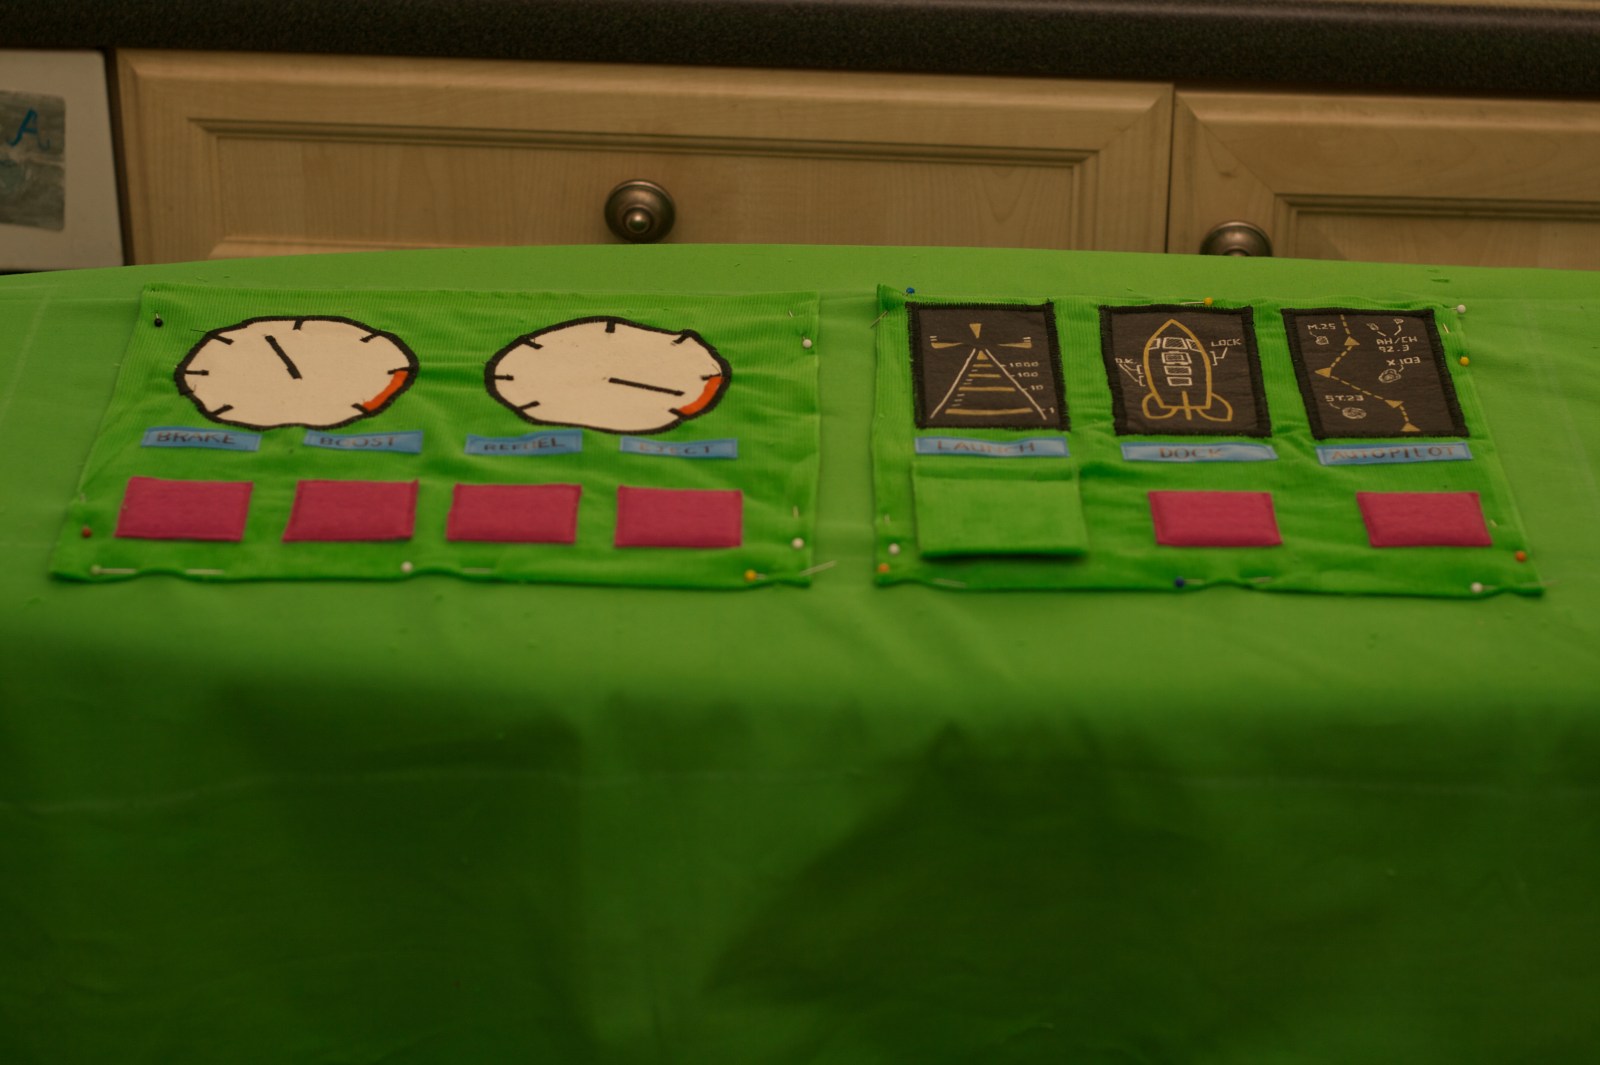
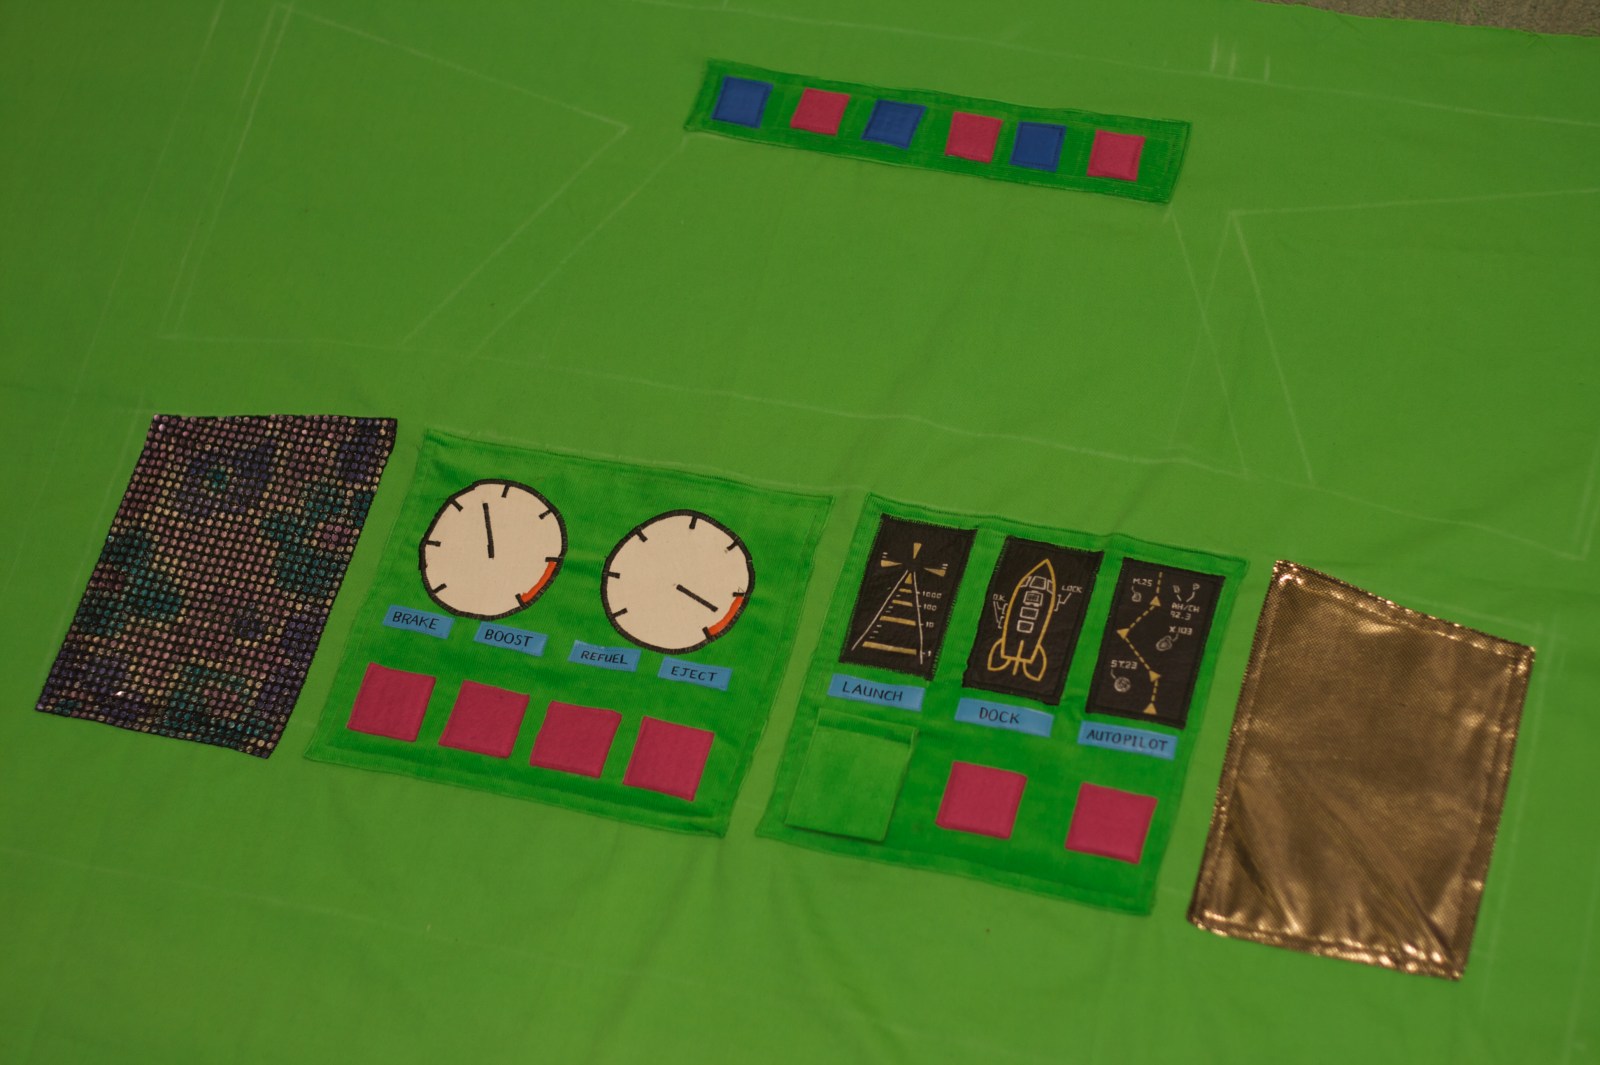
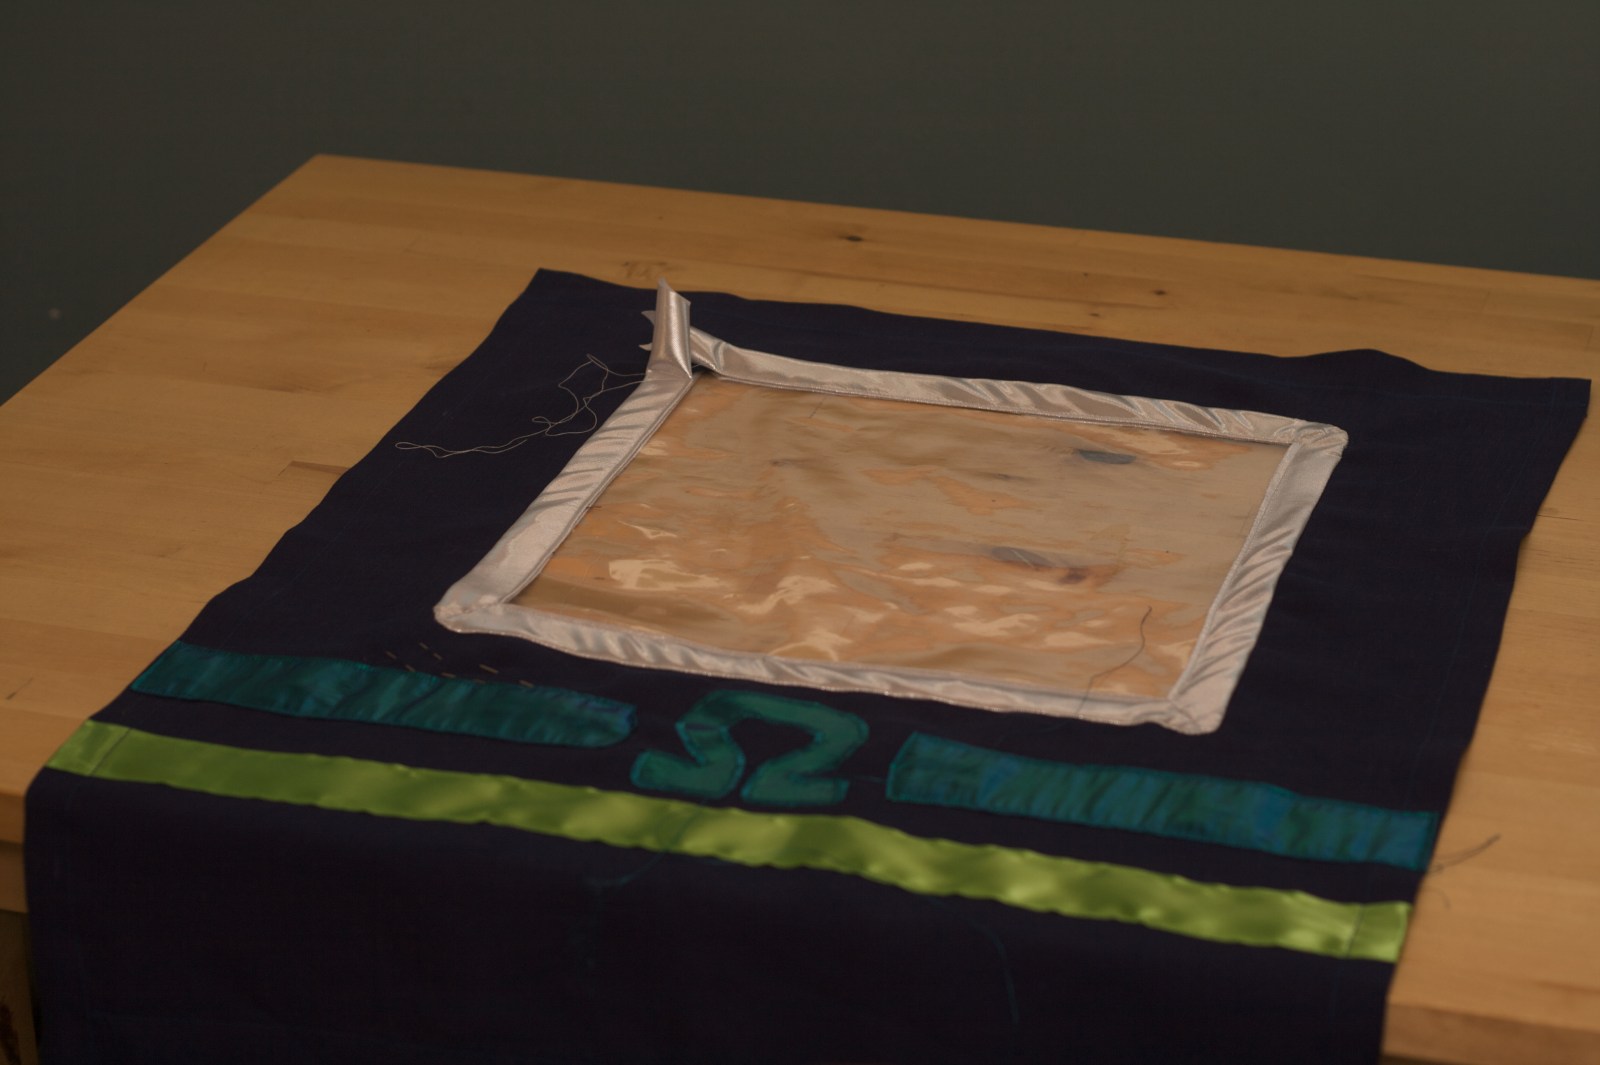
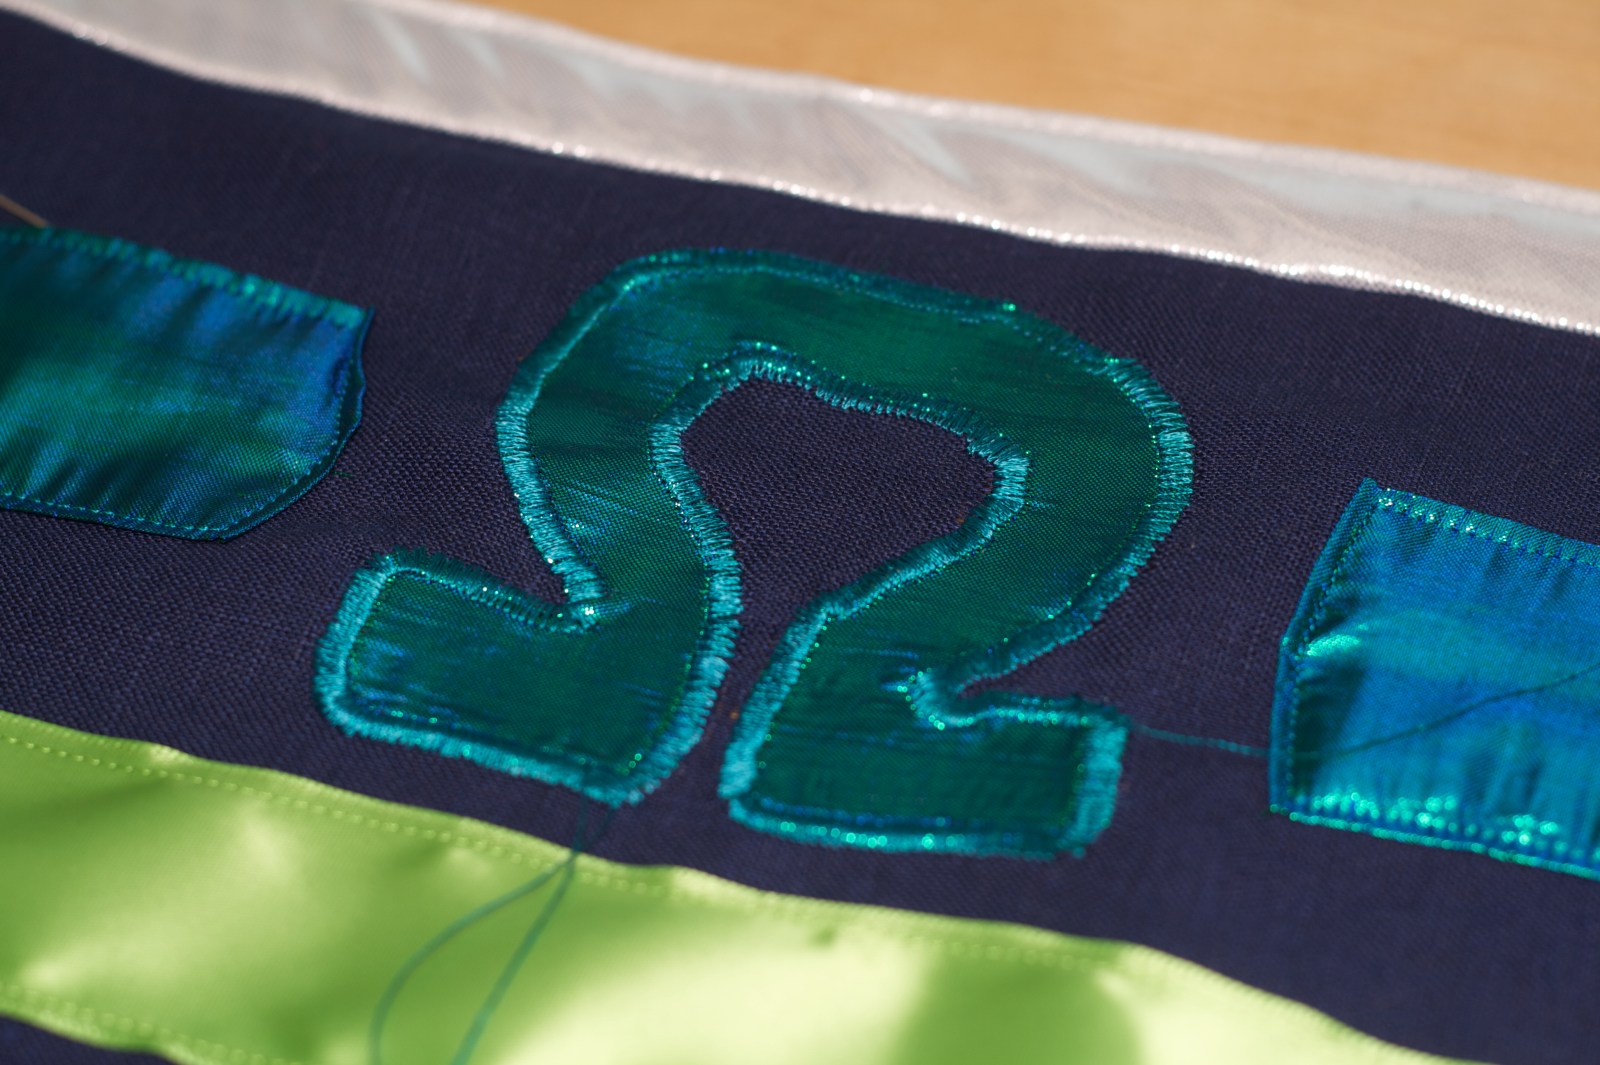
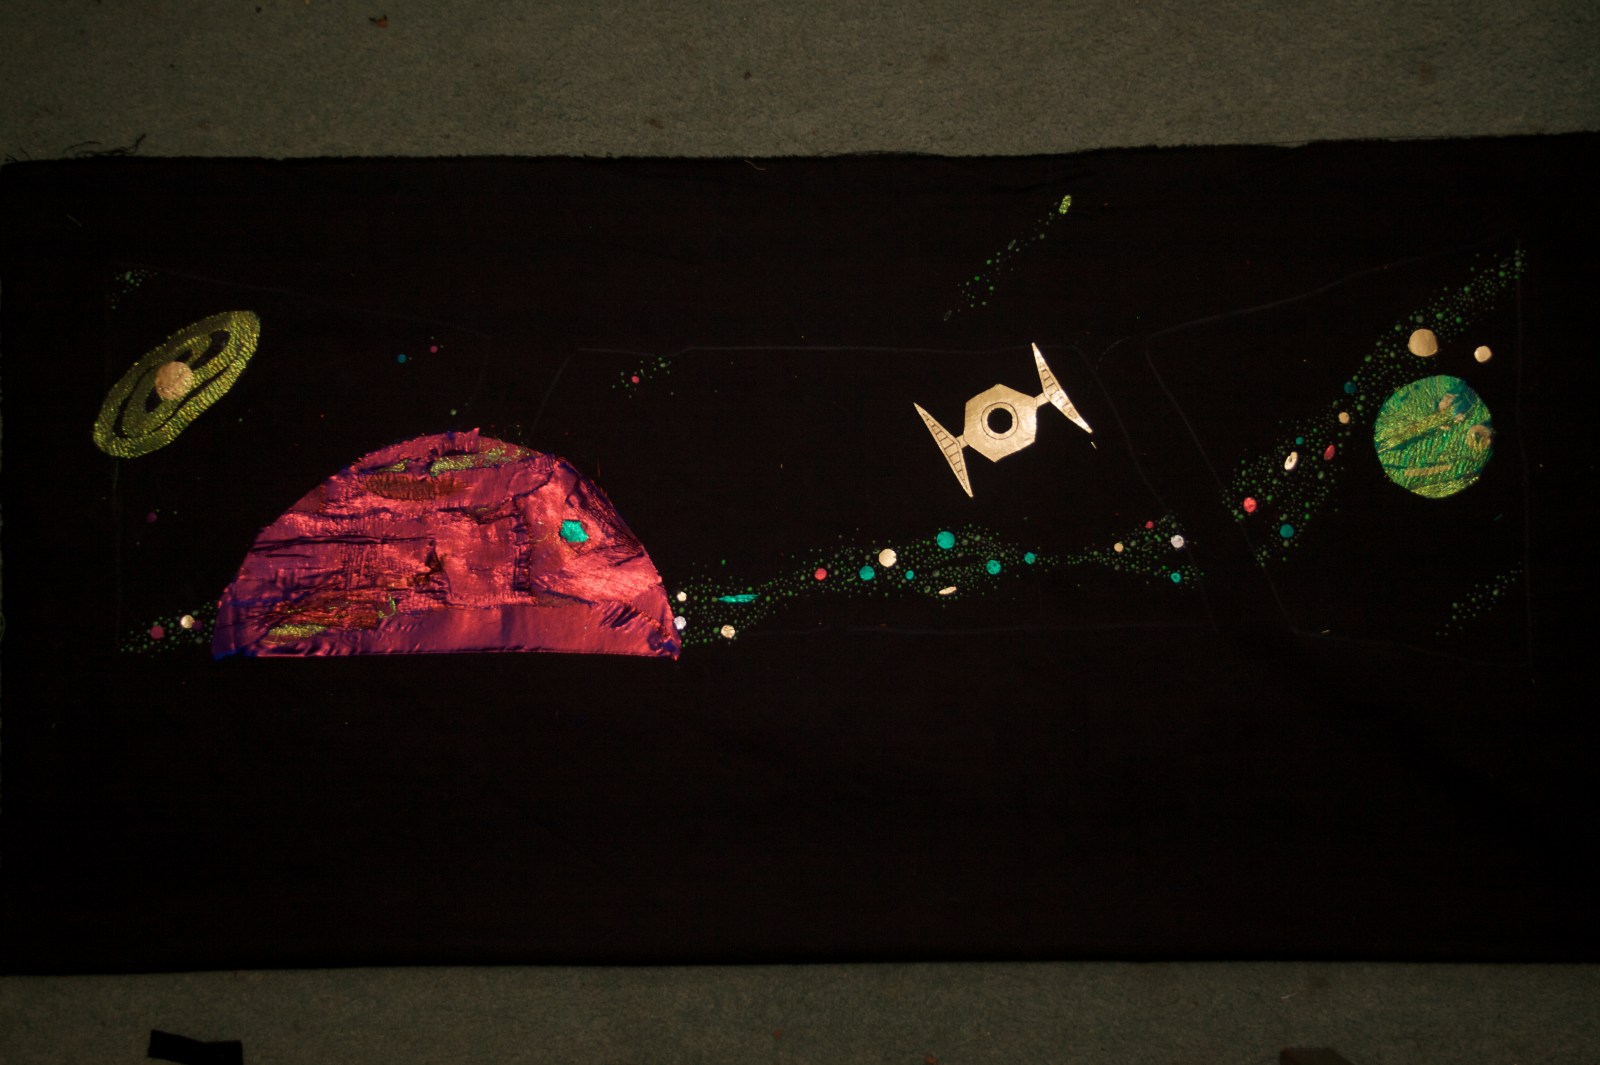
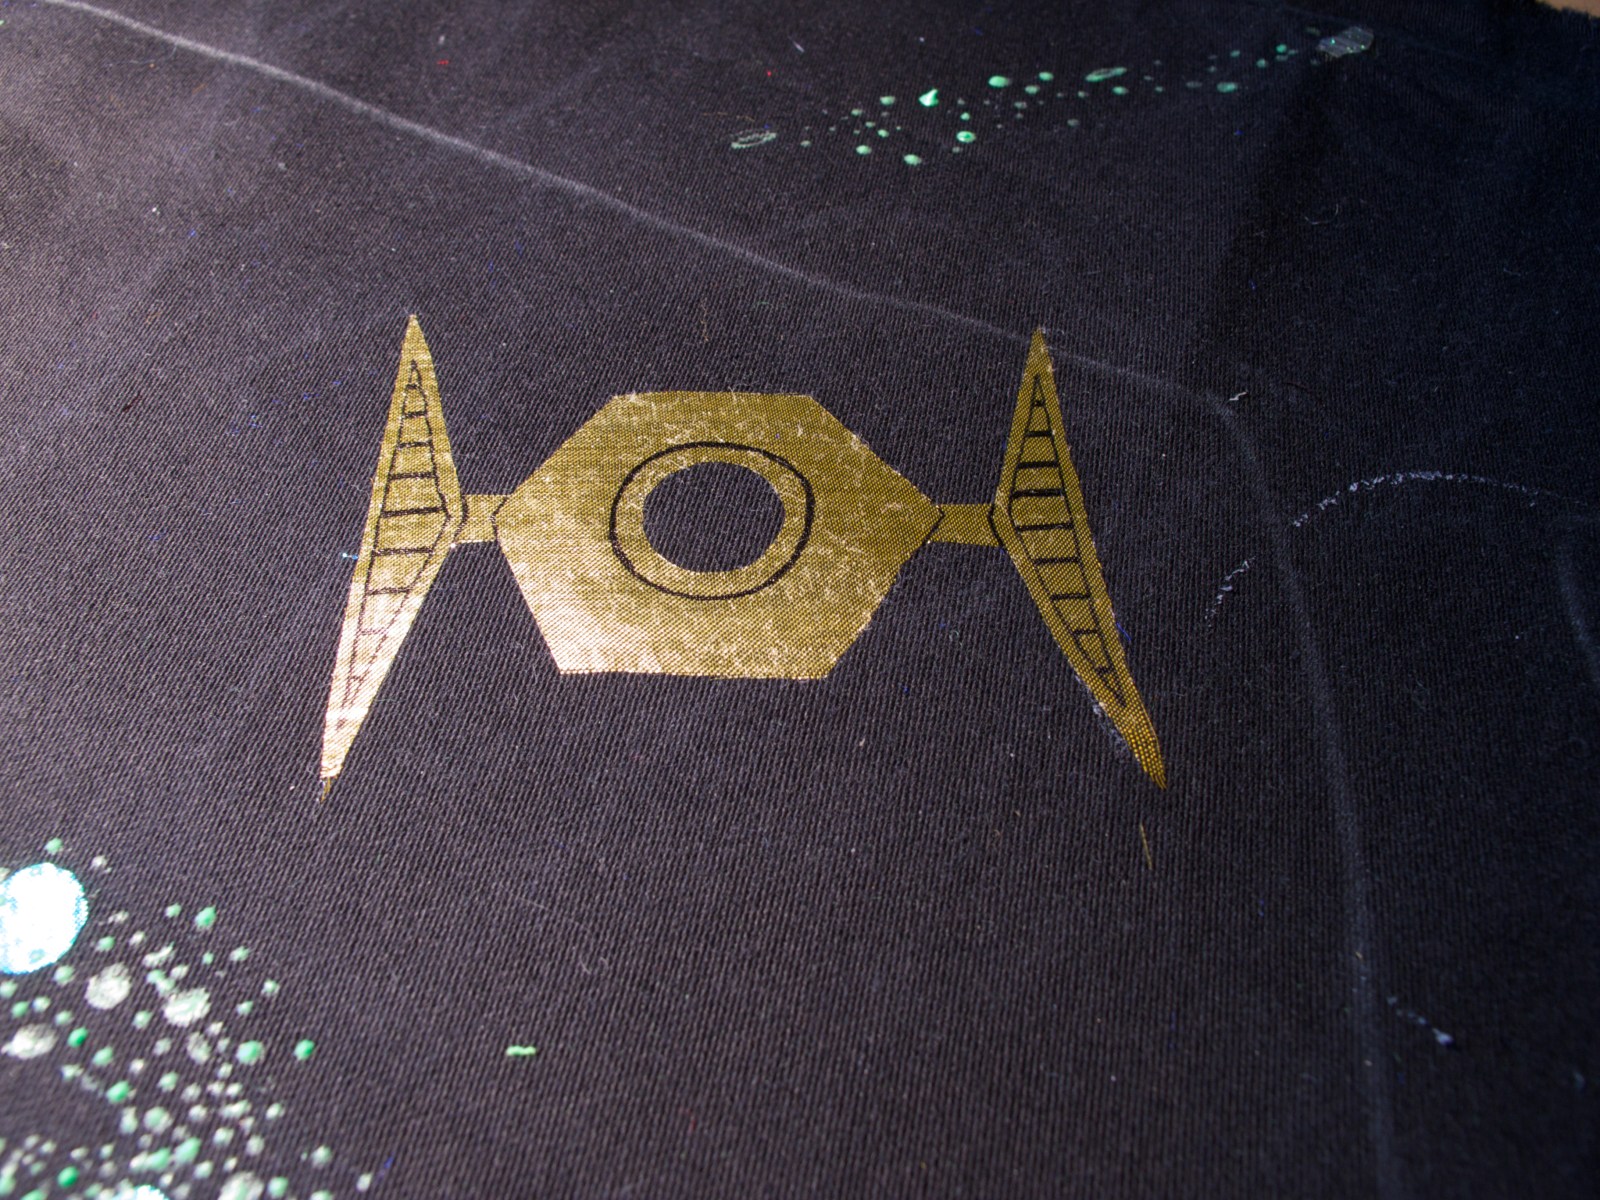
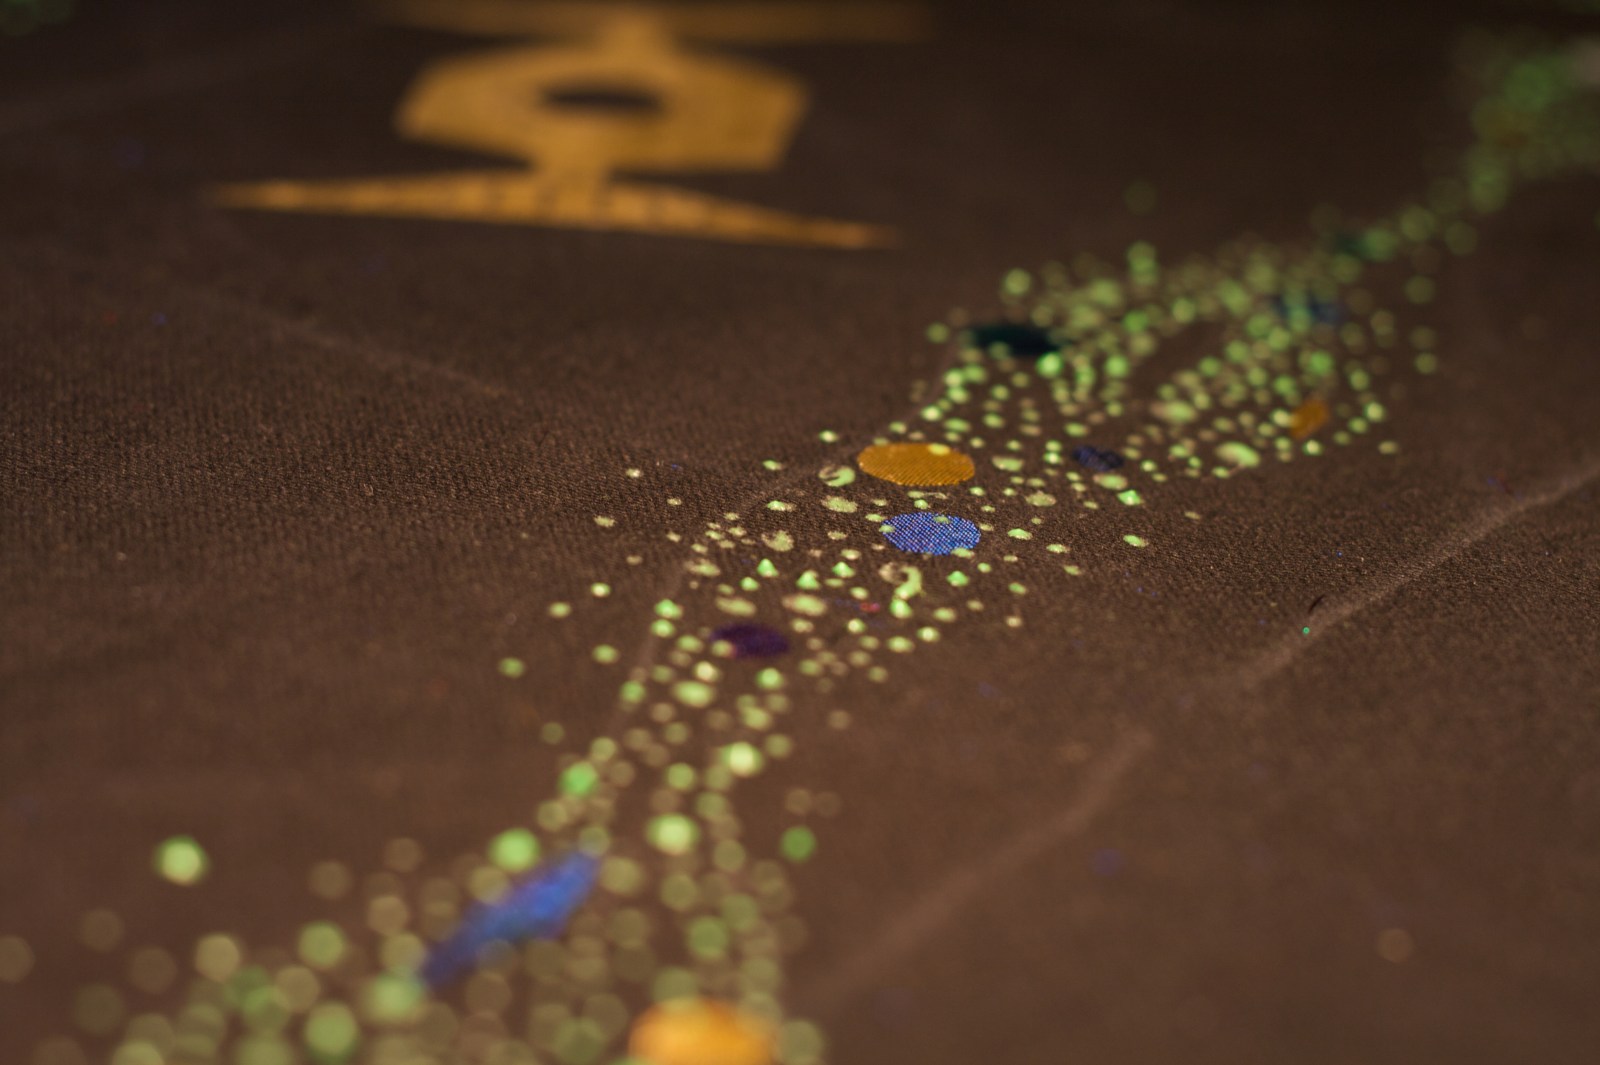
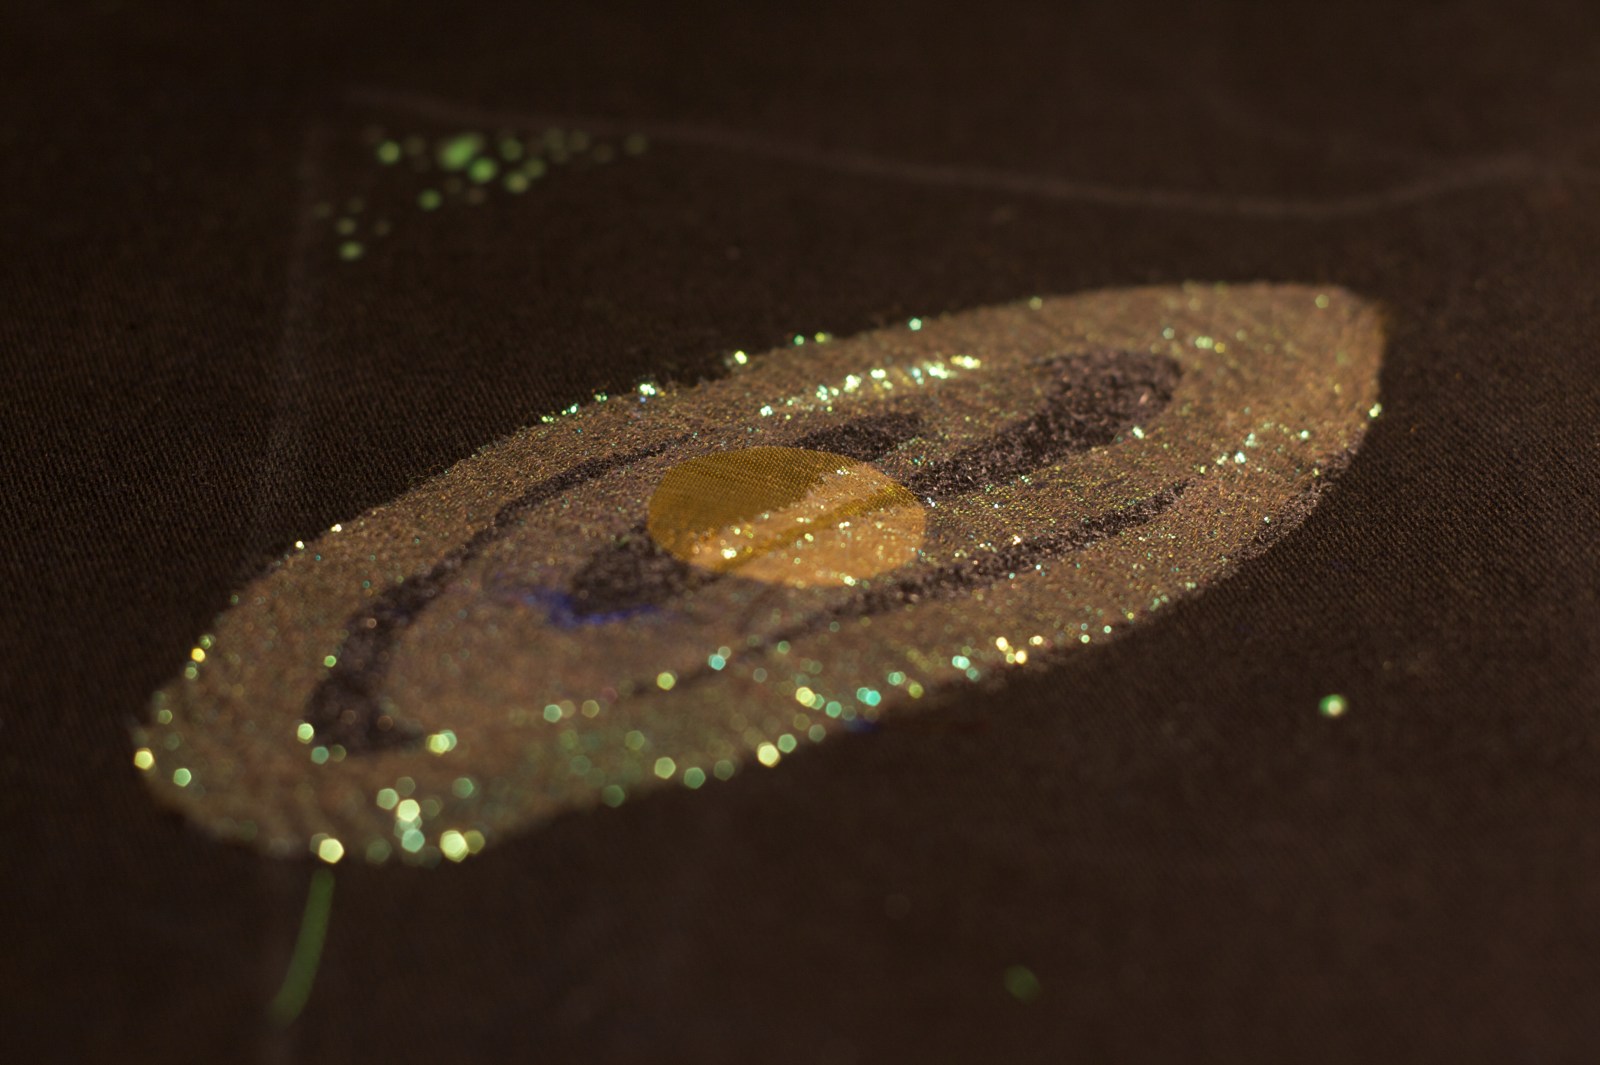
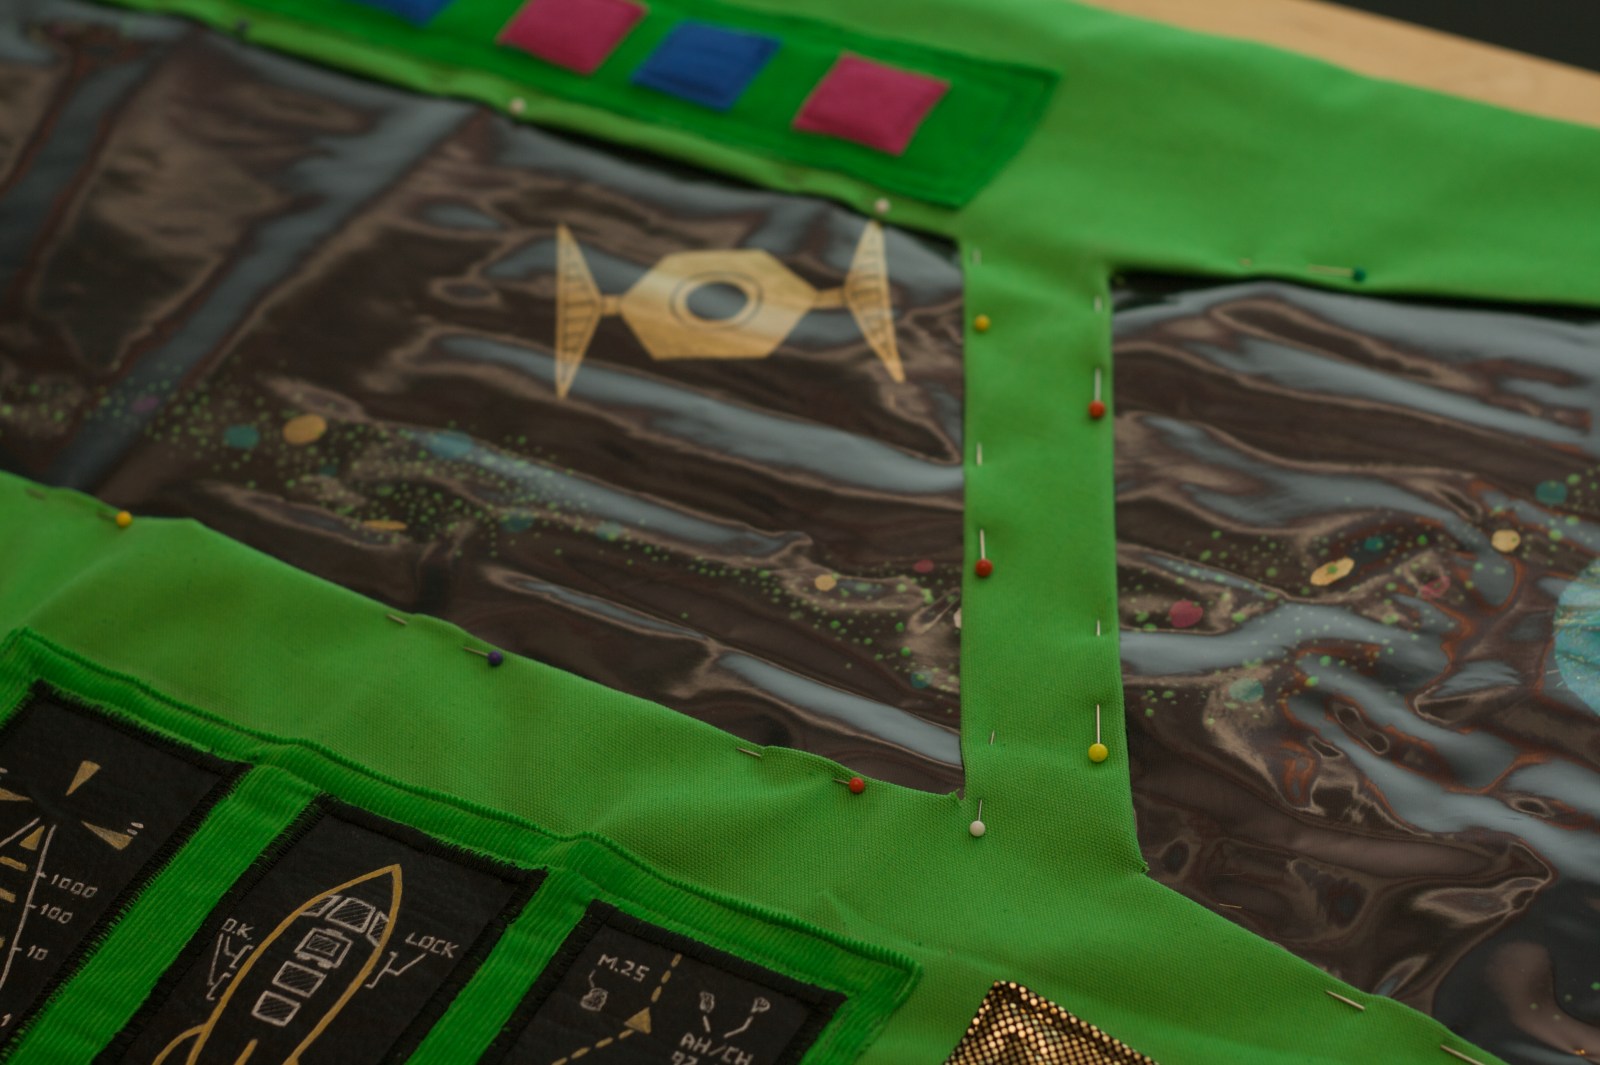
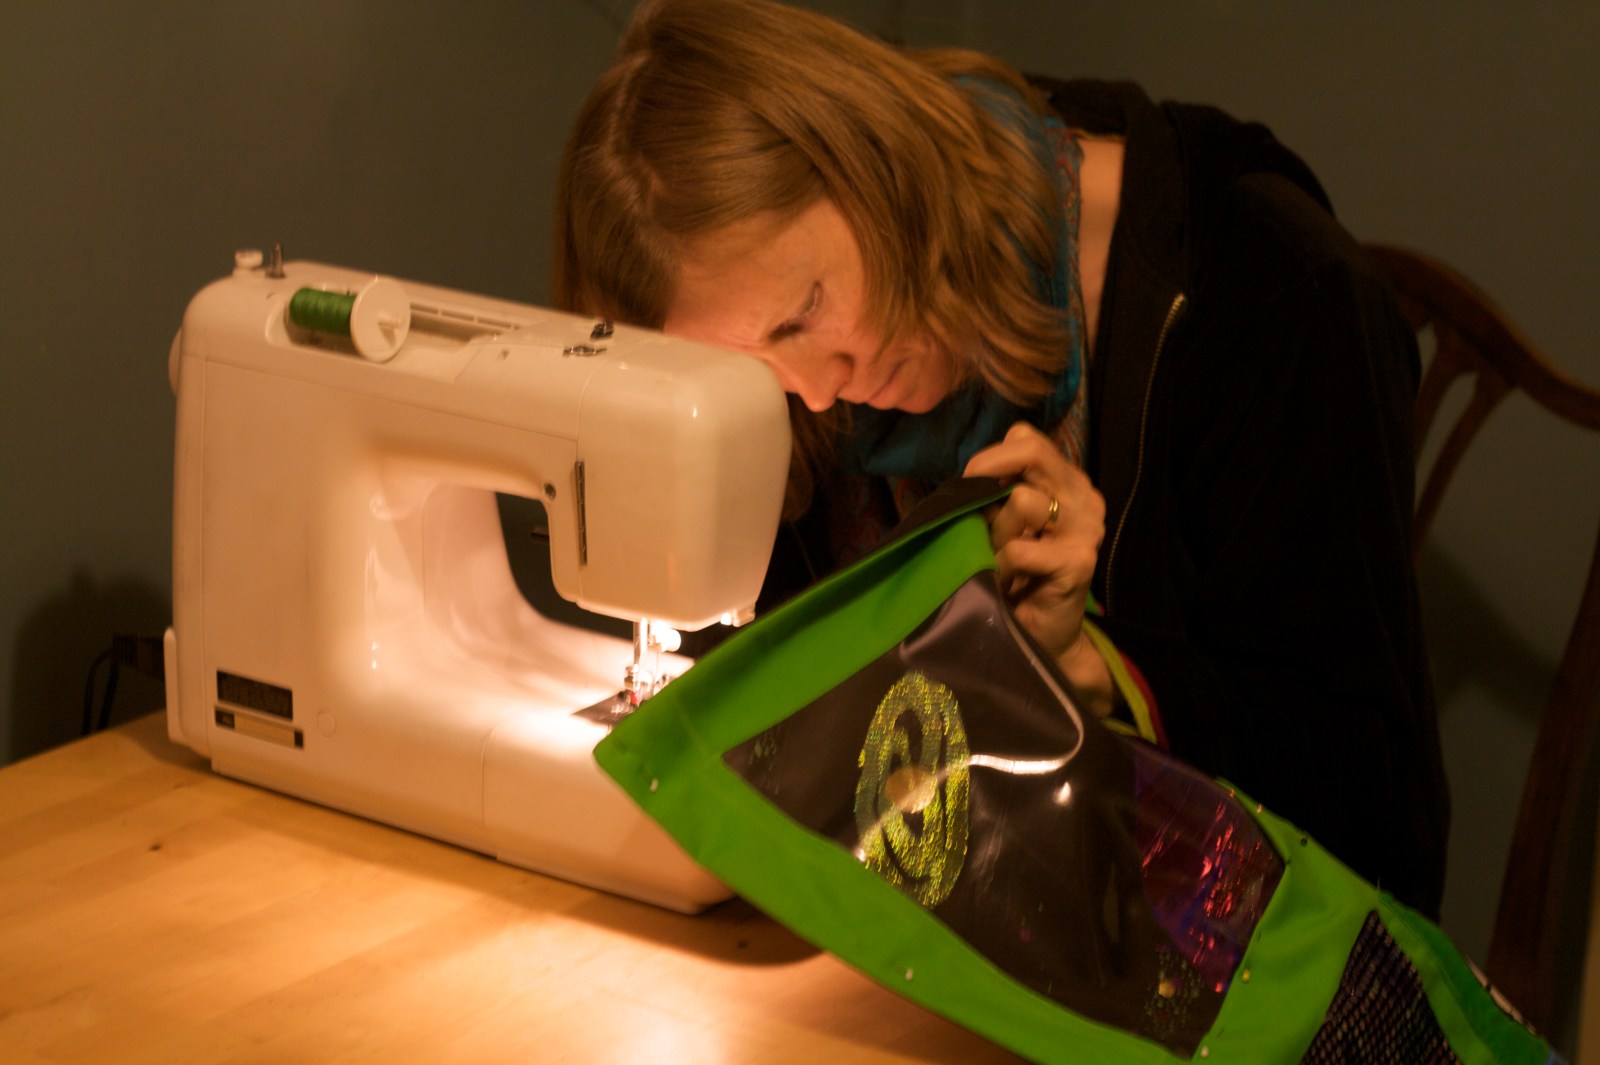
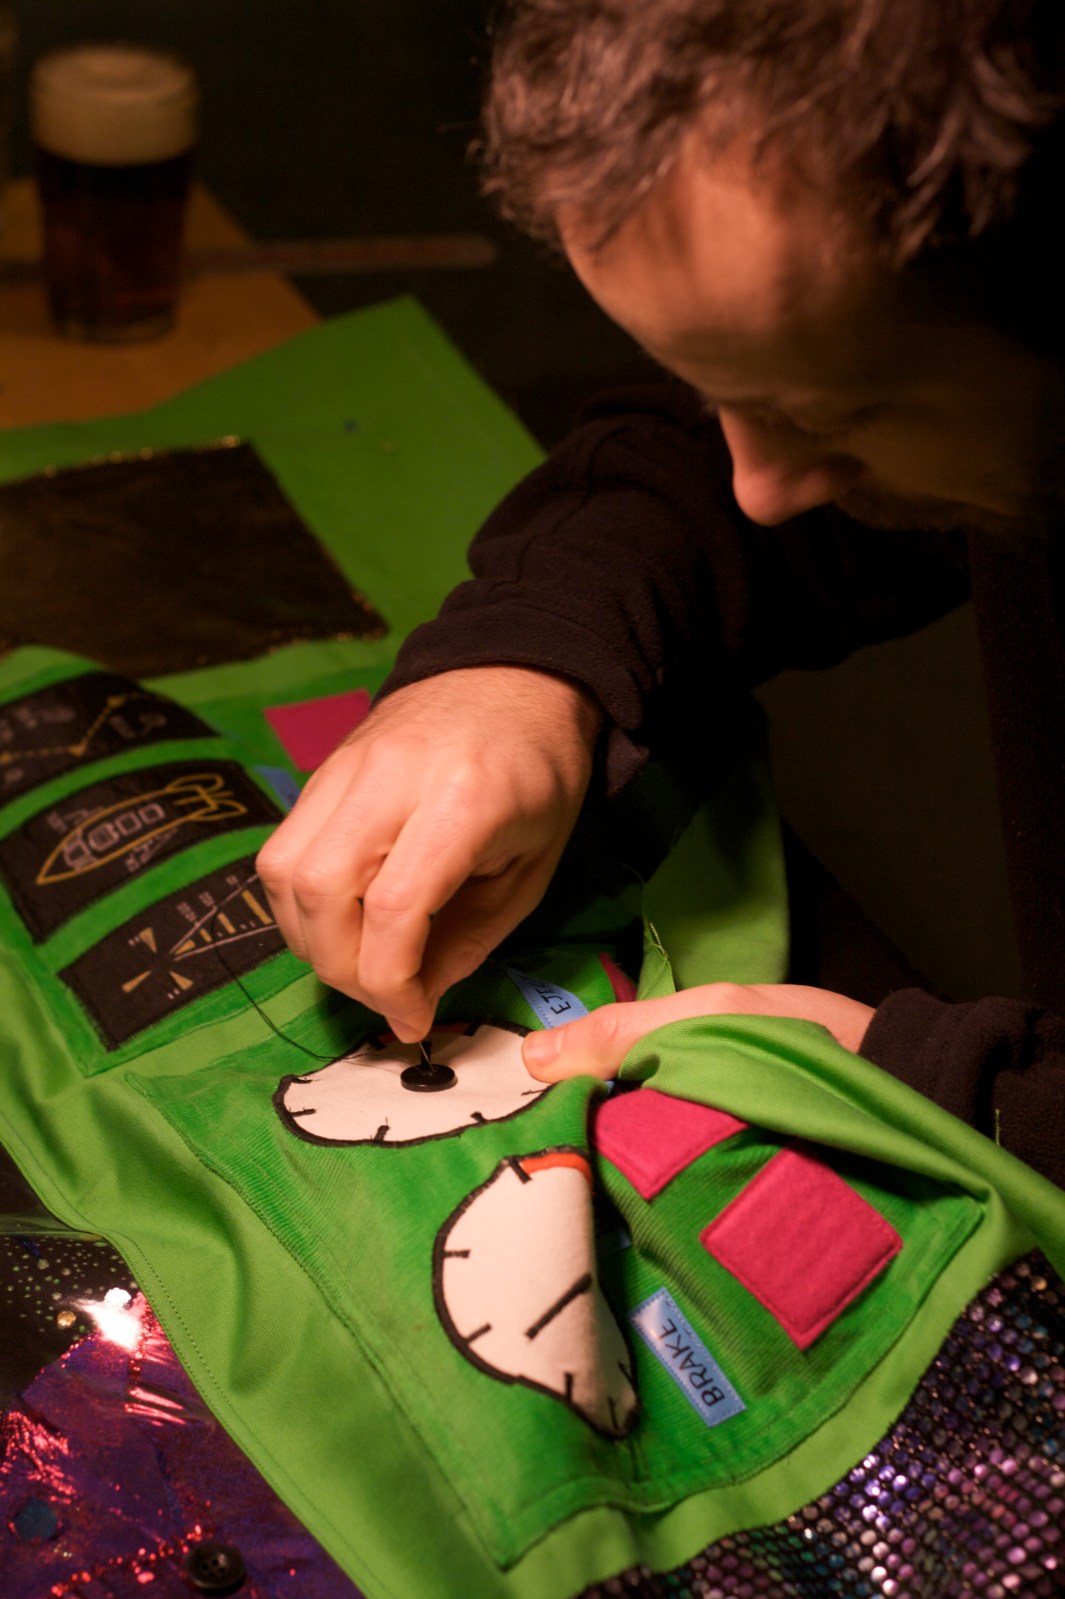
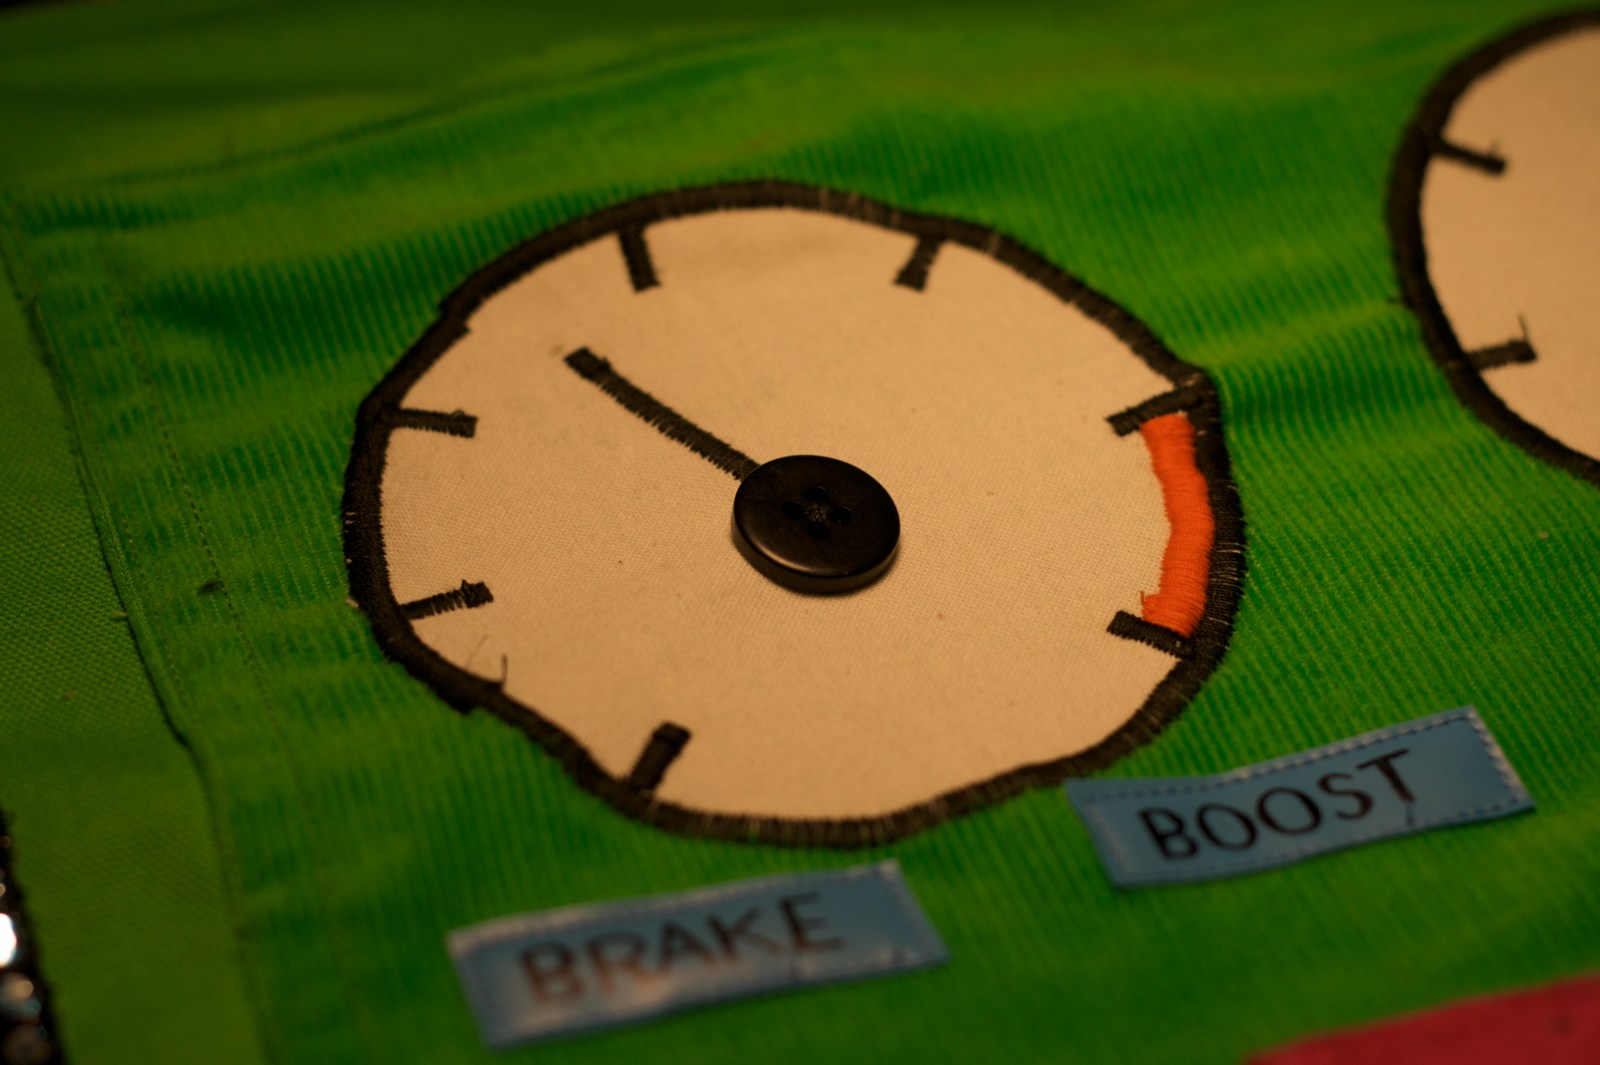
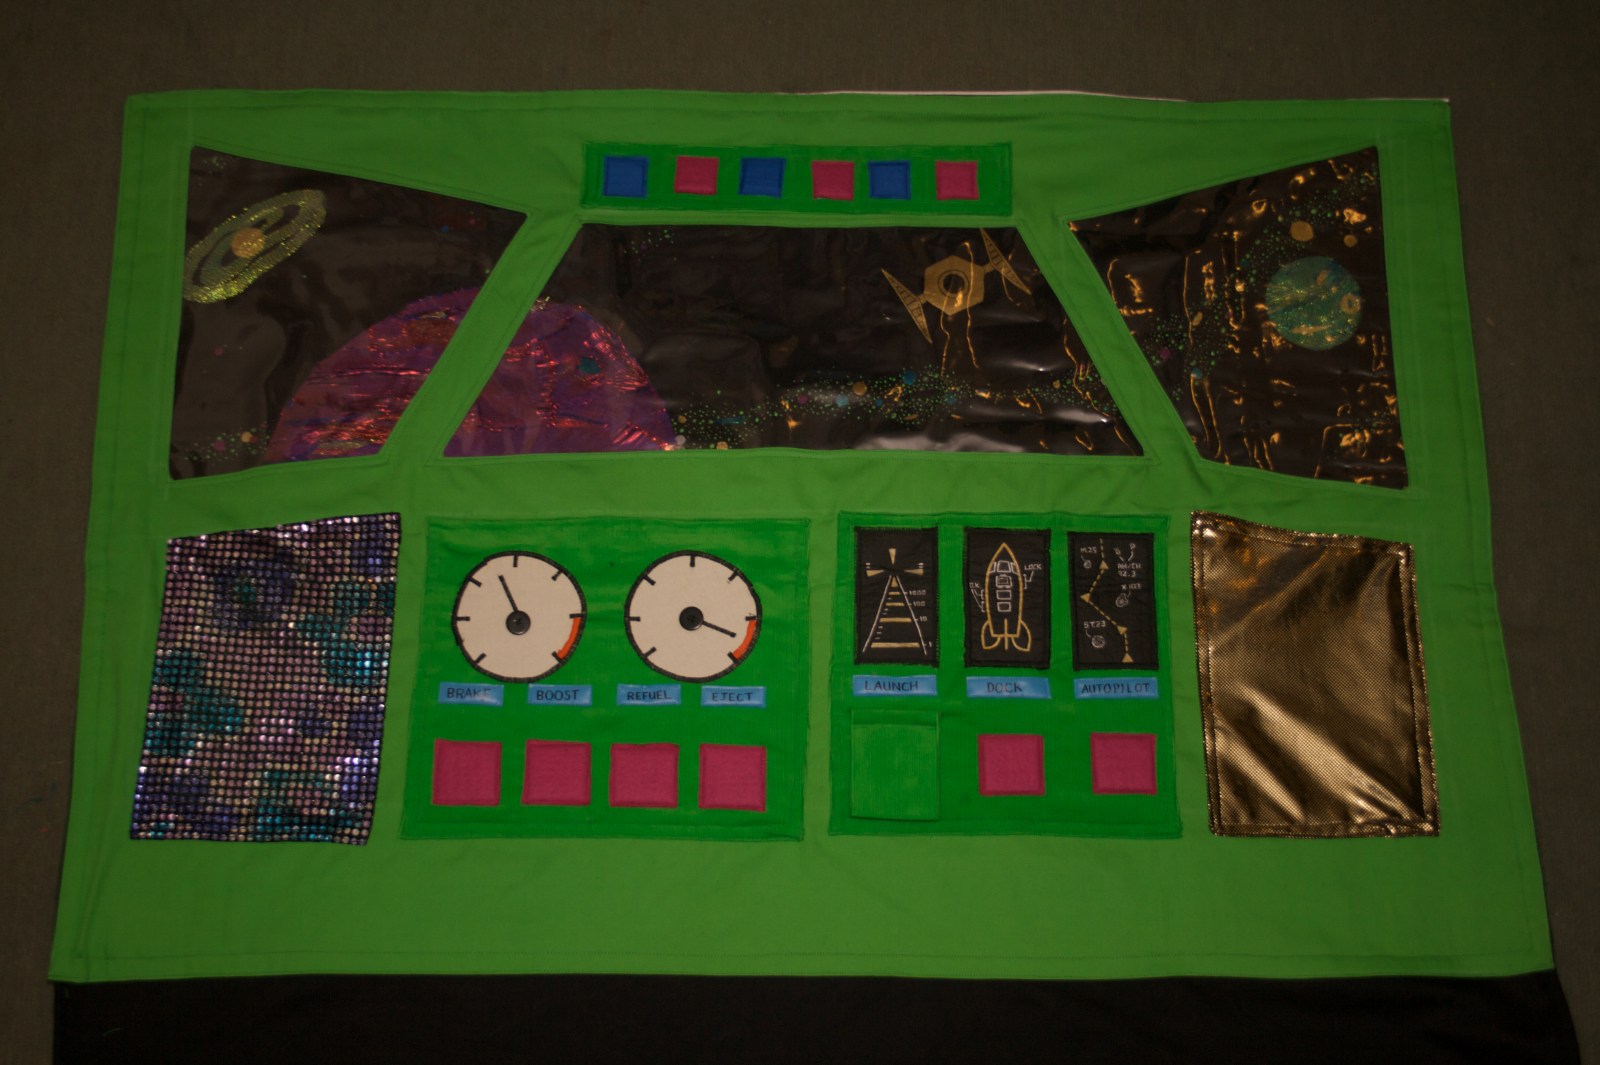
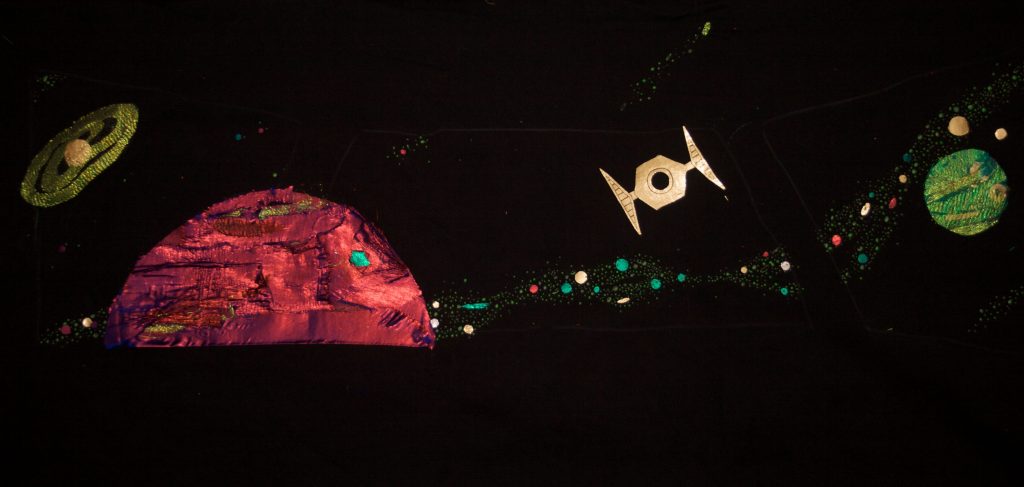
Amy and I made this rocket for our friends’ sons who share a bunk-bed. There is a long curtain with a door that covers the long open side of the lower bunk, and a cockpit control panel that goes behind the pillow inside the lower bunk.

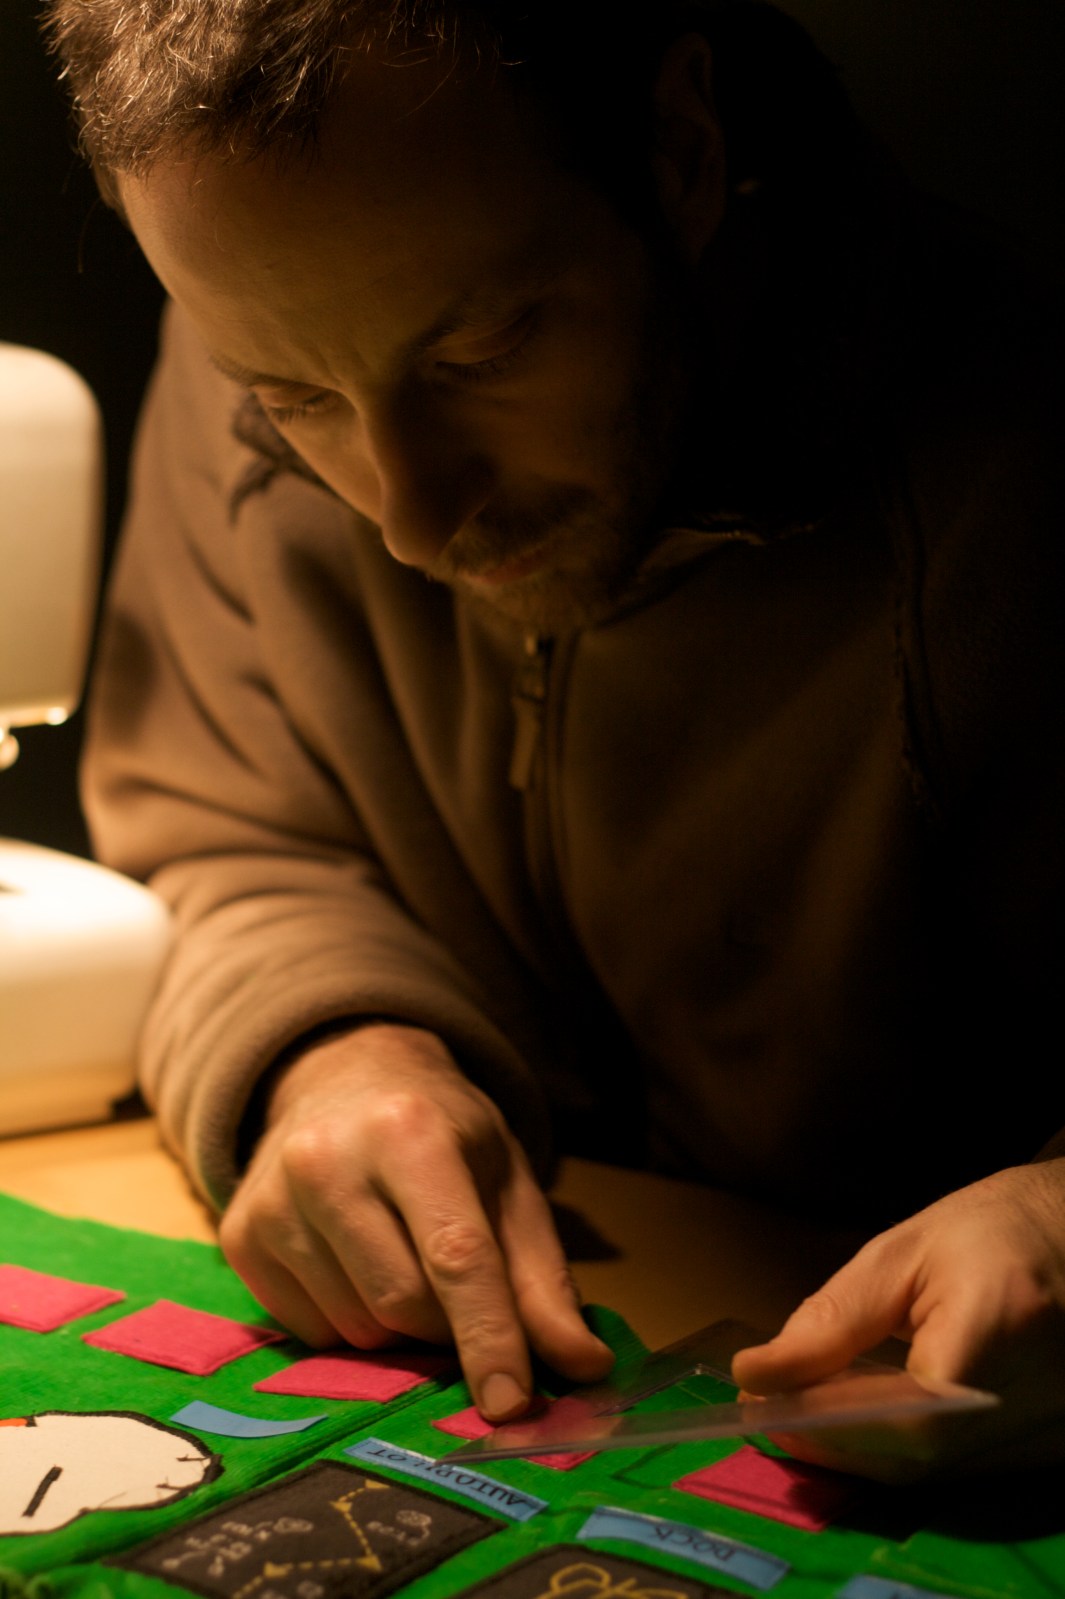
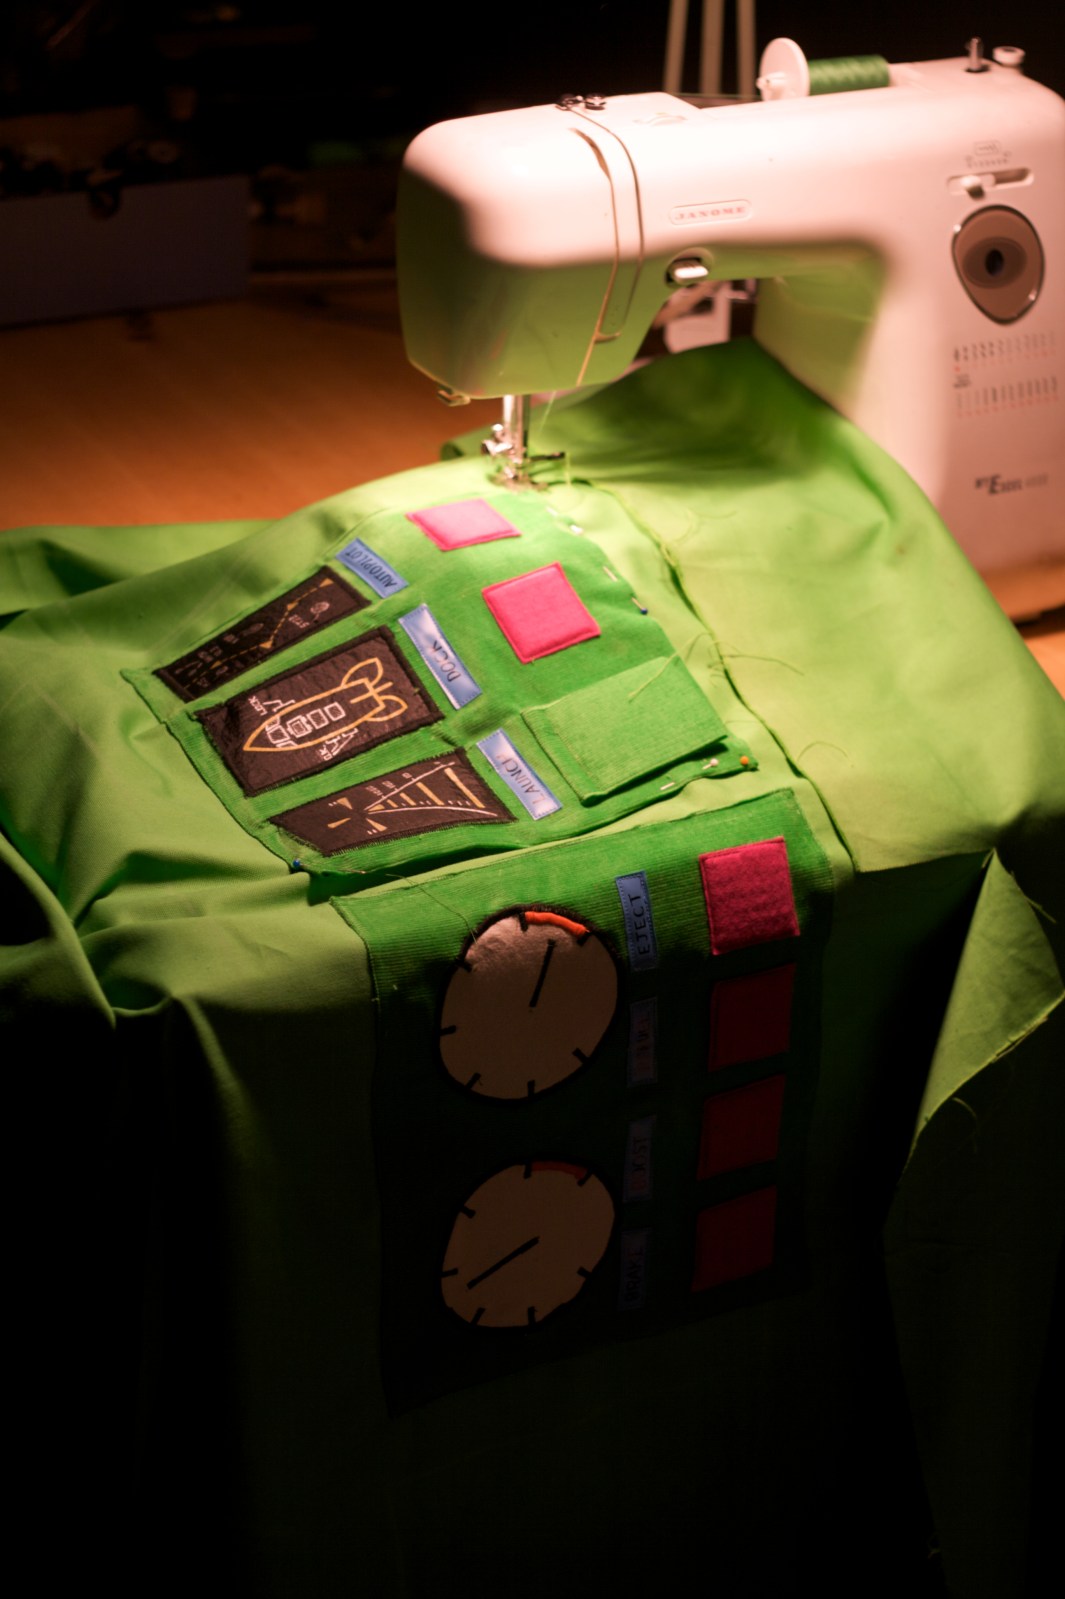
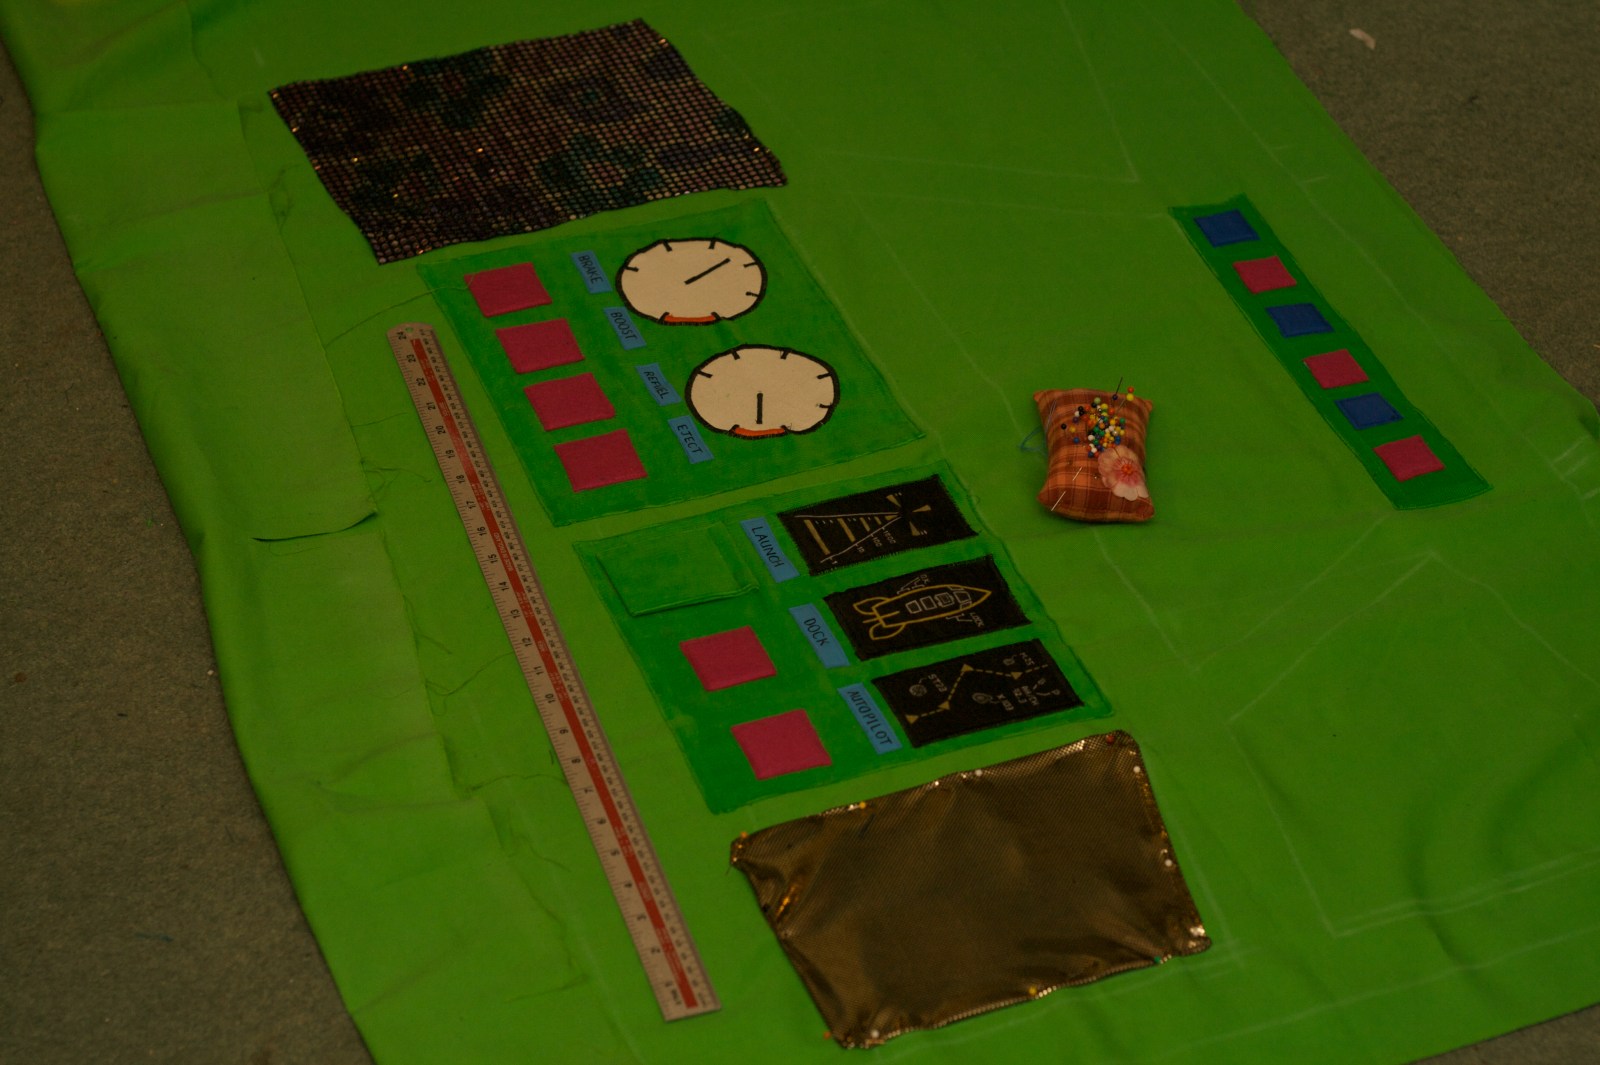
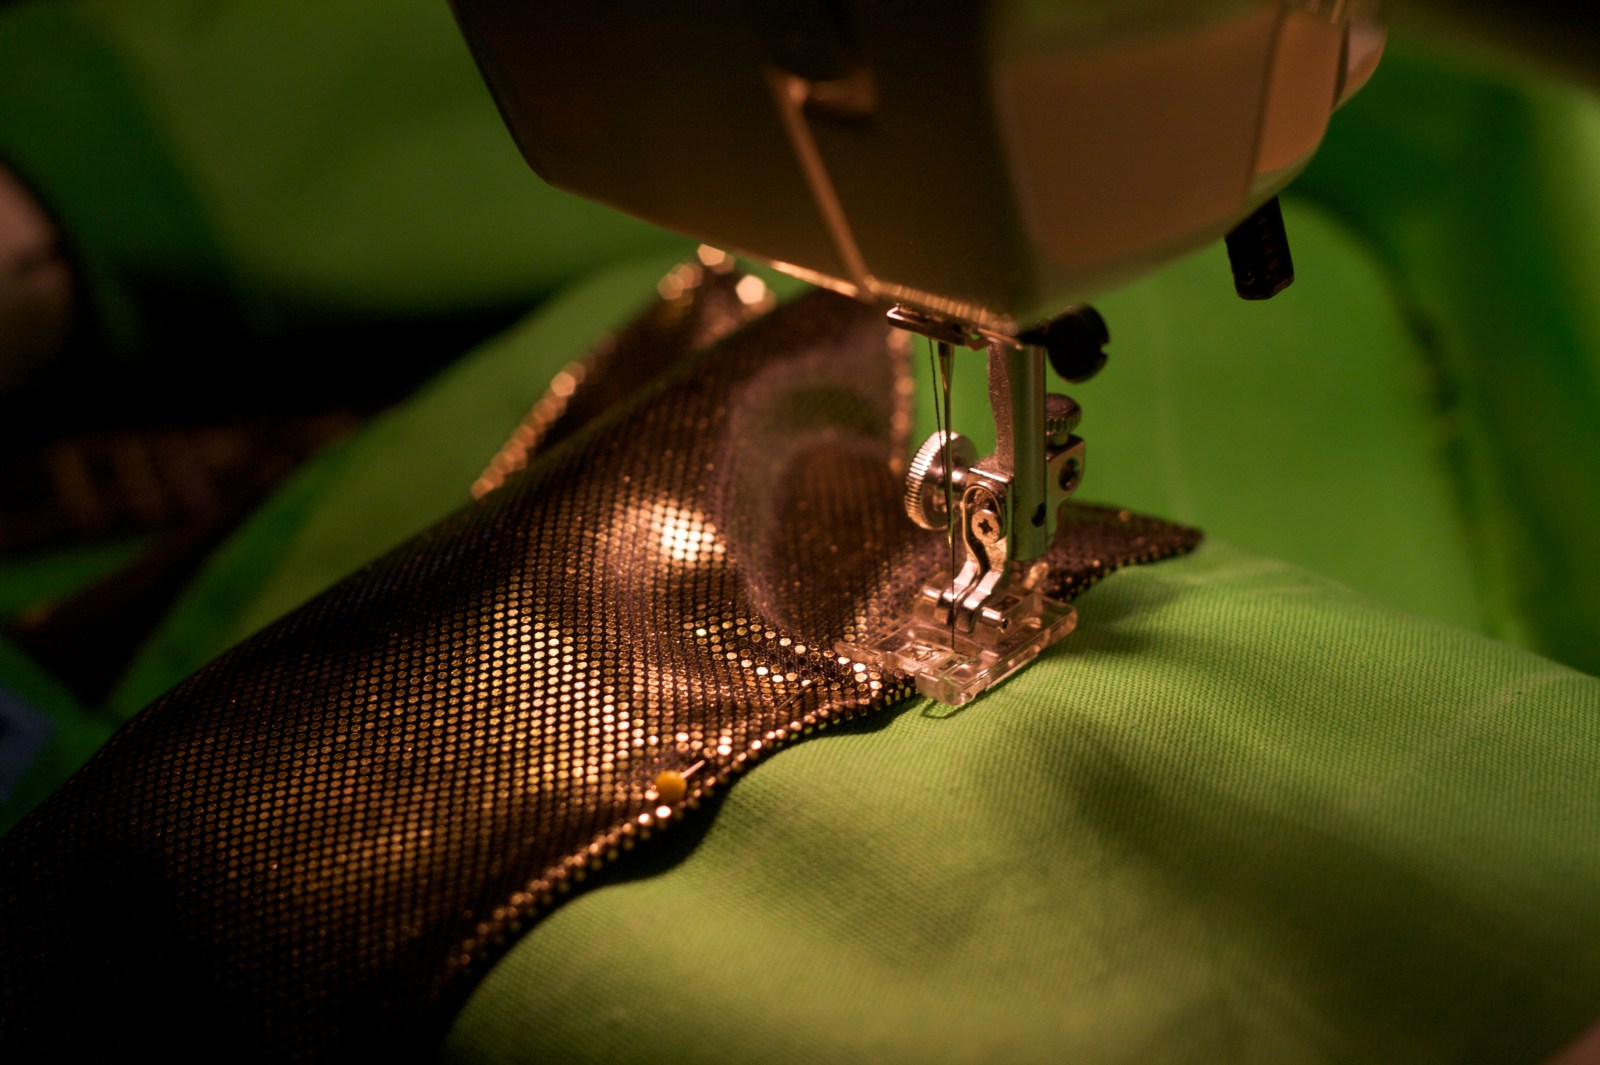
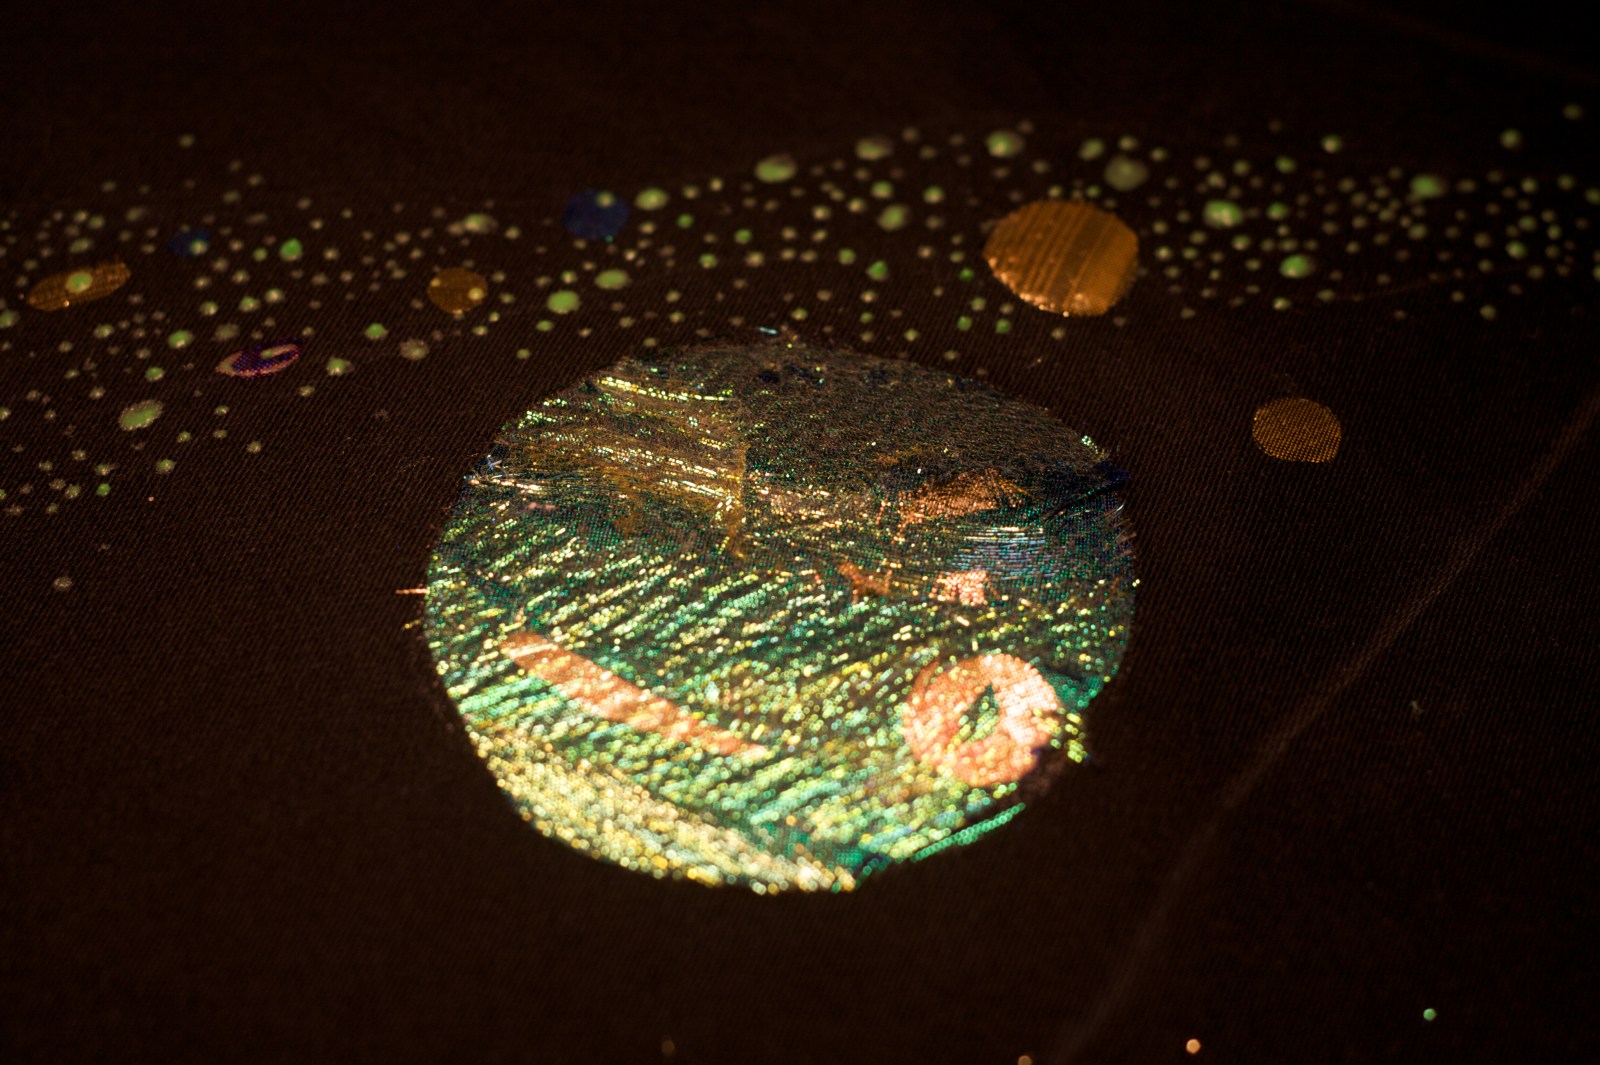
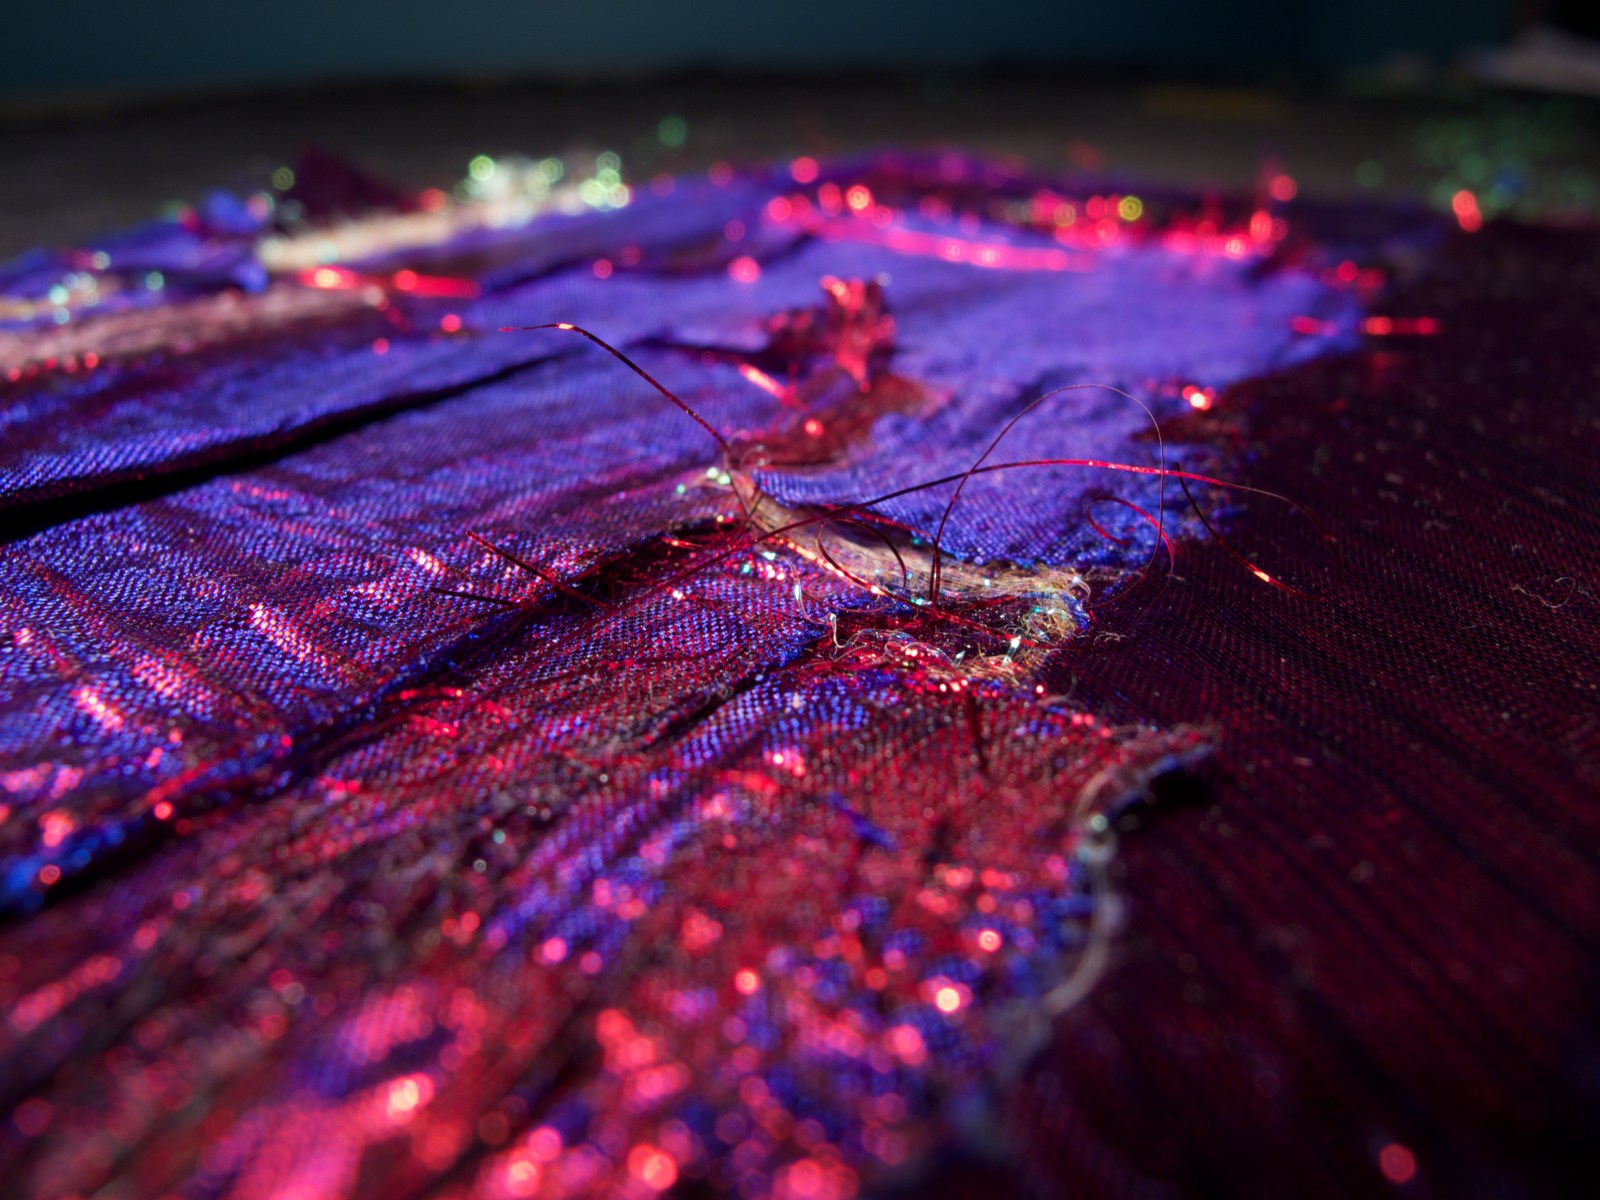
Amy’s a pro, but this was my first sewing project. And it was a great way to learn with lots of different fabrics and stitches, and the opportunity to make lots of cool sci-fi stuff.

Another old project I originally posted to Flickr in 2011, but am archiving here too.

Original sketches
Raw materials
Chalking out the cockpit layout
Working out how to use the materials for different parts of the cockpit
Sewing my first button
Buttons, with felt and padding for more
First row of finished buttons
Sewing on the main dials
Dials and buttons
Amy making the main windows for the outside curtain
Drawing the designs for the main status displays
Sewing on the lettering: “Omega 2”. No-one knows what happened to the Omega 1…
Protected launch button. I always wanted one of these
Labelling: first attempt
Trying out different label materials
Testing fabric paint for lettering
Adding labels
Some sort of important measuring going on
Left hand main control panel
Right hand main control panel
Pinning up the control panels to the main cockpit fabric
Sewing on the control panels
Pinning up the side panels
Sewing on the speaker grille
All panels on!
Attaching windows to the main rocket door (sorry, ‘airlock’)
The Omega Mission!
Window plastic
Outer space
Moon close-up
Planet close-up
Another spacecraft. Is it friend or foe?
A galaxy far, far away
Planetary rings
Pinning the space scene behind the cockpit windows
Amy doing all the difficult bits
Attaching central points to the dials
Finished dials
Finished main rocket body and door
Finished cockpit and outer space scene – Phew!

Website Built with WordPress.com.