We fitted the fan and the roof light this weekend. Each job took a whole afternoon.
I started with with the Maxxfan. I didn’t take many photos because the whole job was a bit stressy and I wasn’t sure it was going to work. I needed to concentrate.
The Maxxfan is great – we were pleased with it straight out of the box. The plastic is not flimsy, installation is well thought out and it looks good. It is designed so that you can fix a retaining ‘flange’ to the roof and then the machine itself screws onto the flange later. This means you can easily remove the machine for repair without having to phaff about with the bit that holds it onto the roof. Likewise, the decorative bit inside that hides wires etc gets screwed in place independently.
This is a bonus for us because we don’t yet know what we are going to clad the van with, and how thick the roof will be. So we can still drive about with the fan fixed in and worry about trim later.
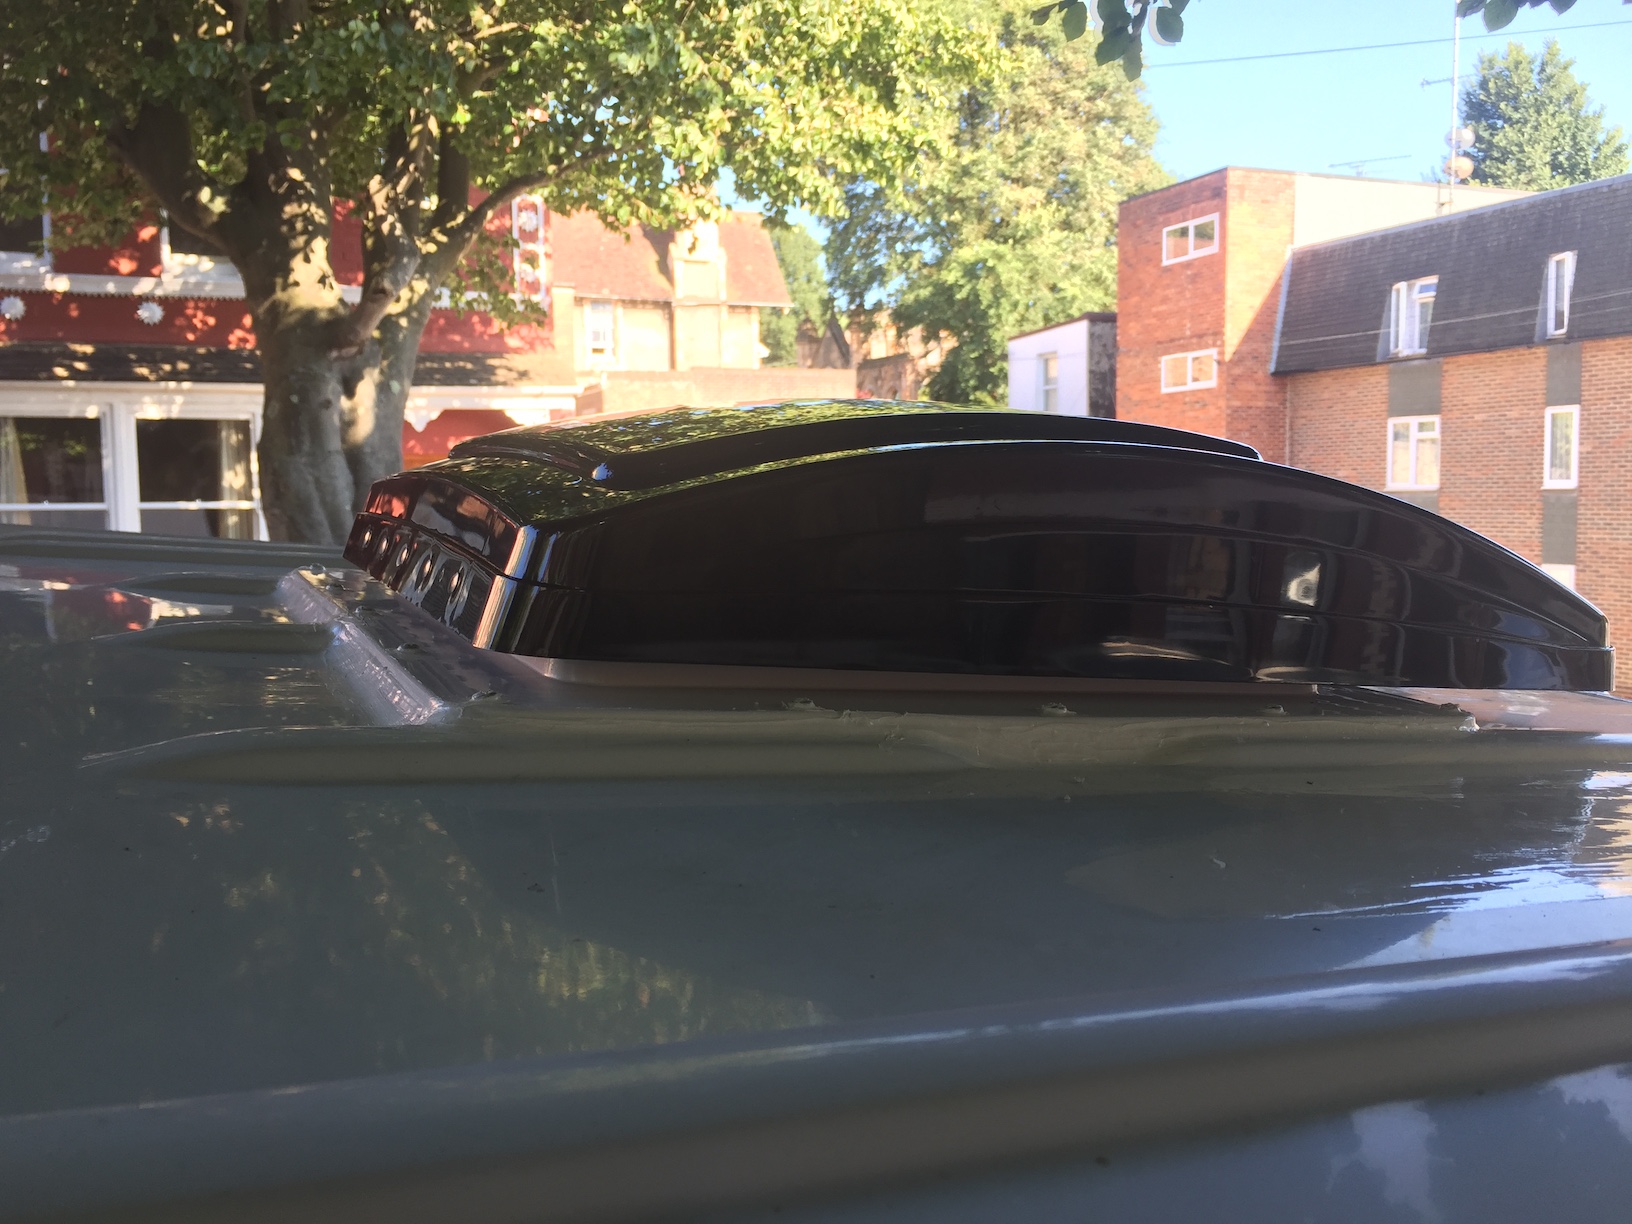
Caravan bits are designed for flat roofs. The sprinter doesn’t have a flat roof in any direction – it has bobbly bits which can’t be avoided.
I started by trying to draw the 40cm square for both the roof light and the fan on the ceiling of the van where we wanted the holes to be.
This was very difficult, (rulers too long/ short/ bendy, neck and arms hurting, right angles never matched up).
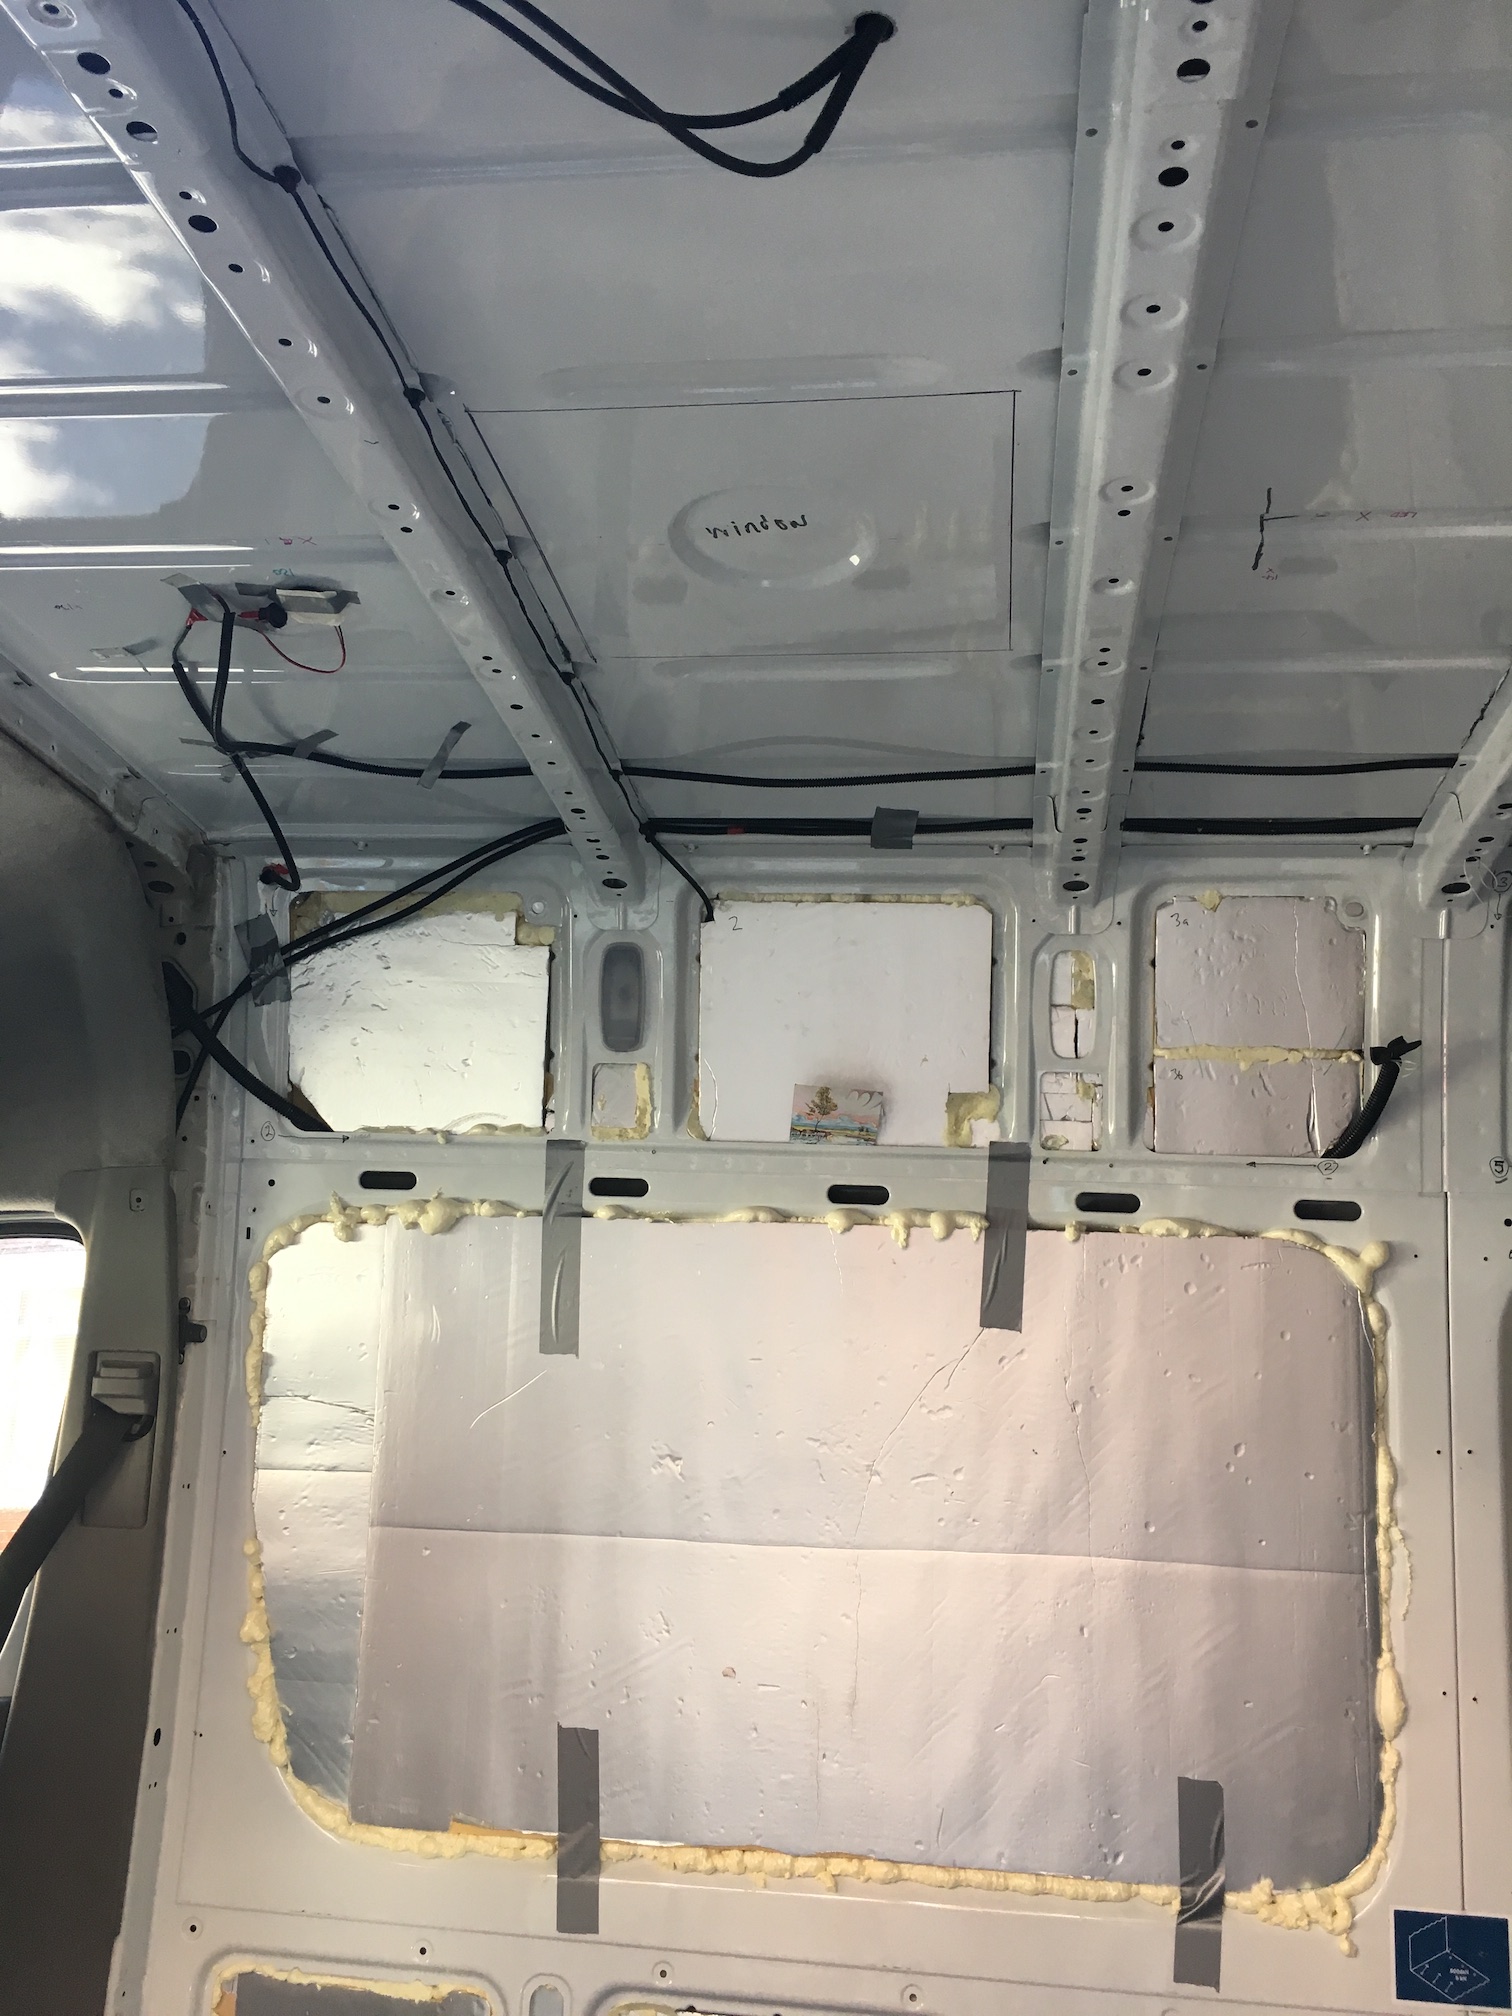
I got fed up in the end and using a punch, made some discrete mini dents (one at each corner) then got up on the roof and using the dents as a guide measured the 40cm square again (much easier on the roof).
Here’s the square for the fan:
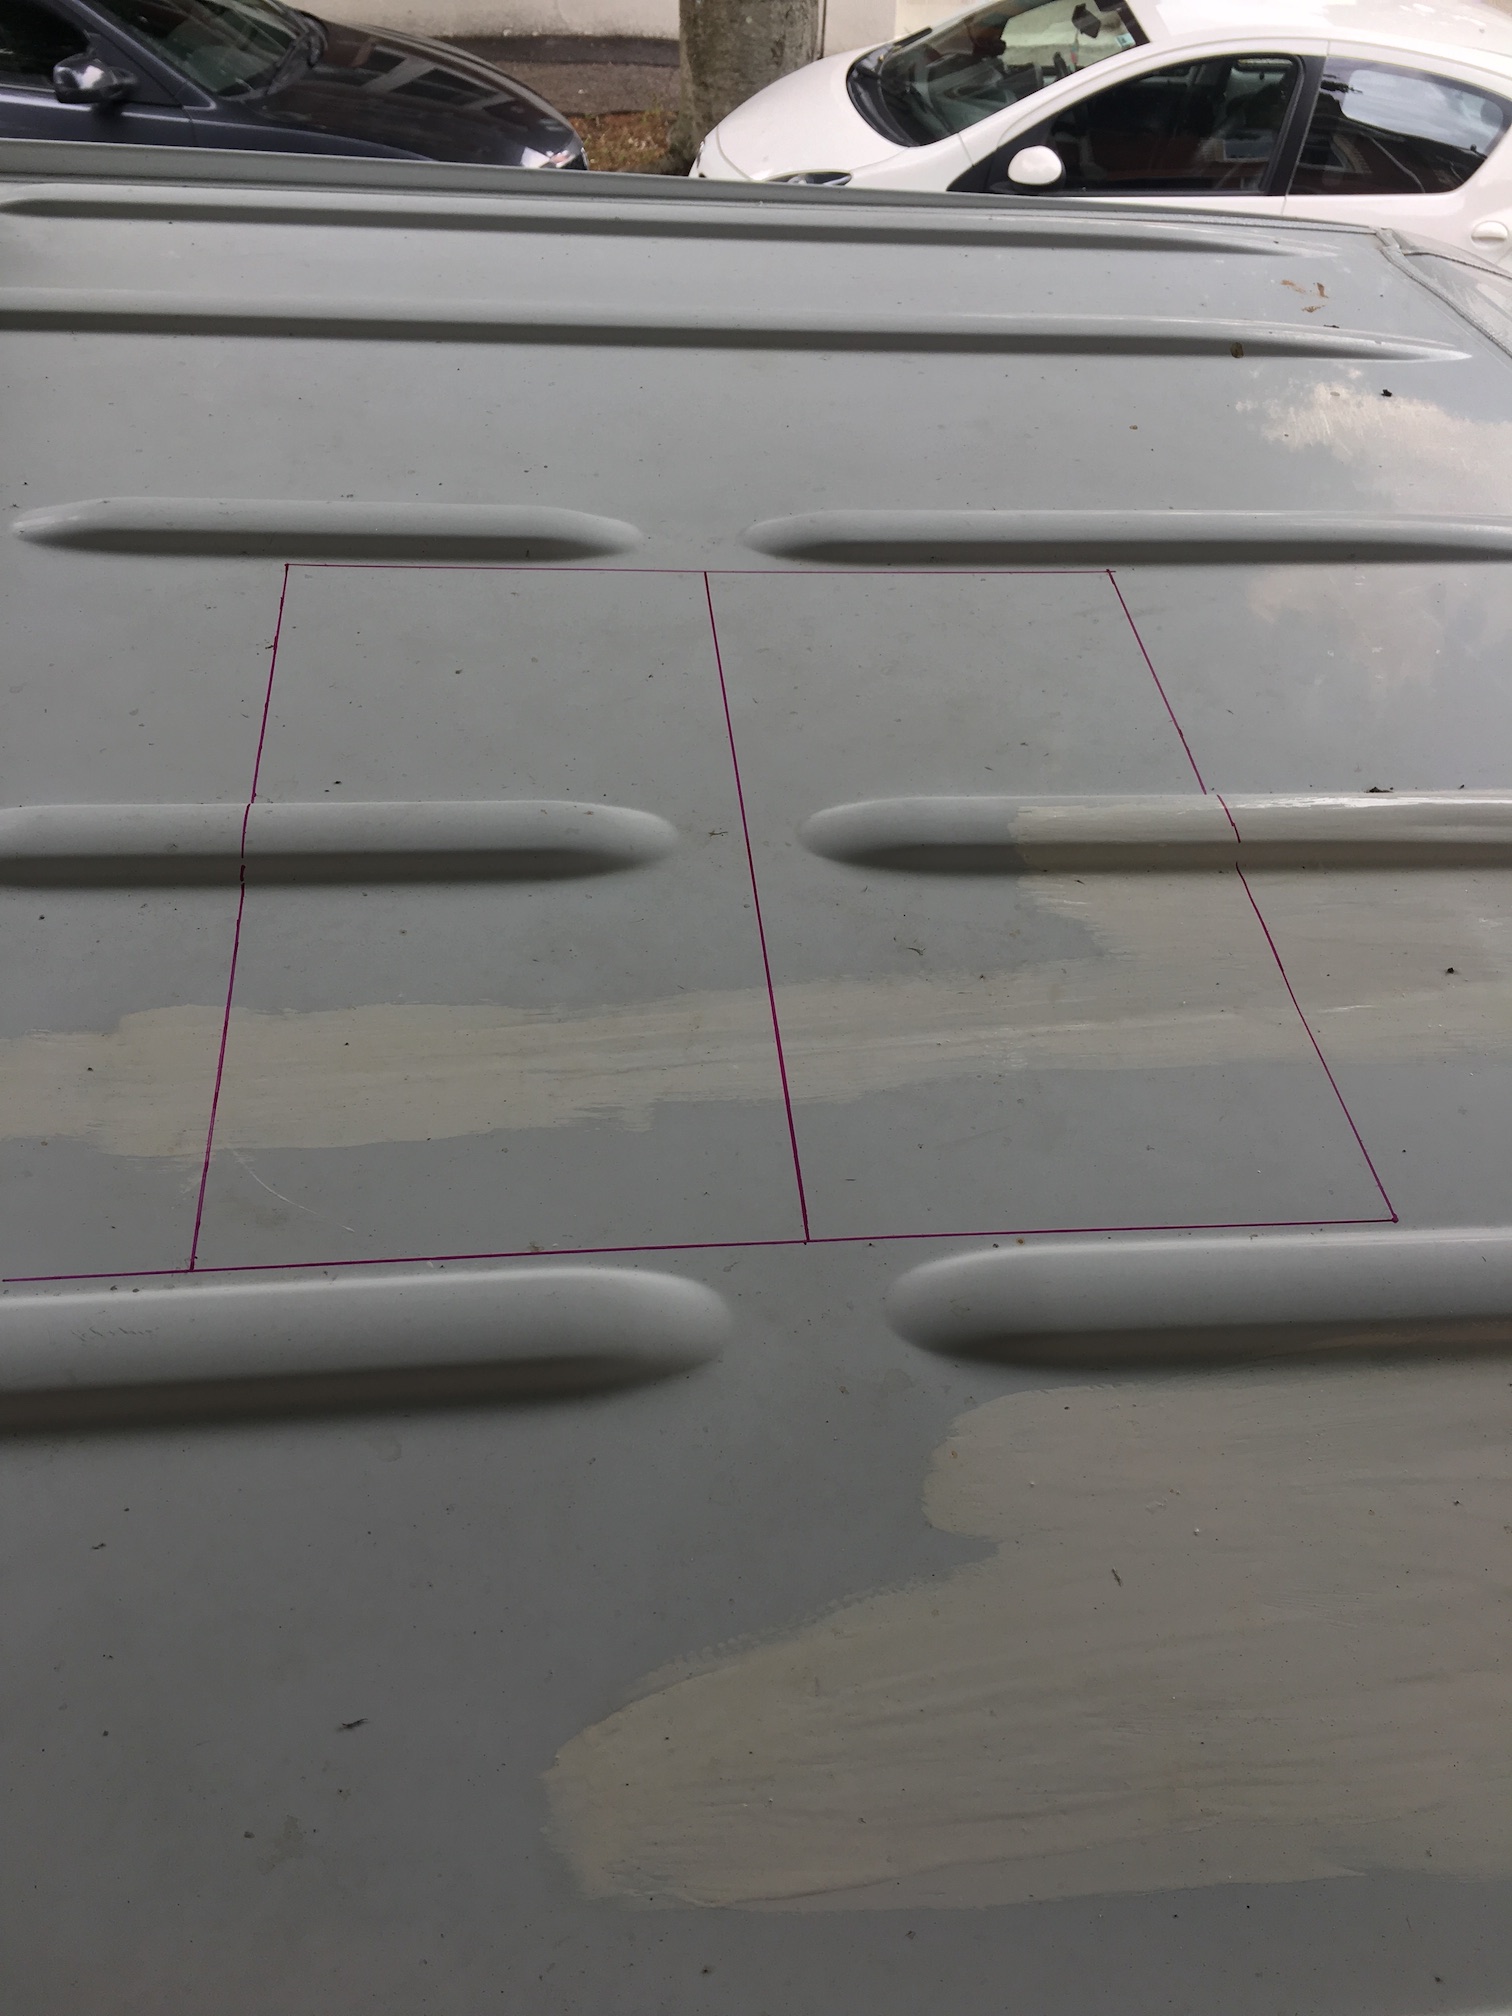
And here is square for the roof light

Then I cut out some squares of some plastic stuff we had hanging about at home that we found on a skip. (Andrew know what it’s actually called – Andrew: it’s called expanded PVC). it’s bendy, about 6mm thick and can be carved easily with a Stanley knife. The squares matched the flange for the roof light (variable widths) and the fan (same width all the way around) and also had a 40cm square hole cut in the middle.
Next I carved bits out of the plastic insert to correspond to the bumps on the roof. Each cut is at about a 45 degree angle or more to accommodate the roof shape at best as possible.
Then I sanded the plastic and cleaned it with degreaser.
The following photos and account are mainly the roof light, but I’ve slipped in a couple of photos from the fan where I didn’t have the equivalent roof light photo.
We were pretty disappointed with the roof light when it arrived. It was advertised as white but is in fact more magnolia coloured. It feels flimsy, and the installation needs you to have determined the thickness of your roof.

I sellotaped a bin liner inside the van to catch the worst of the metal filings, and a bit of cardboard on the roof to try and stop them getting under the solar panels.
Then the noisy bit!
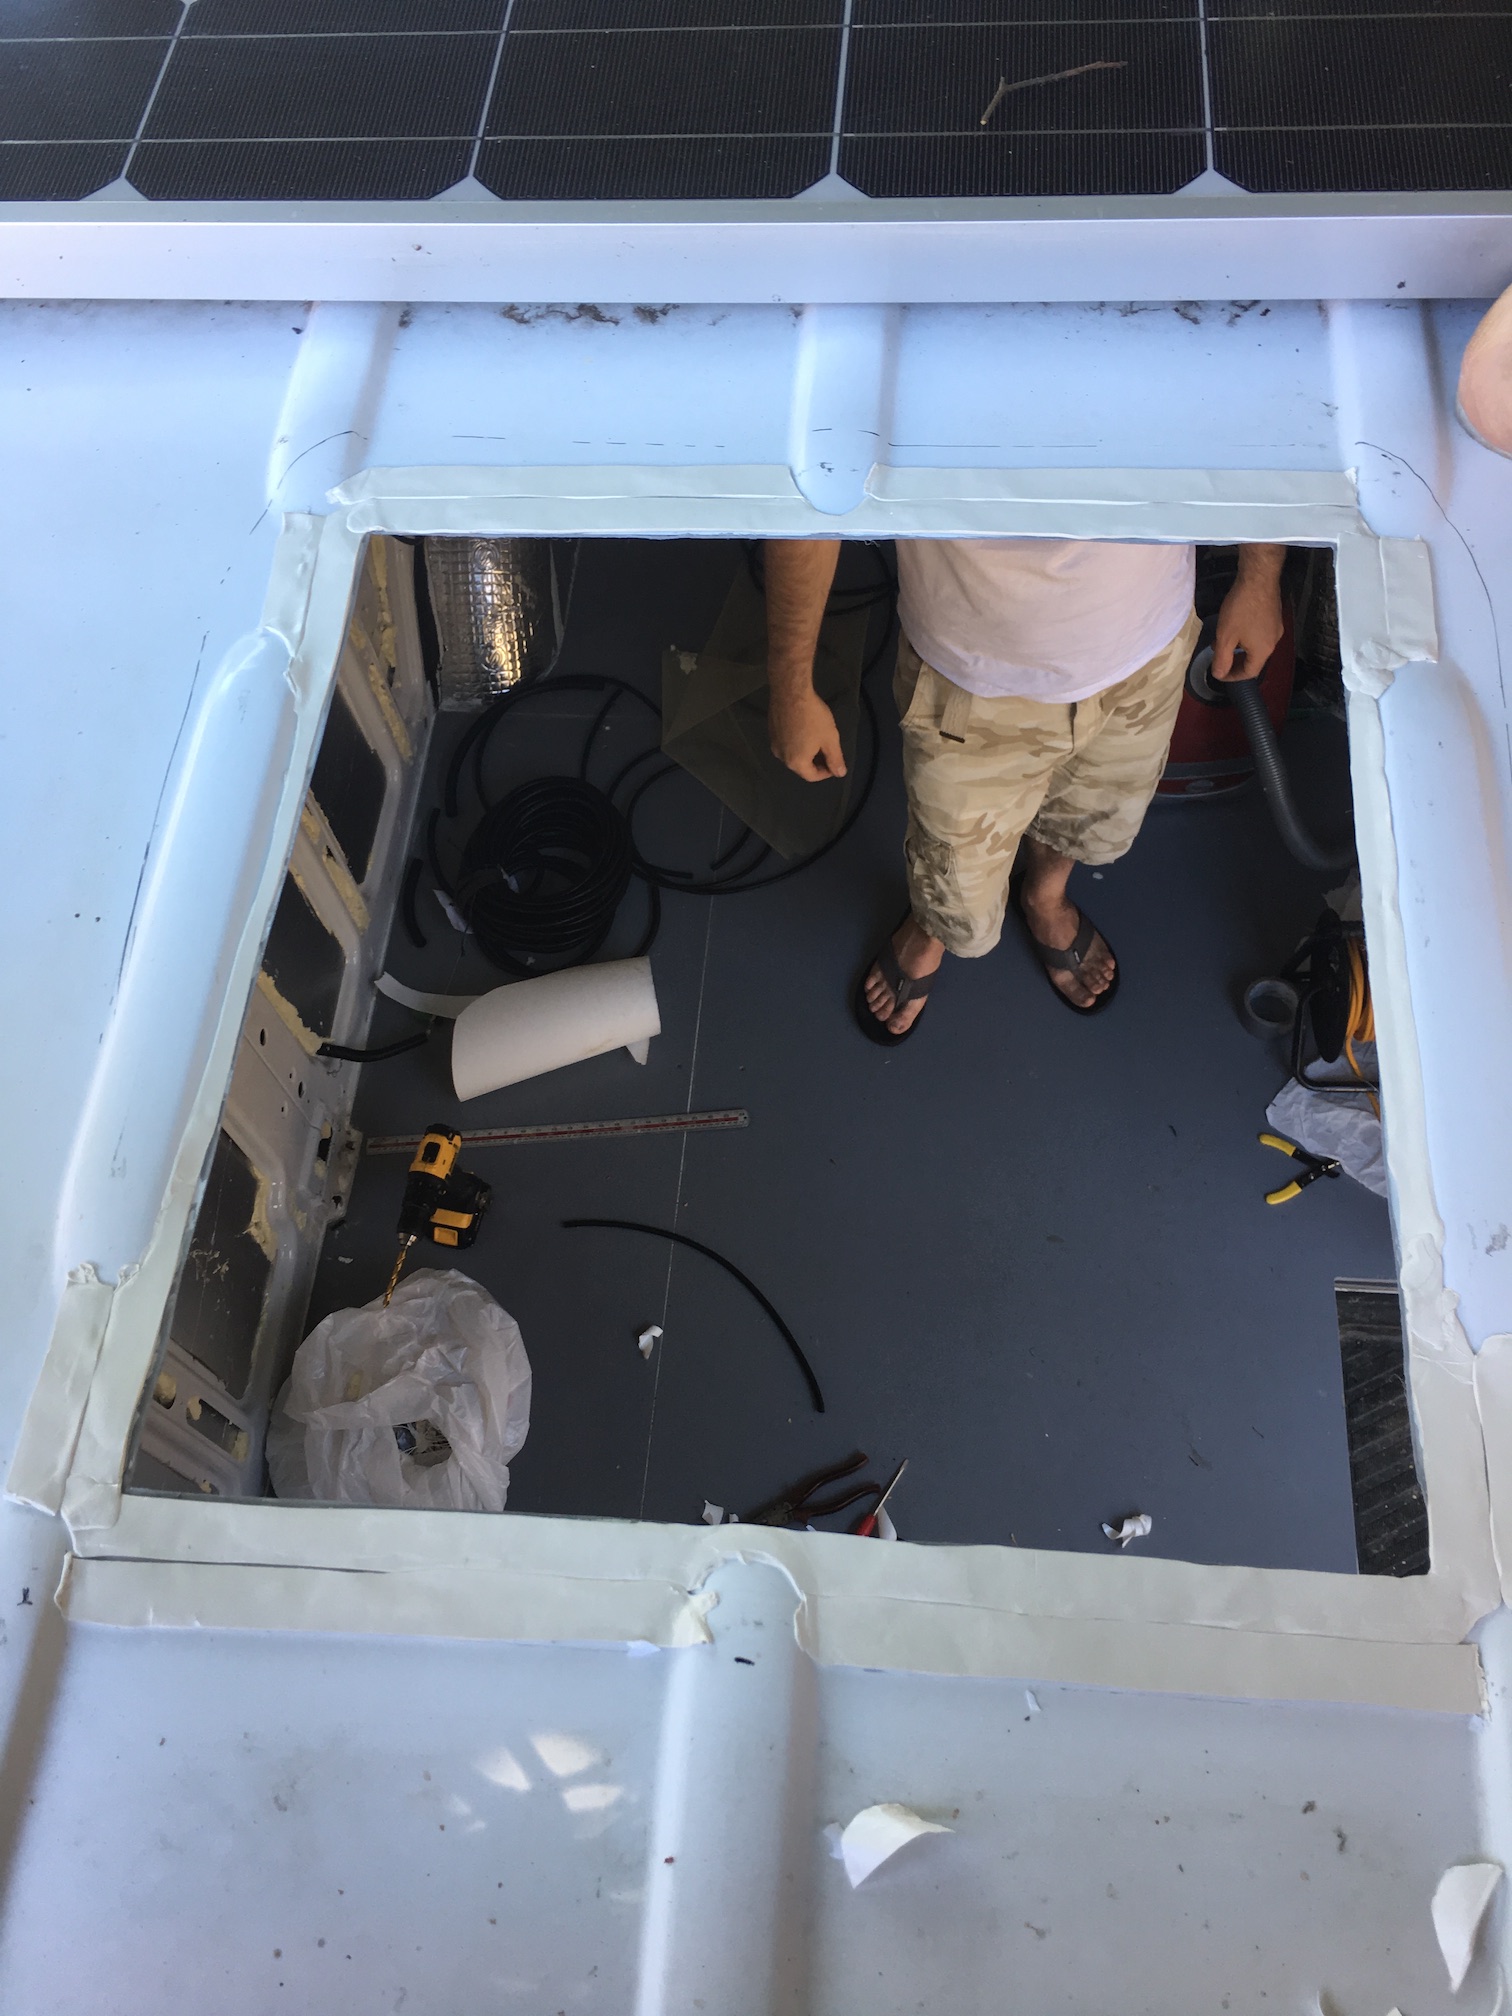
Up on the roof again, I drilled a hole in each corner (10mm bit) for the jigsaw bit to start in. Then I cut the four lines.
To minimise vibration I put duck tape across each cut I had made when I finished that side of the square. It also stopped the cut out falling into the van.
I didn’t bother with masking tape on the plate of the jigsaw because everything is going to be covered with sealant. We have a cheap £40 jigsaw from Machine Mart and it did the job fine. Going over the bumps was noisy, wobbly and a bit tricky, but I found if I kept the front of the base plate pressed down where possible while keeping it level, it didn’t matter too much that the back end was in the air and the blade coped ok.
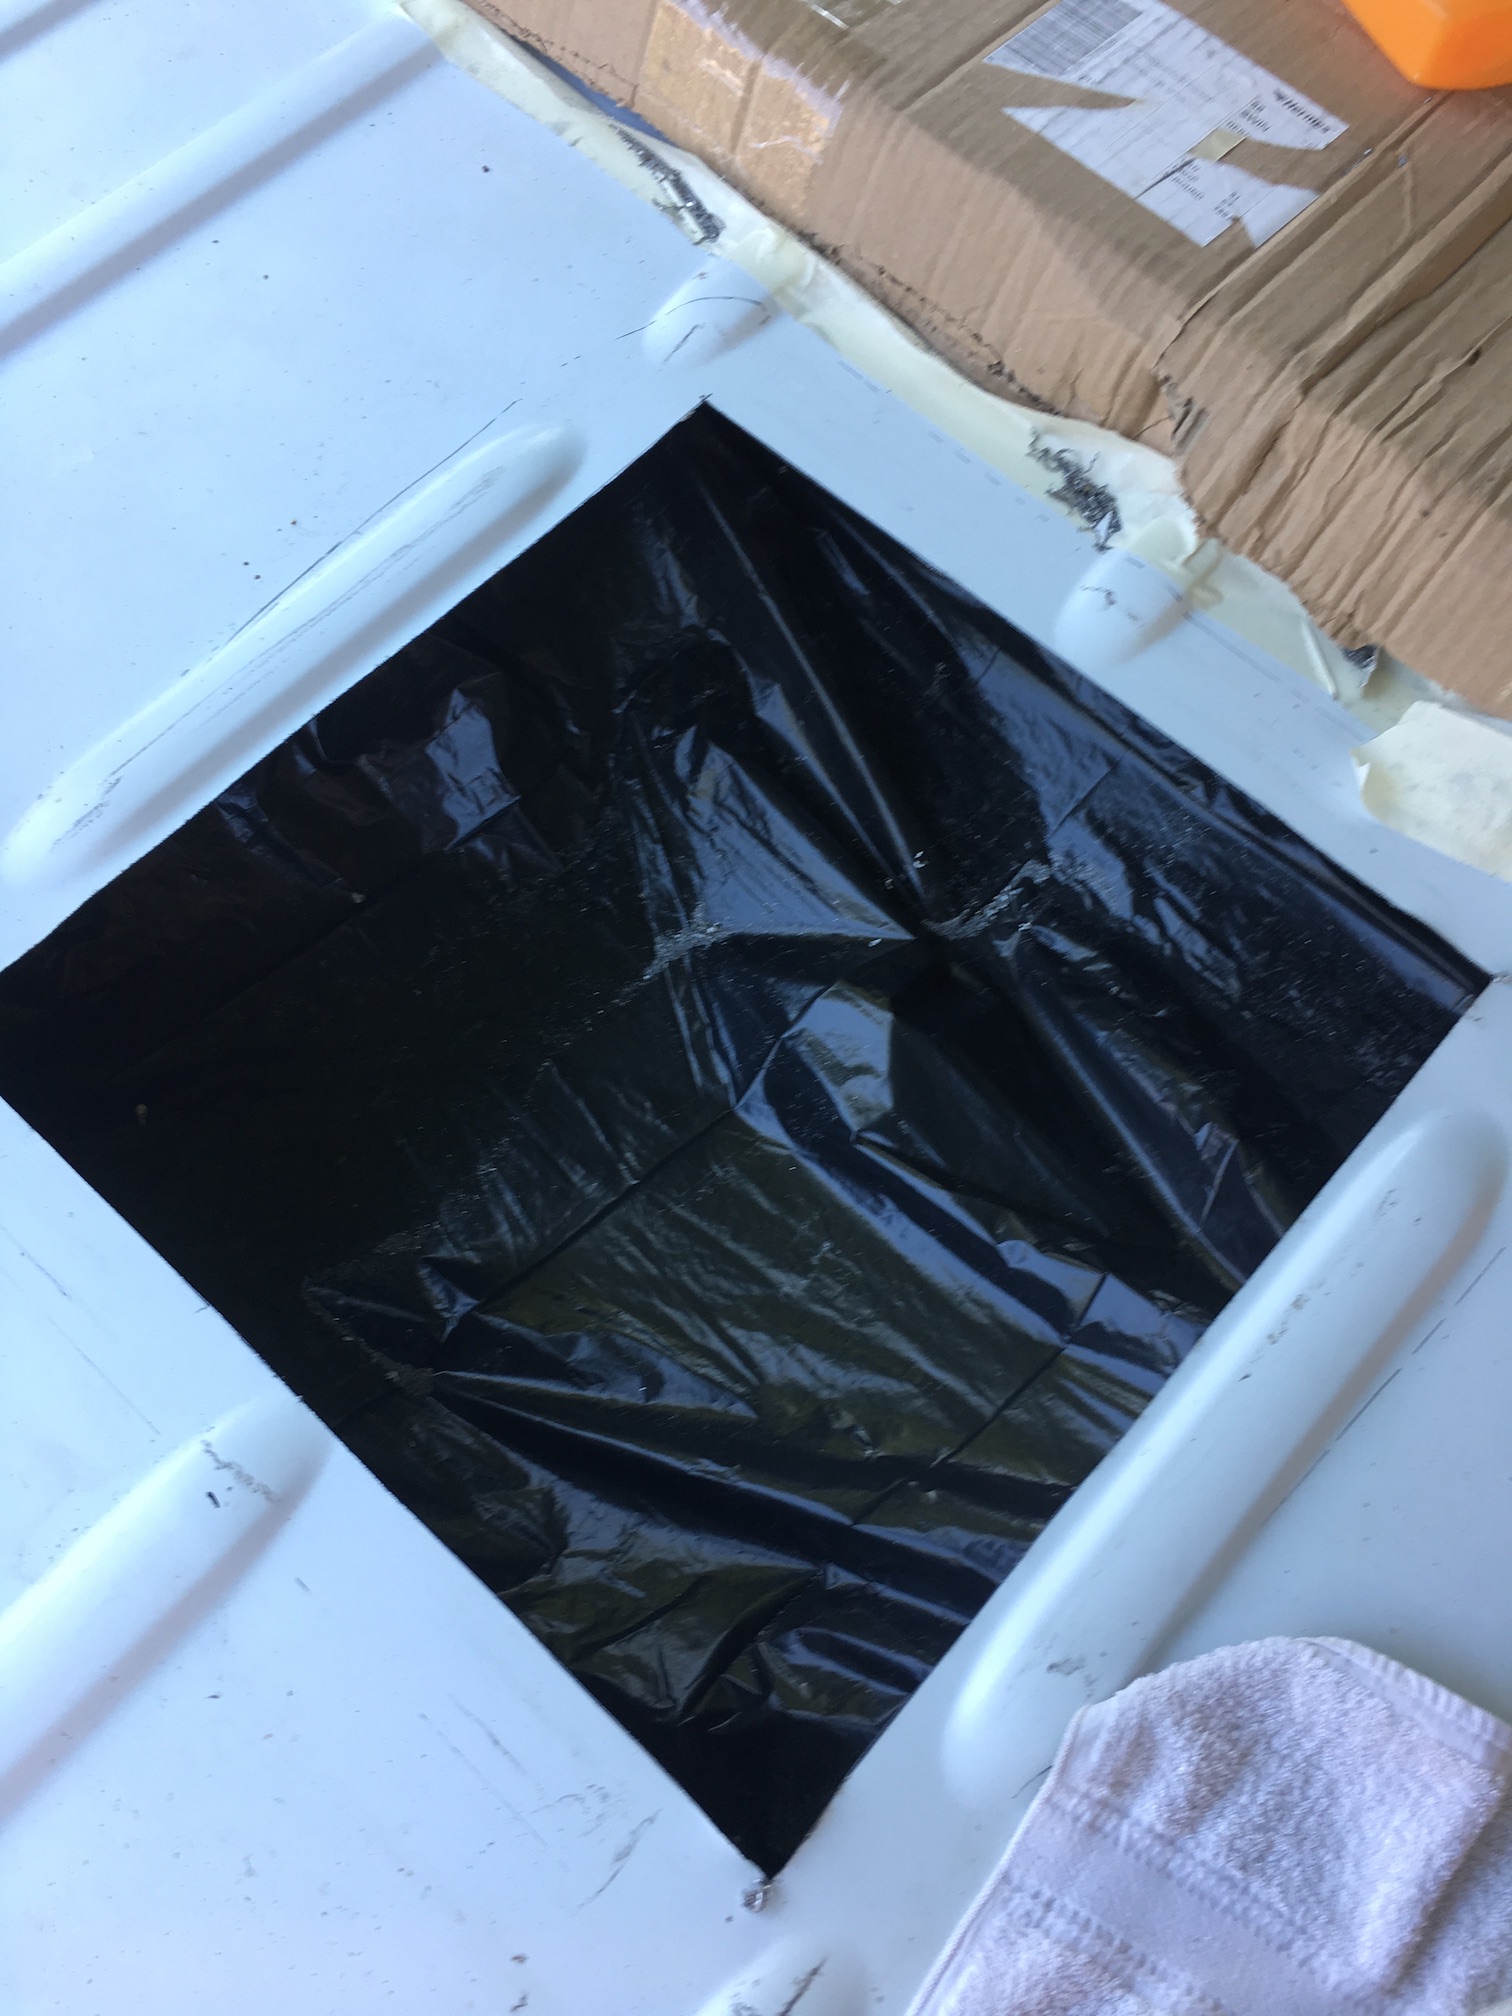
The bit of cardboard didn’t work – the filings got everywhere. So after filing down the edges I hoovered the whole roof and everywhere else and removed the bin liner carefully.
I sanded the edges and a little way around the opening, cleaned with degreaser, painted Hammerite primer on the bare metal edges and had a cup of tea.
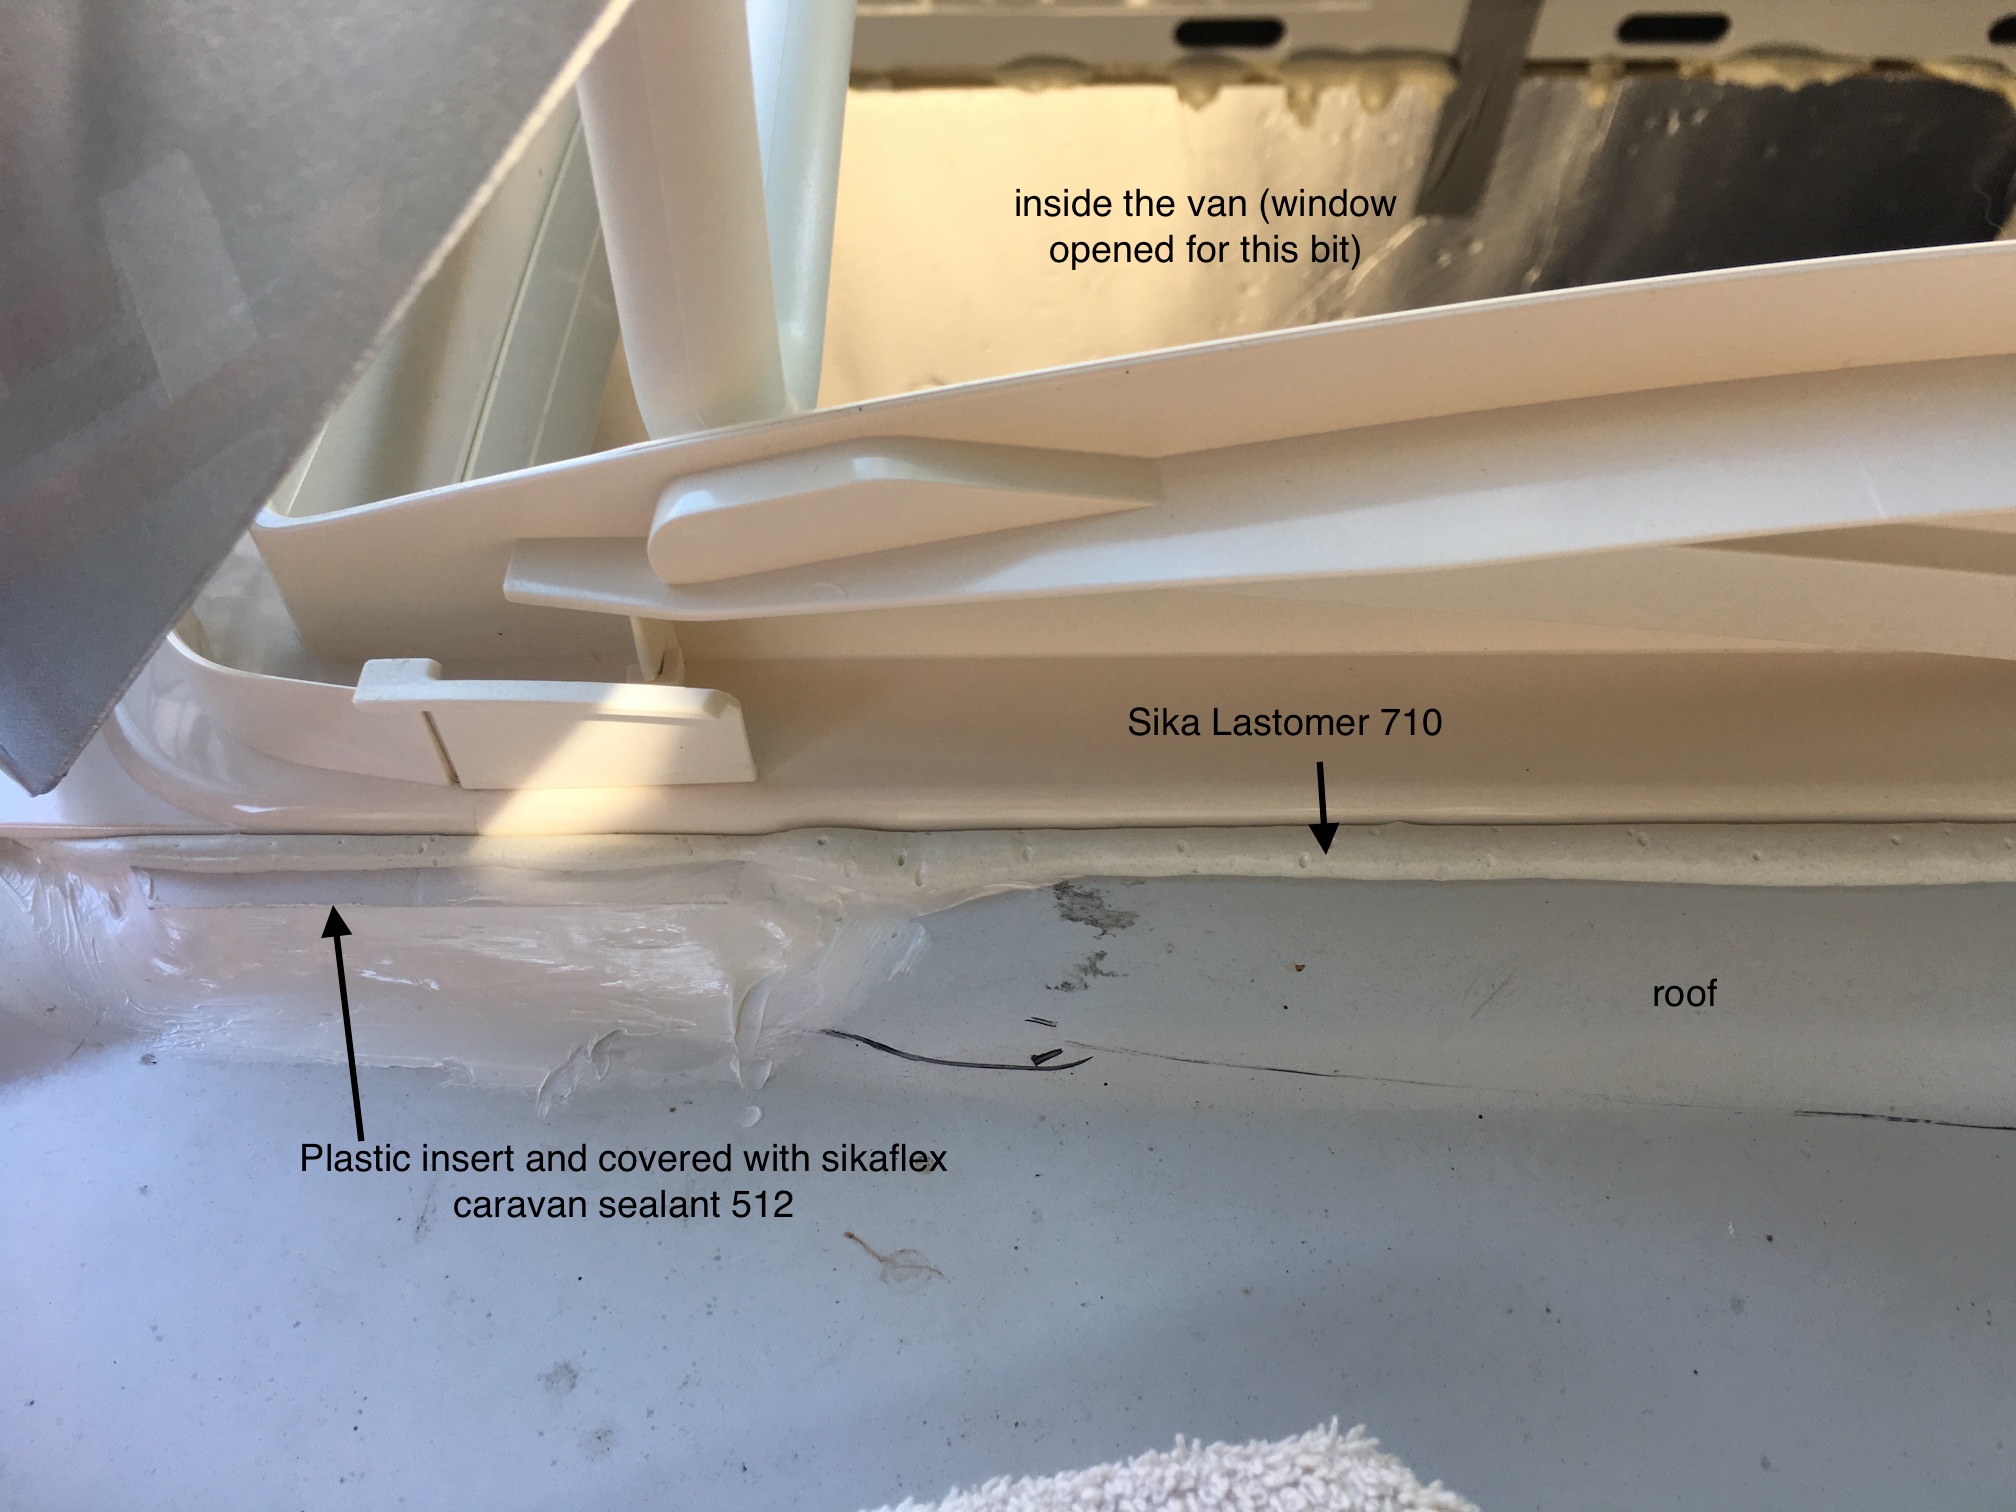
Then I stuck butyl tape (see in the picture above) around the opening to seal the plastic insert to the roof.
The tape was 20mm wide so in some places I used two strips. You can cut it with a Stanley knife. It’s like chewing gum.
Then I put the plastic insert on the top of the tape:

I used Sikaflex Caravan Sealant 512 (also pictured in earlier photo) to seal all the way round and fill any gaps between the insert and the bumps on the roof.
This sealant sets (stops being sticky) but stays rubbery. I think the butyl tape doesn’t set (the bag it came in was not airtight at all). Ordinary bathroom silicone sealant which I intended to use originally dissolves the butyl tape and turns it into a slimy mess (lucky I tested it first).
Now the insert was in place I wanted to get everything tightened up together before the sealant set.
In the case of the fan, I put a continuous square of butyl tape on top of the plastic insert and the provided roof insert is then screwed (using about 20 screws) through the metal of the van roof. We also cut four bars of wood and clamped them inside the van so that the screws went into wood after they had gone through the roof (the sandwich of materials went like this from top to bottom: maxxfan plastic roof insert, butyl tape, my homemade plastic insert, butyl tape, roof metal, wood) Then I sealed all around the edges and over the screw heads in a big smeary mess.
The bits of wood that we used inside the van were a last minute decision when we realised how the screws just poked randomly through the roof. They aren’t totally necessary. In retrospect it would be better to make something neater and smaller in advance (like we did for the roof light).
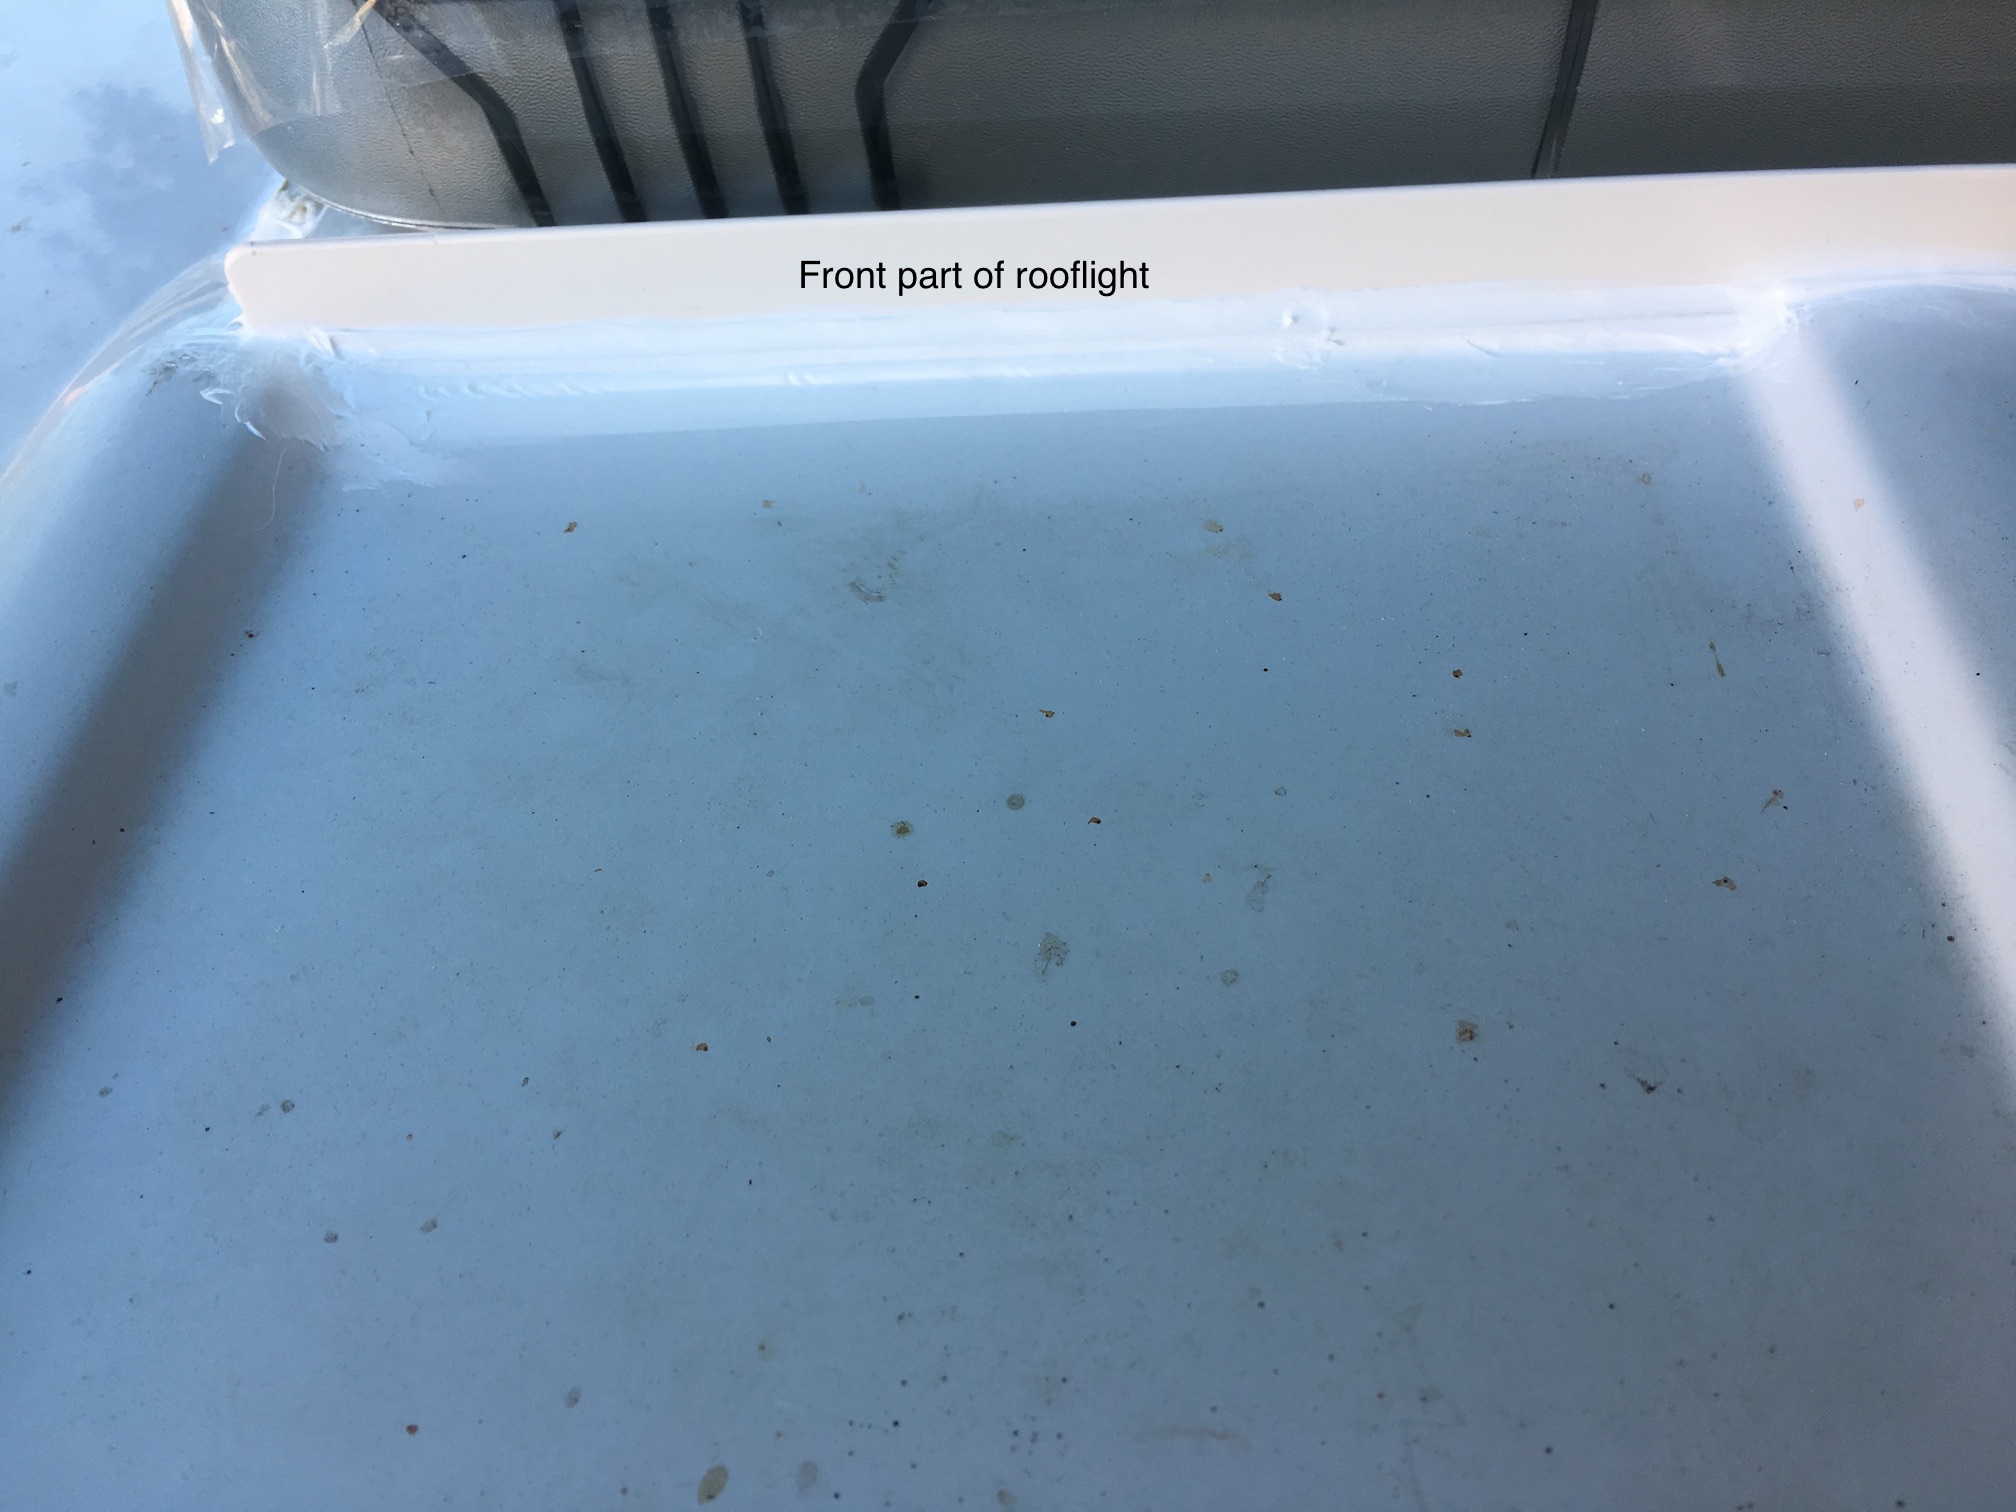
The roof light was slightly different. Since repairing or replacing the roof light involves removing the entire thing- the seal needs to be less permanent.
I applied a thick bead of Sika Lastomer 710 as per instructions to the underside of the roof light. and eased it into the hole. This stuff stays flexible and sticky, like the butyl tape.
This picture shows the underside:
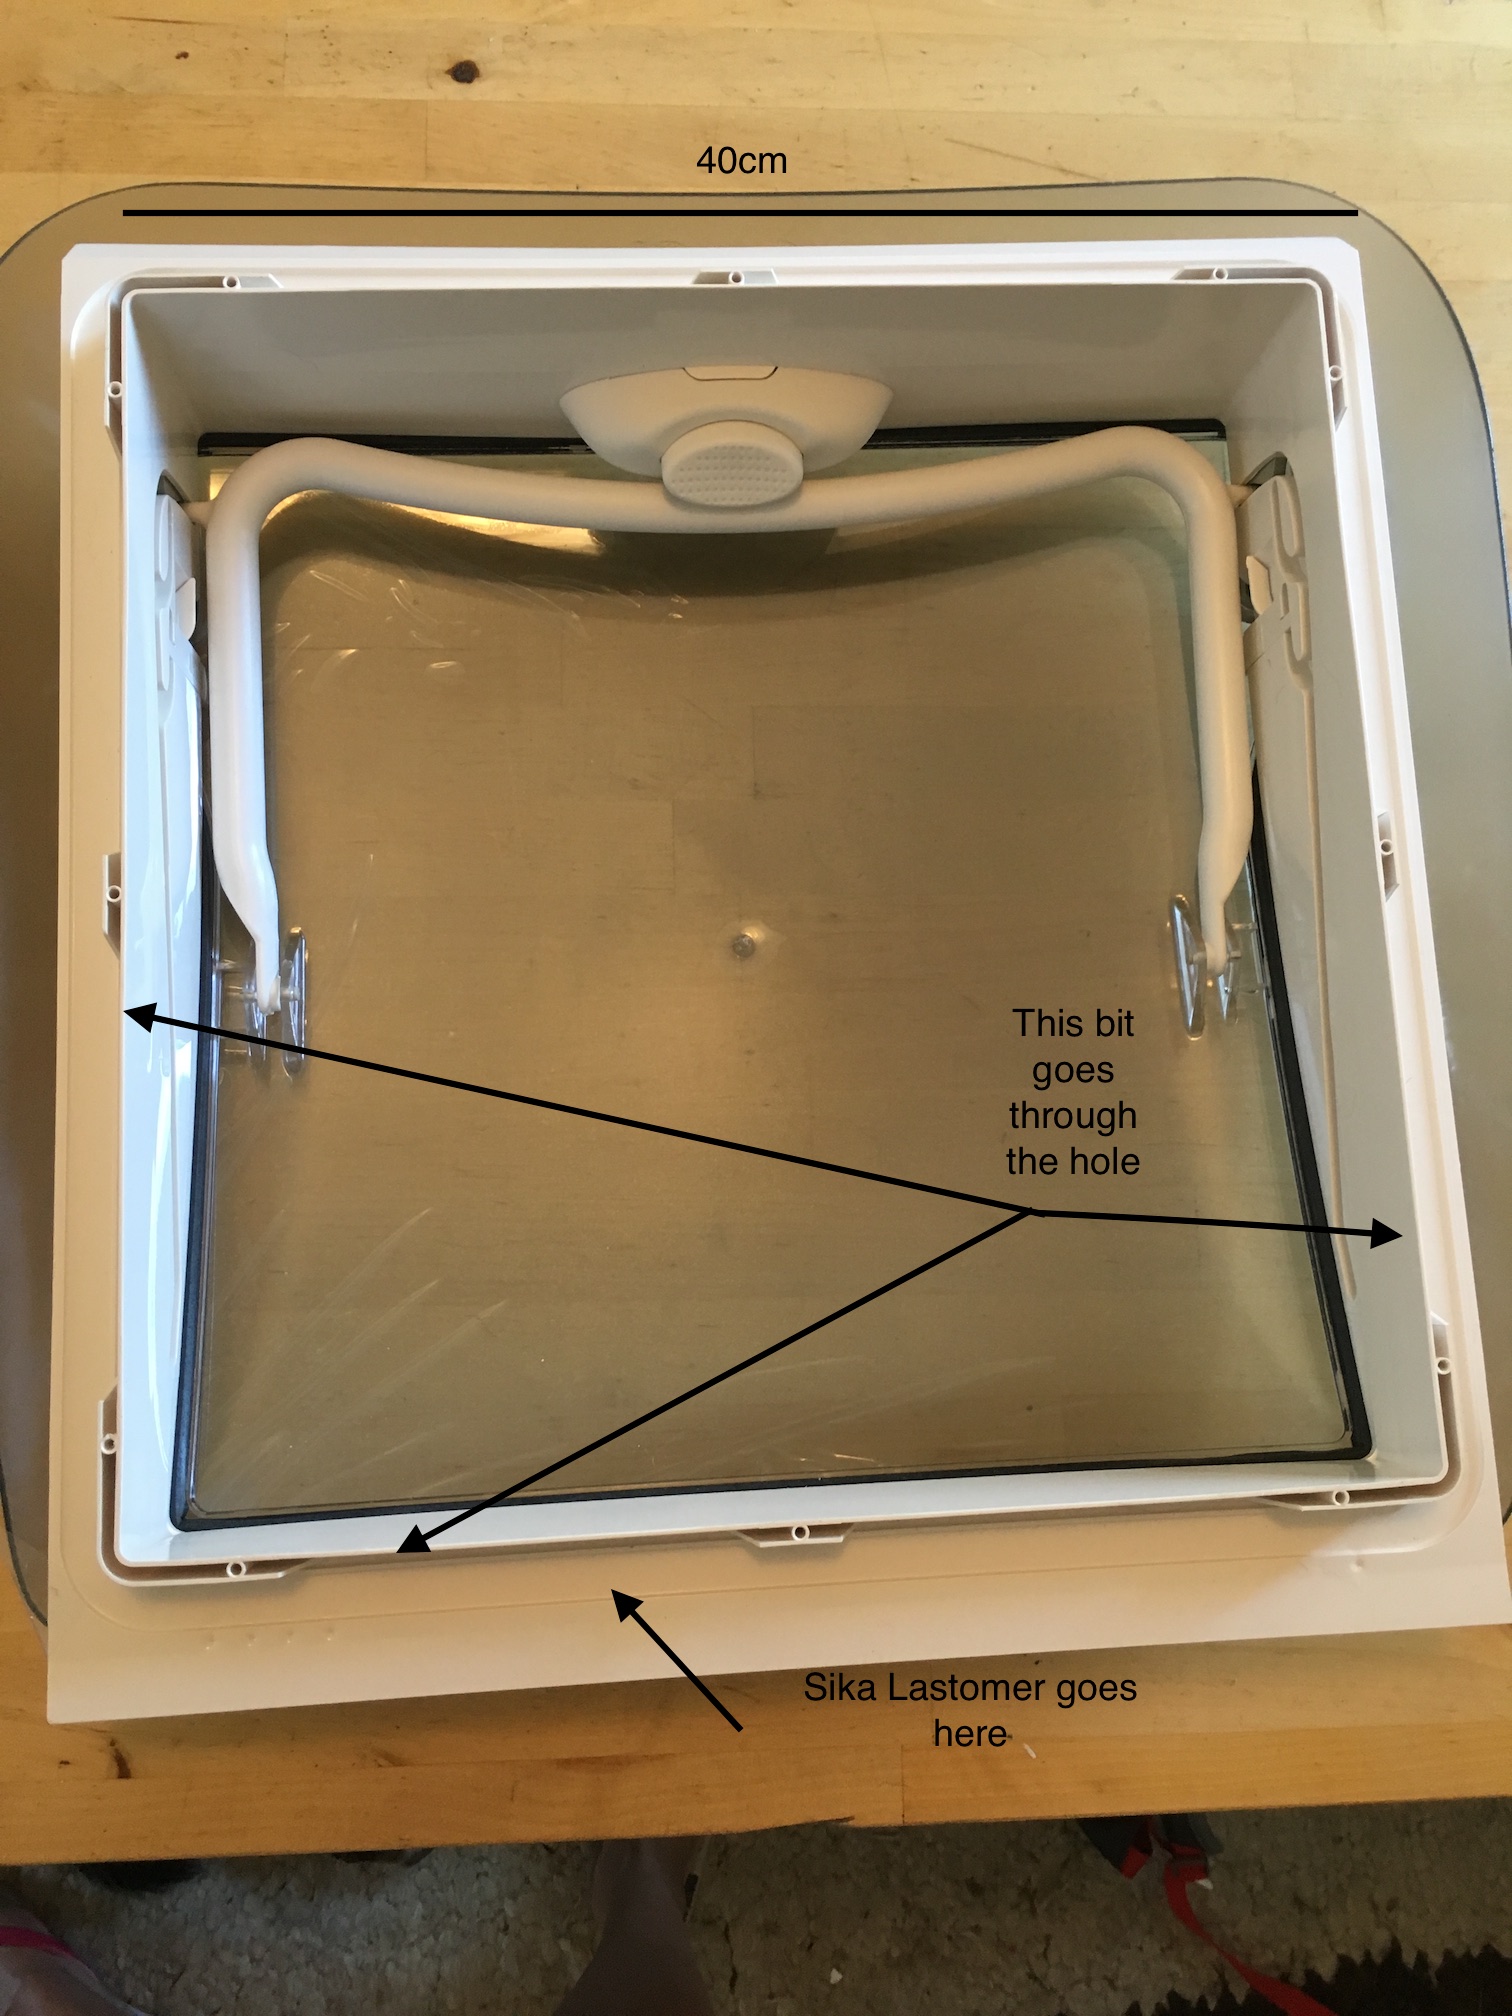
It is supposed to have a clearance of 2-3mm all the way round. (my hole was a titchy bit tight but its almost impossible to re-jigsaw a cut and filing more than 1mm off a cut edge isn’t feasible either, so i’ll just have to hope its OK).
I used about half the tube of Sikaflex and it bulged out nicely from under the plastic so I know I got a good seal, but it was a bit messy clearing the excess away.
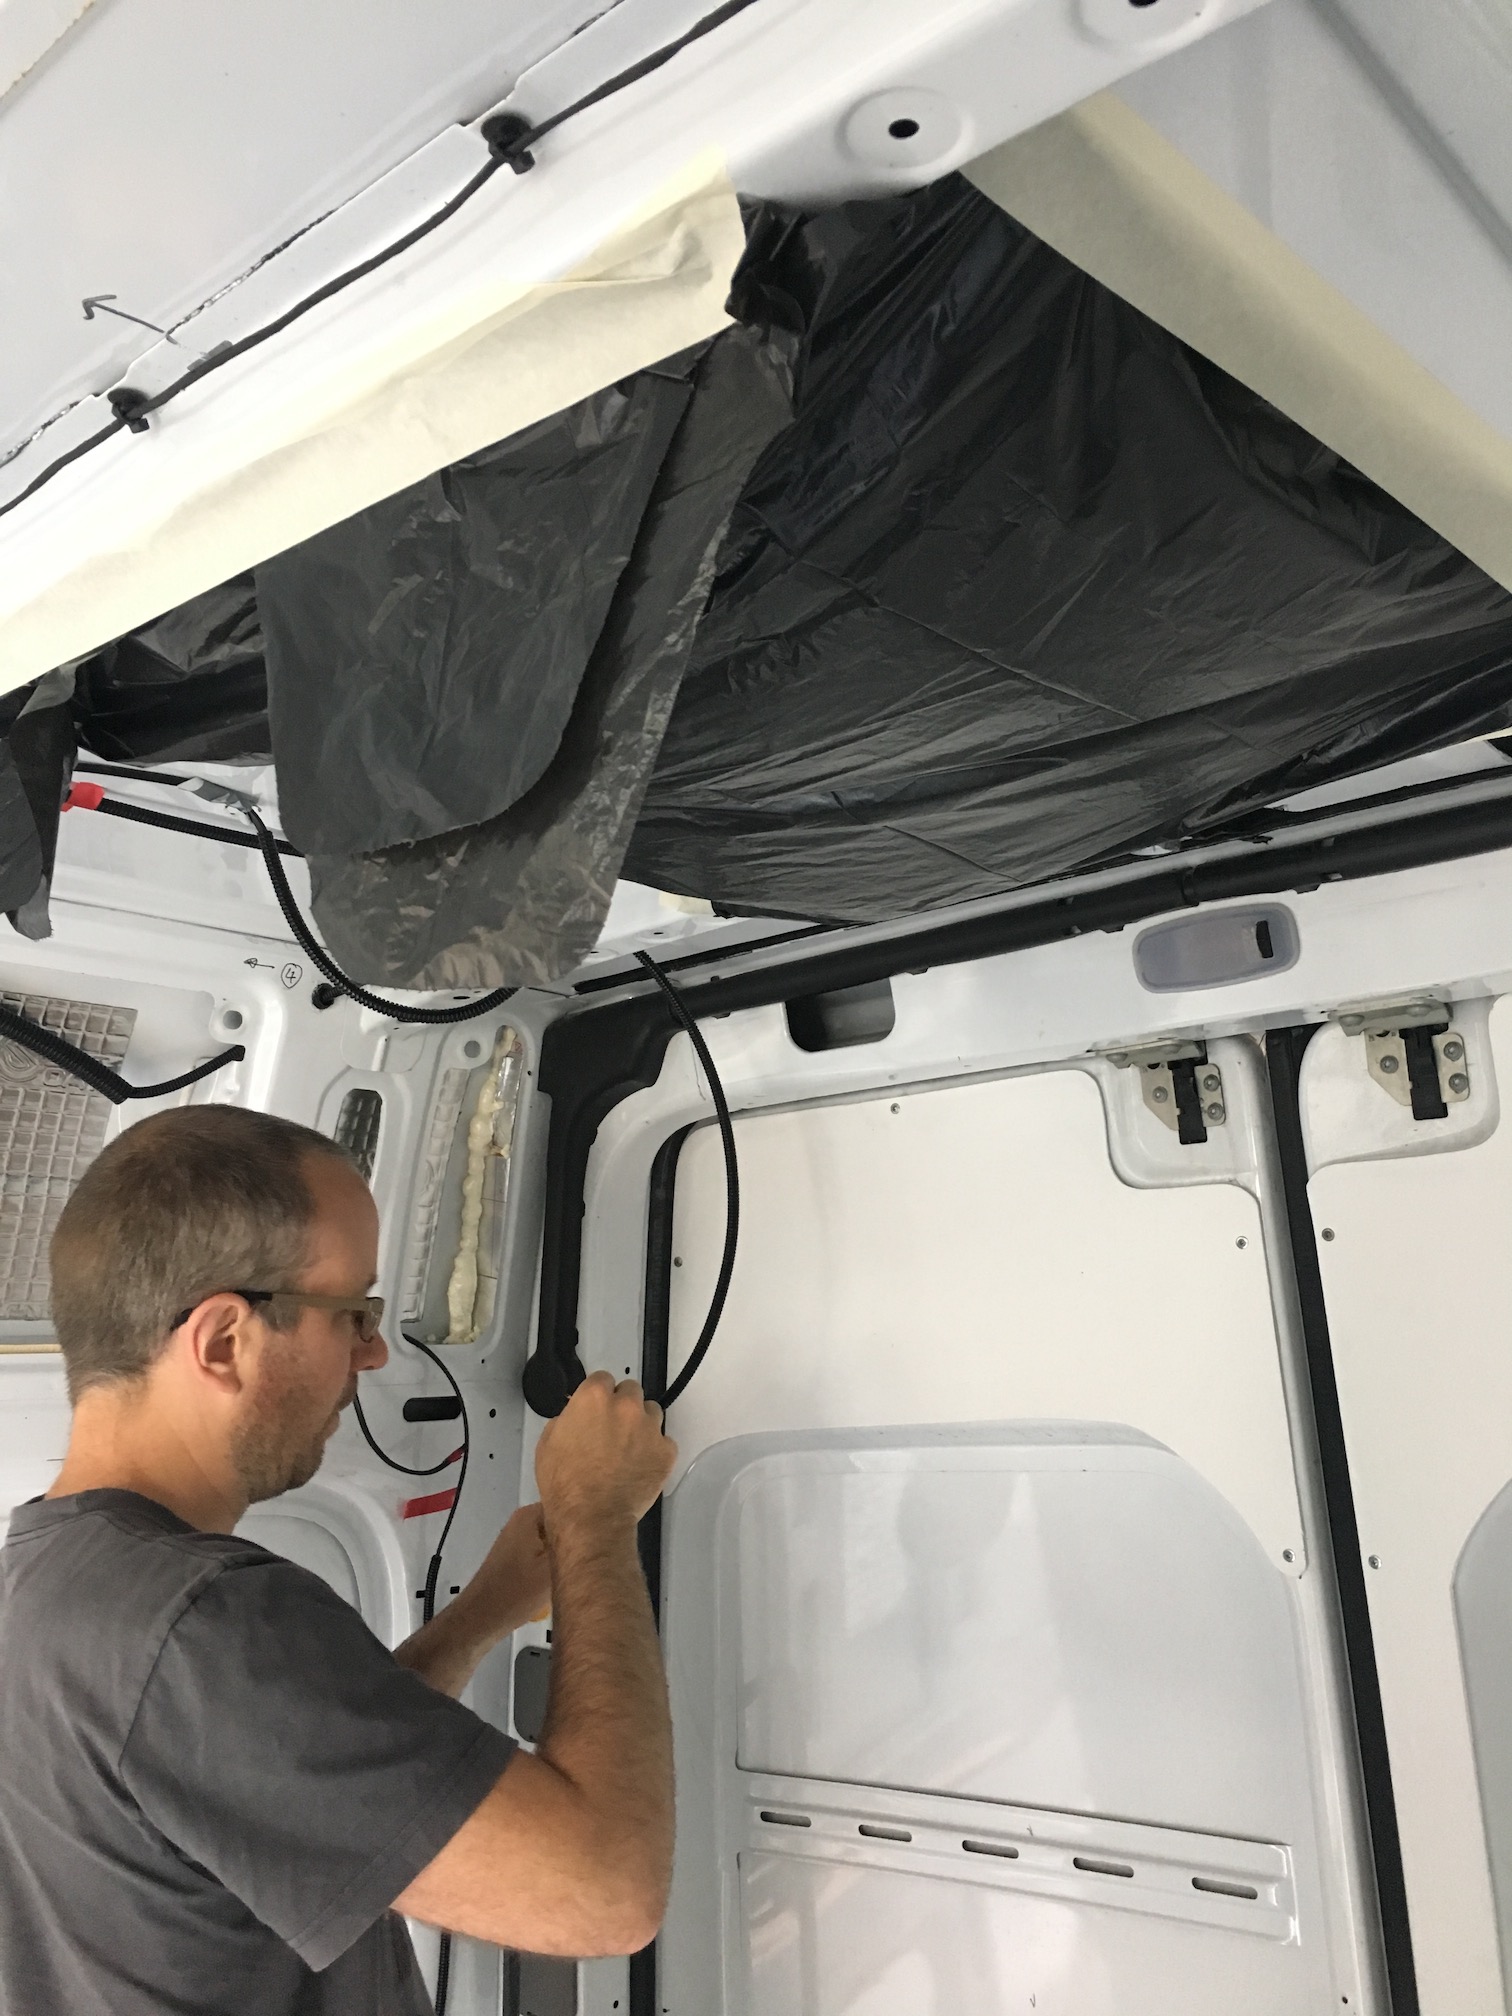
Off the roof and into the van now.
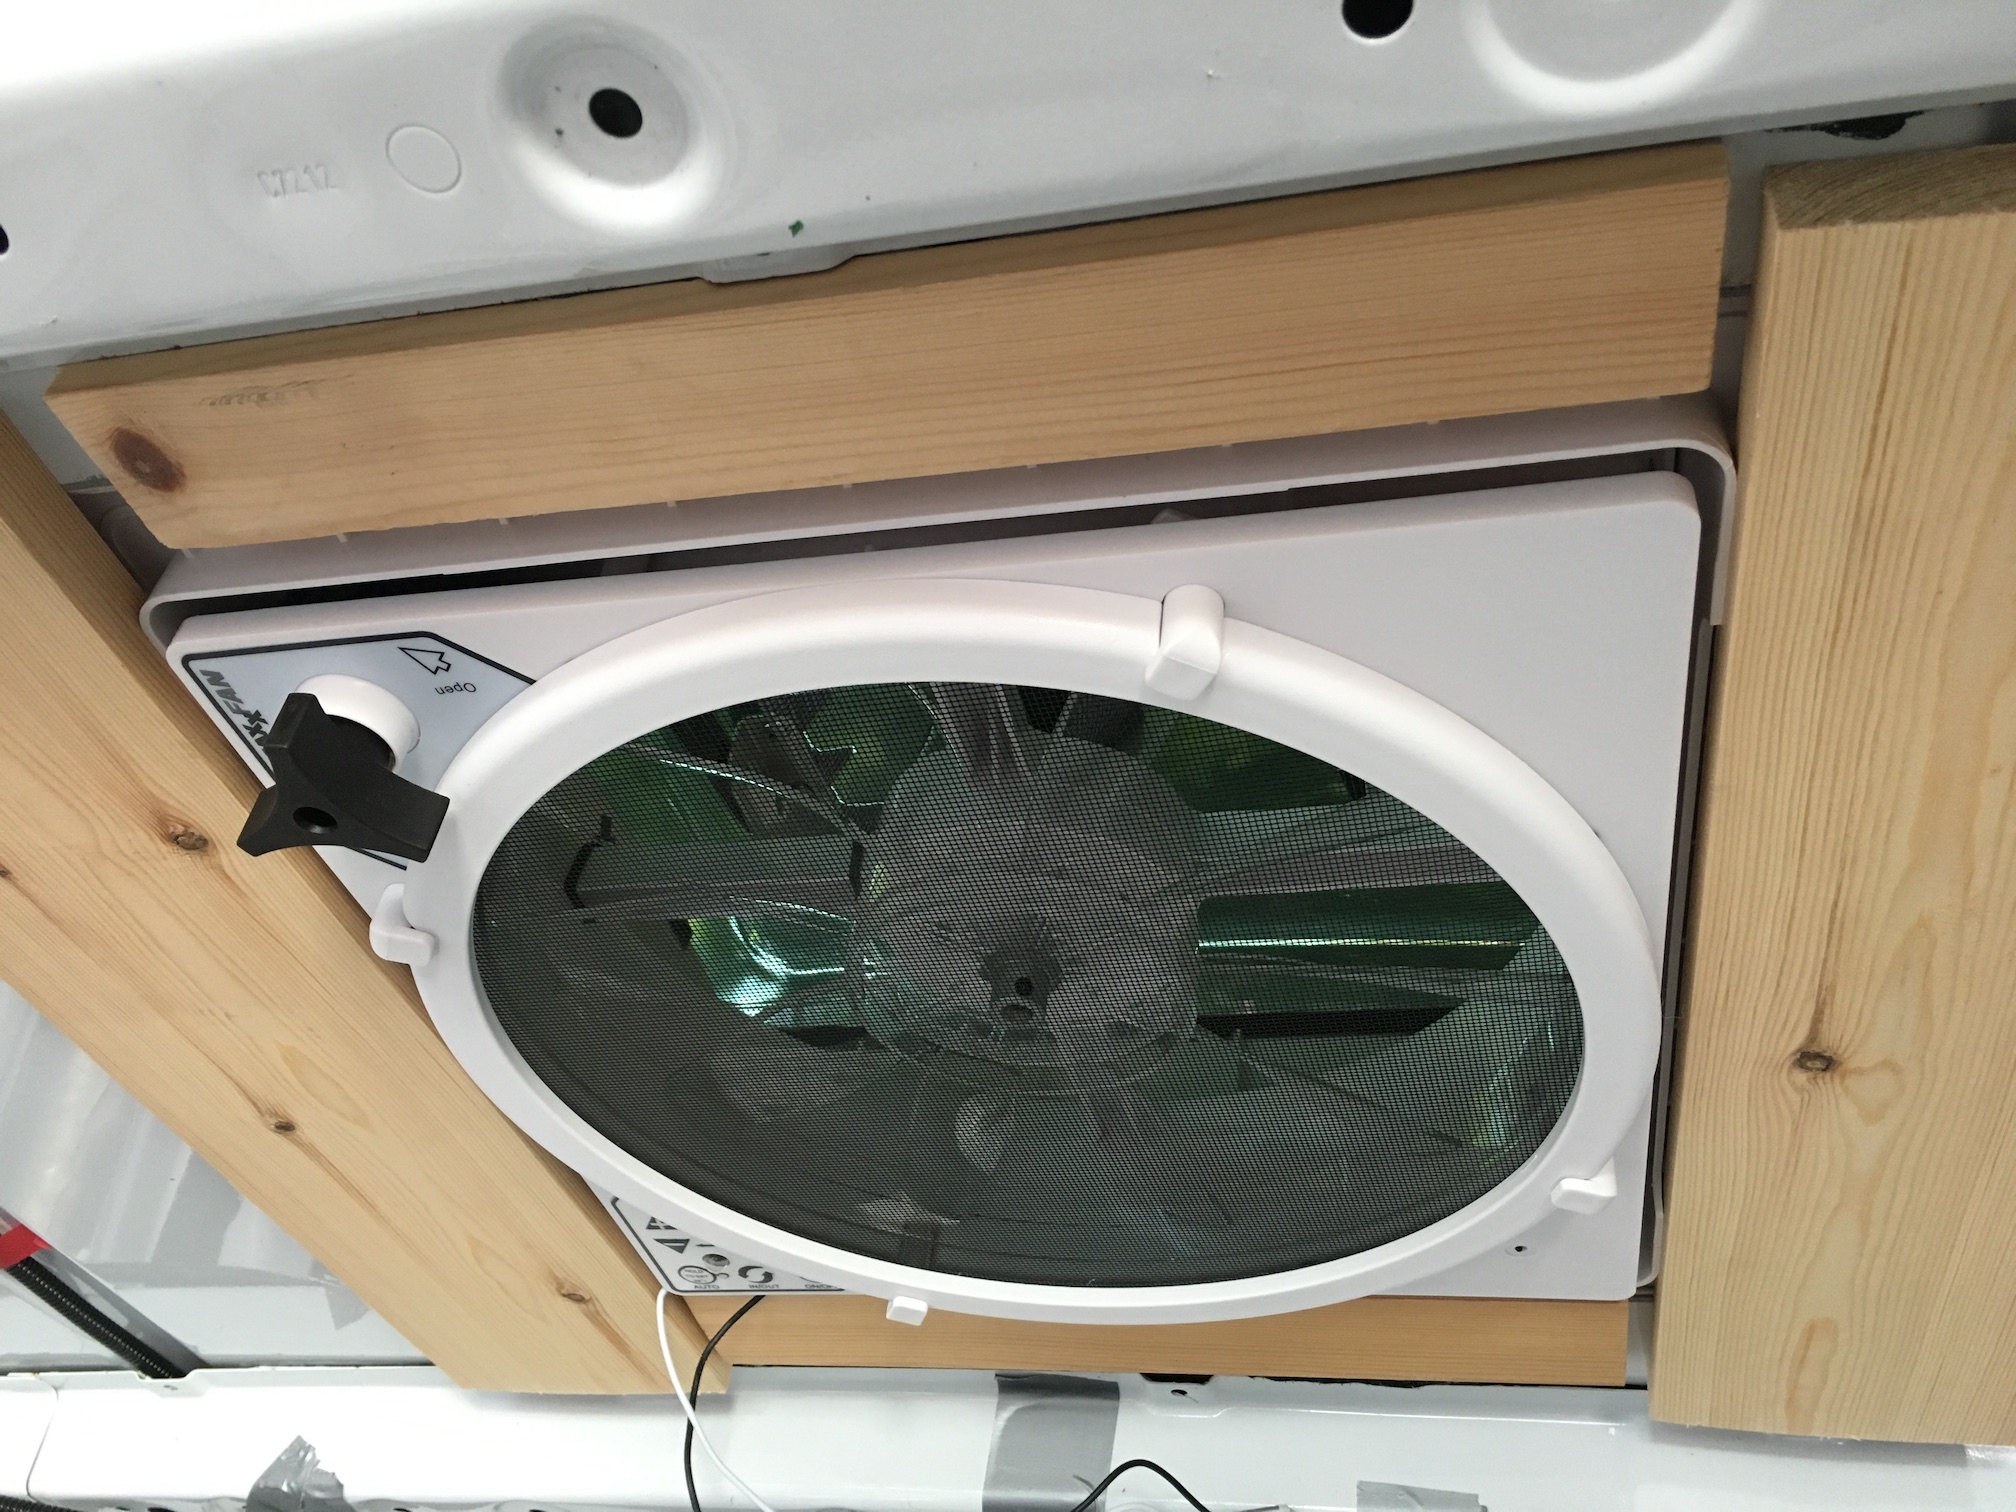
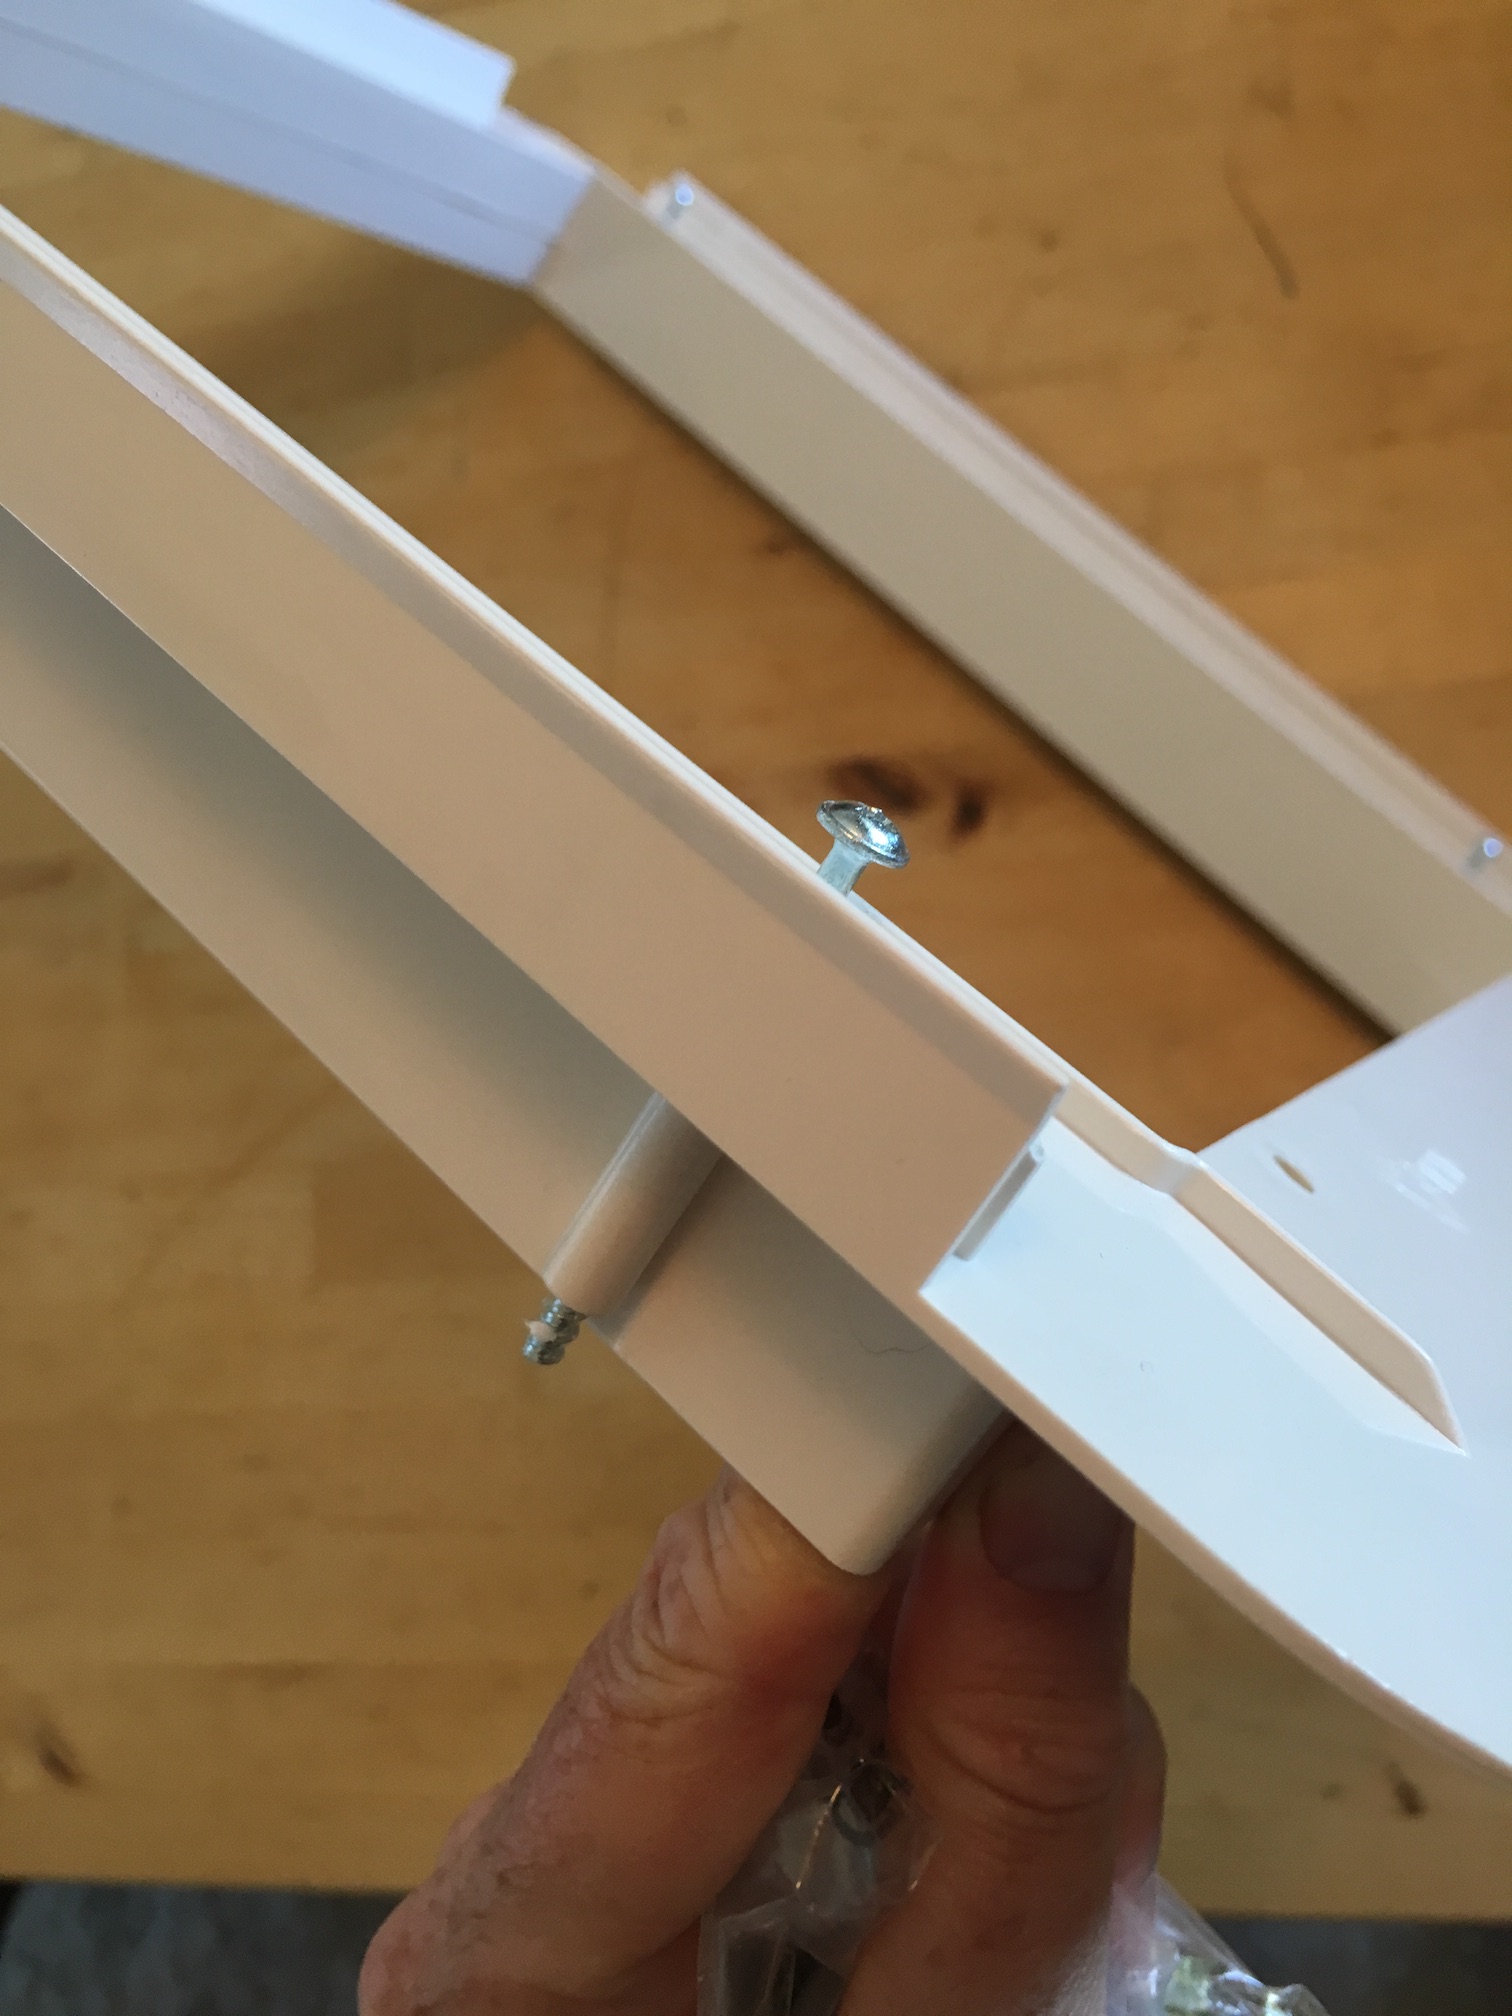
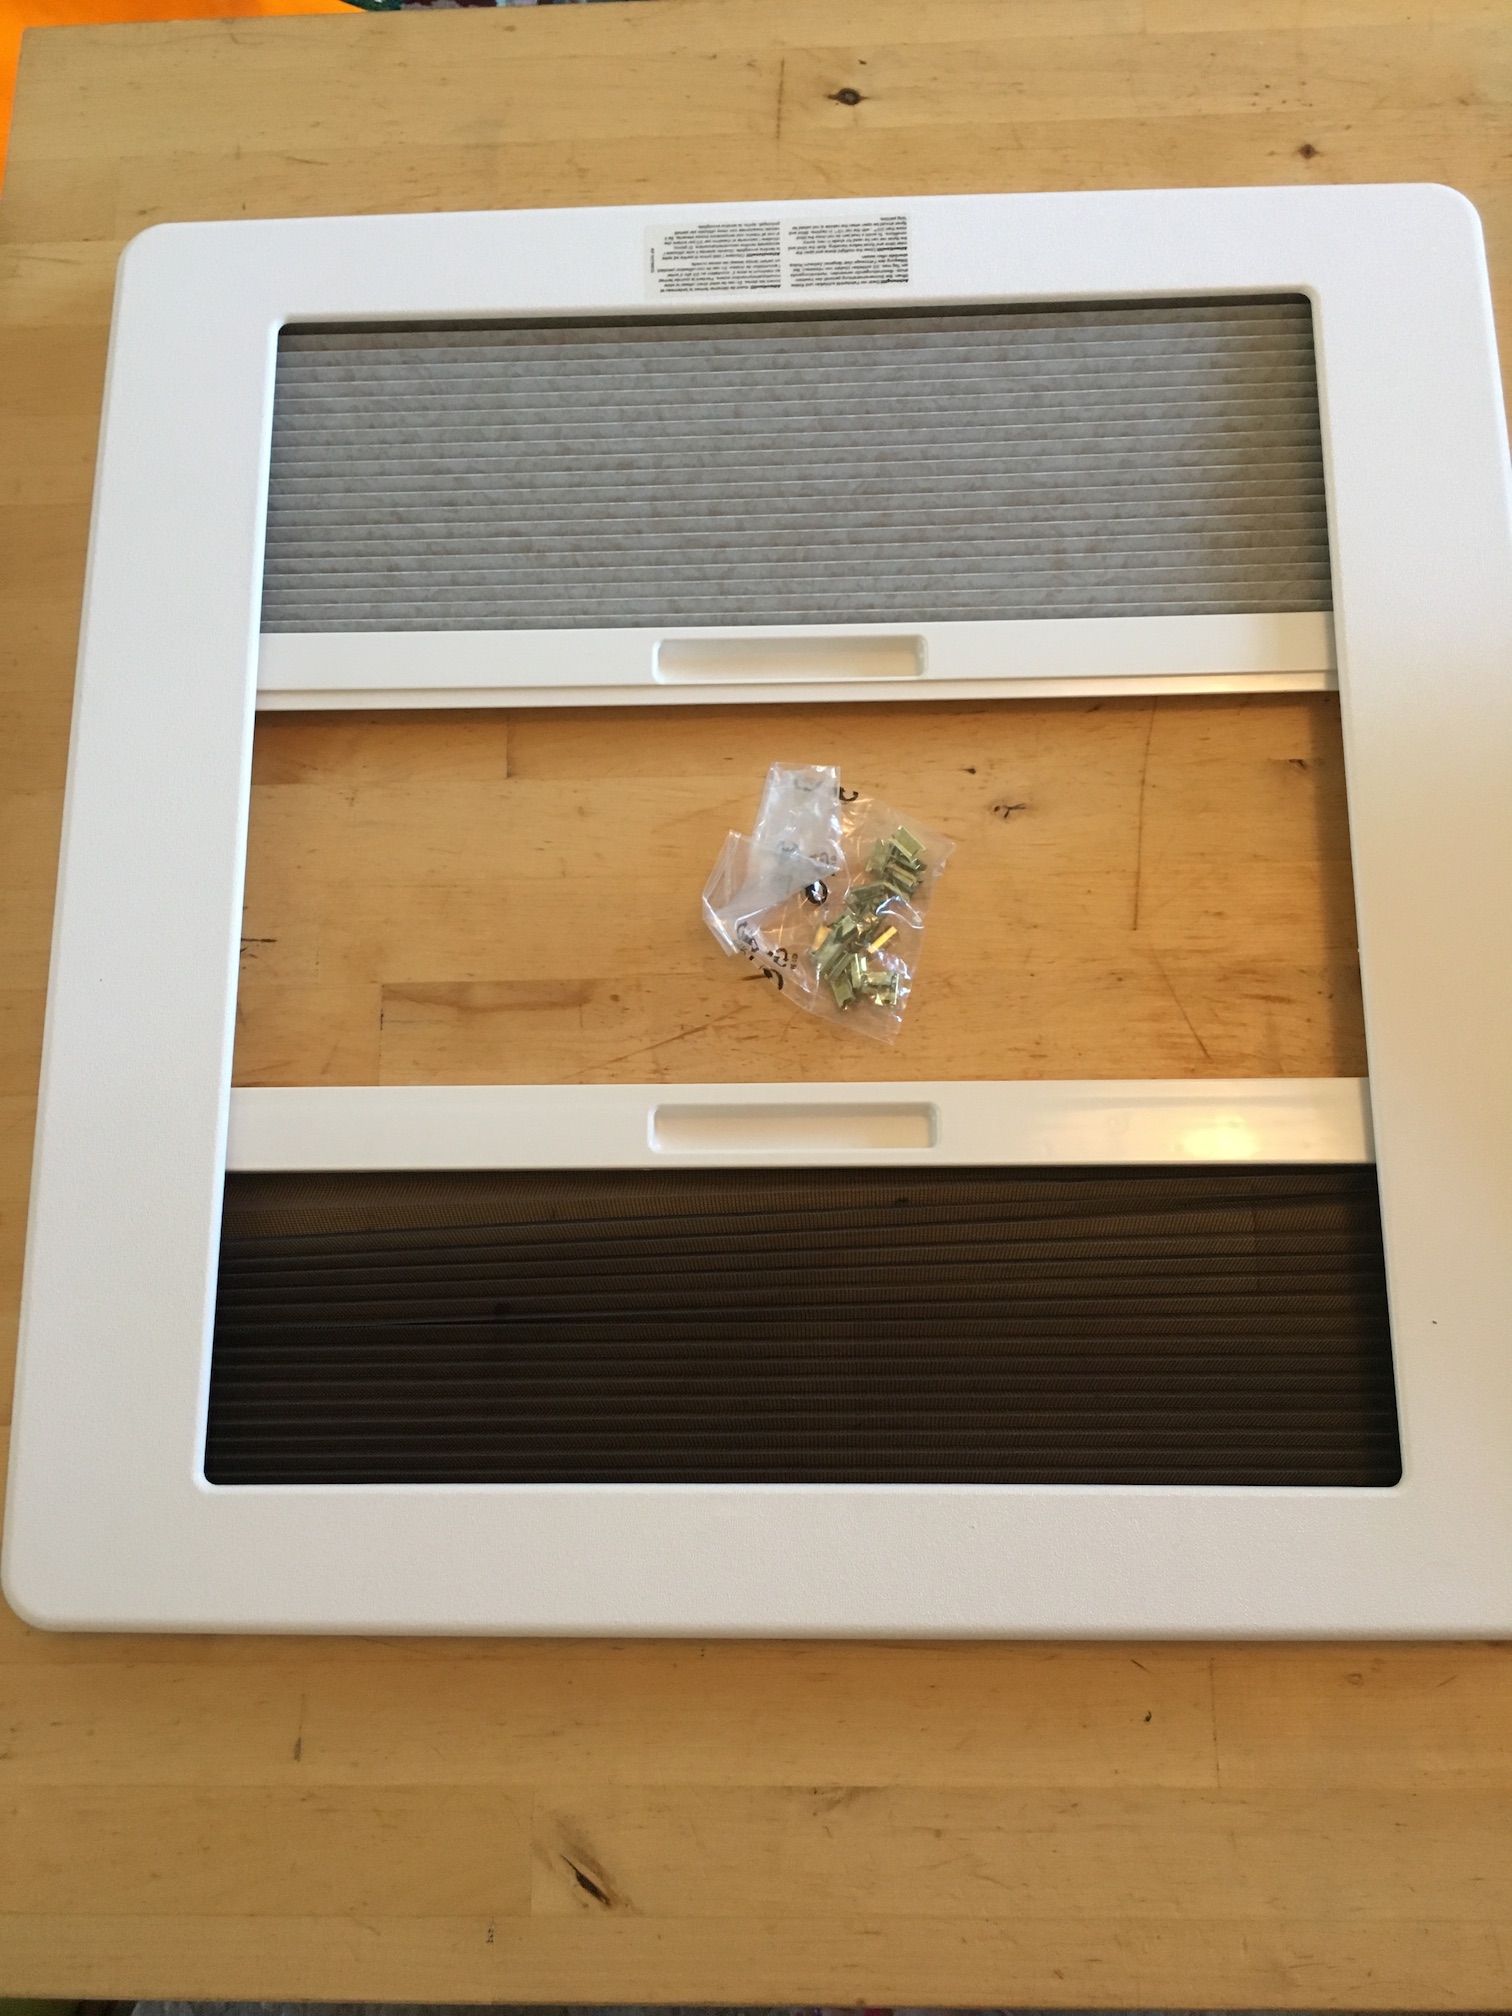
Here is the bit that fits inside the van:
Andrew had earlier made a 40cm square out of 12mm plywood, 50mm deep and held together with small metal brackets at the corners: you can see it in the video at the end but I forgot to photograph it.
This filled the gap inside the van between the bit of the roof light that sticks through the hole you’ve cut and the bit of plastic inside the van (way more complicated and fiddly than the maxxfan). You are supposed to measure the gap between the inside of the roof and the cladding of your van to calculate how much to chop off the plastic bit inside the van.
We haven’t insulated or cladded the van yet so we had no idea about this. The maximum depth the plastic can extend to without leaving a gap is 60mm anyway and since our celotex insulation is 50mm, Andrew thought the wooden frame should be 50mm deep. Turns out that this was a perfect guess.
The plastic bit that fits inside the van and is supposed to slot inside the plastic square poking down through the hole. The screws marry up and their plastic surrounds butt up against each other. This is what braces the inside part and outside part and holds the roof light in place.
Yep- we thought it was all rather flimsy too. So the wooden frame is to prevent too much compression.
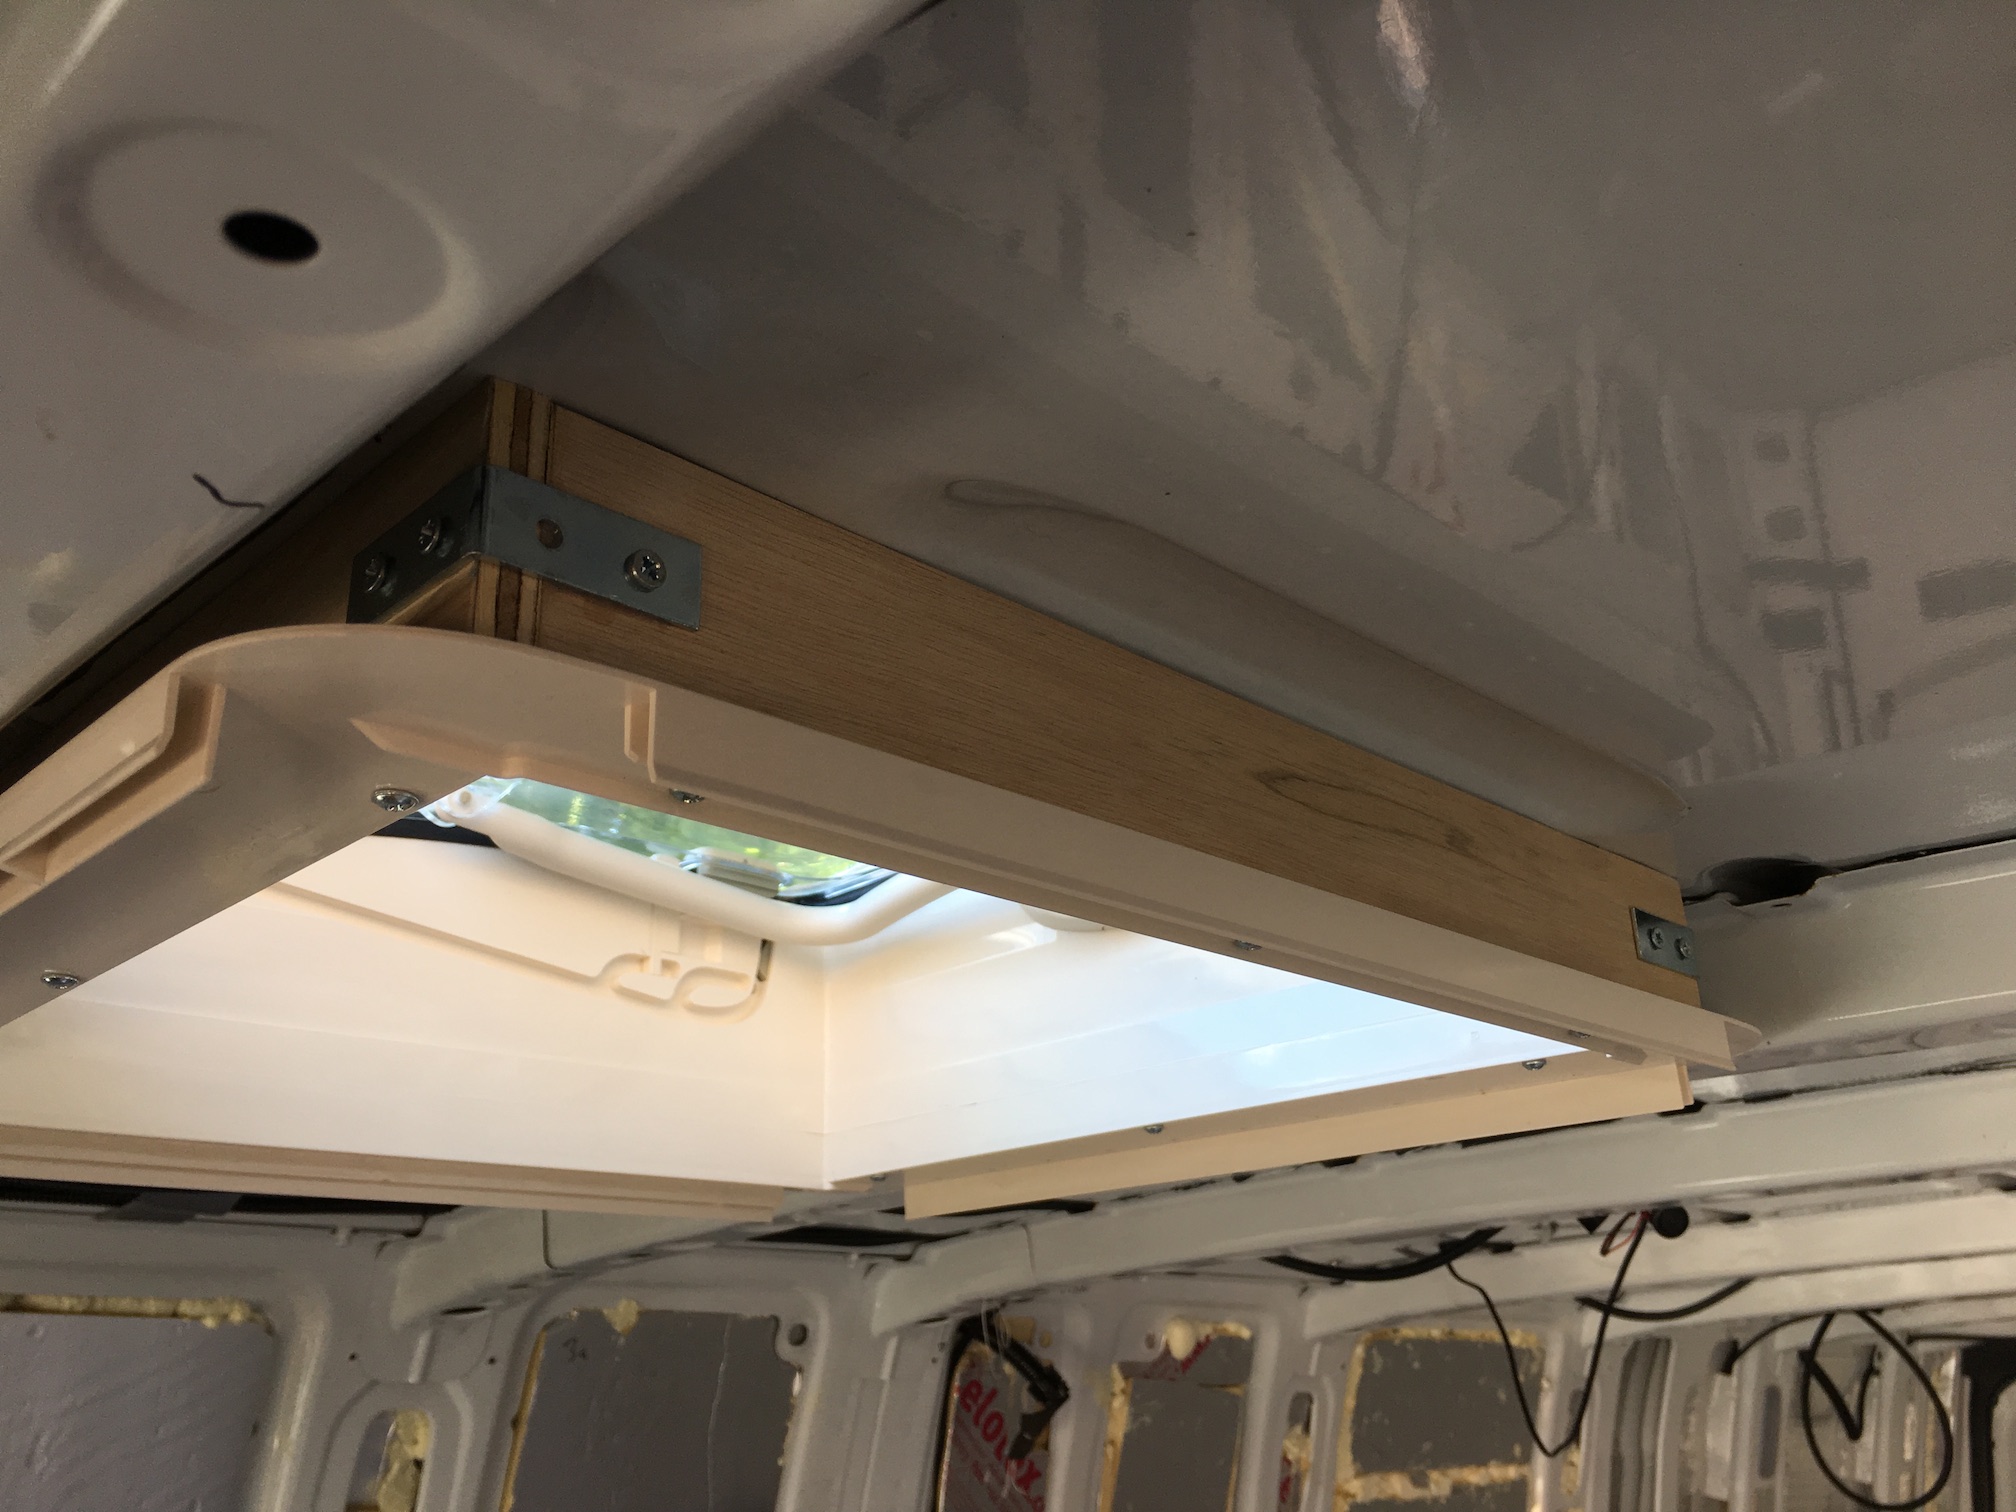
Later you clip the rather hideous peachy plastic trim to the plastic bit I’ve just screwed into place. Won’t be doing that till we’ve cladded the van inside.
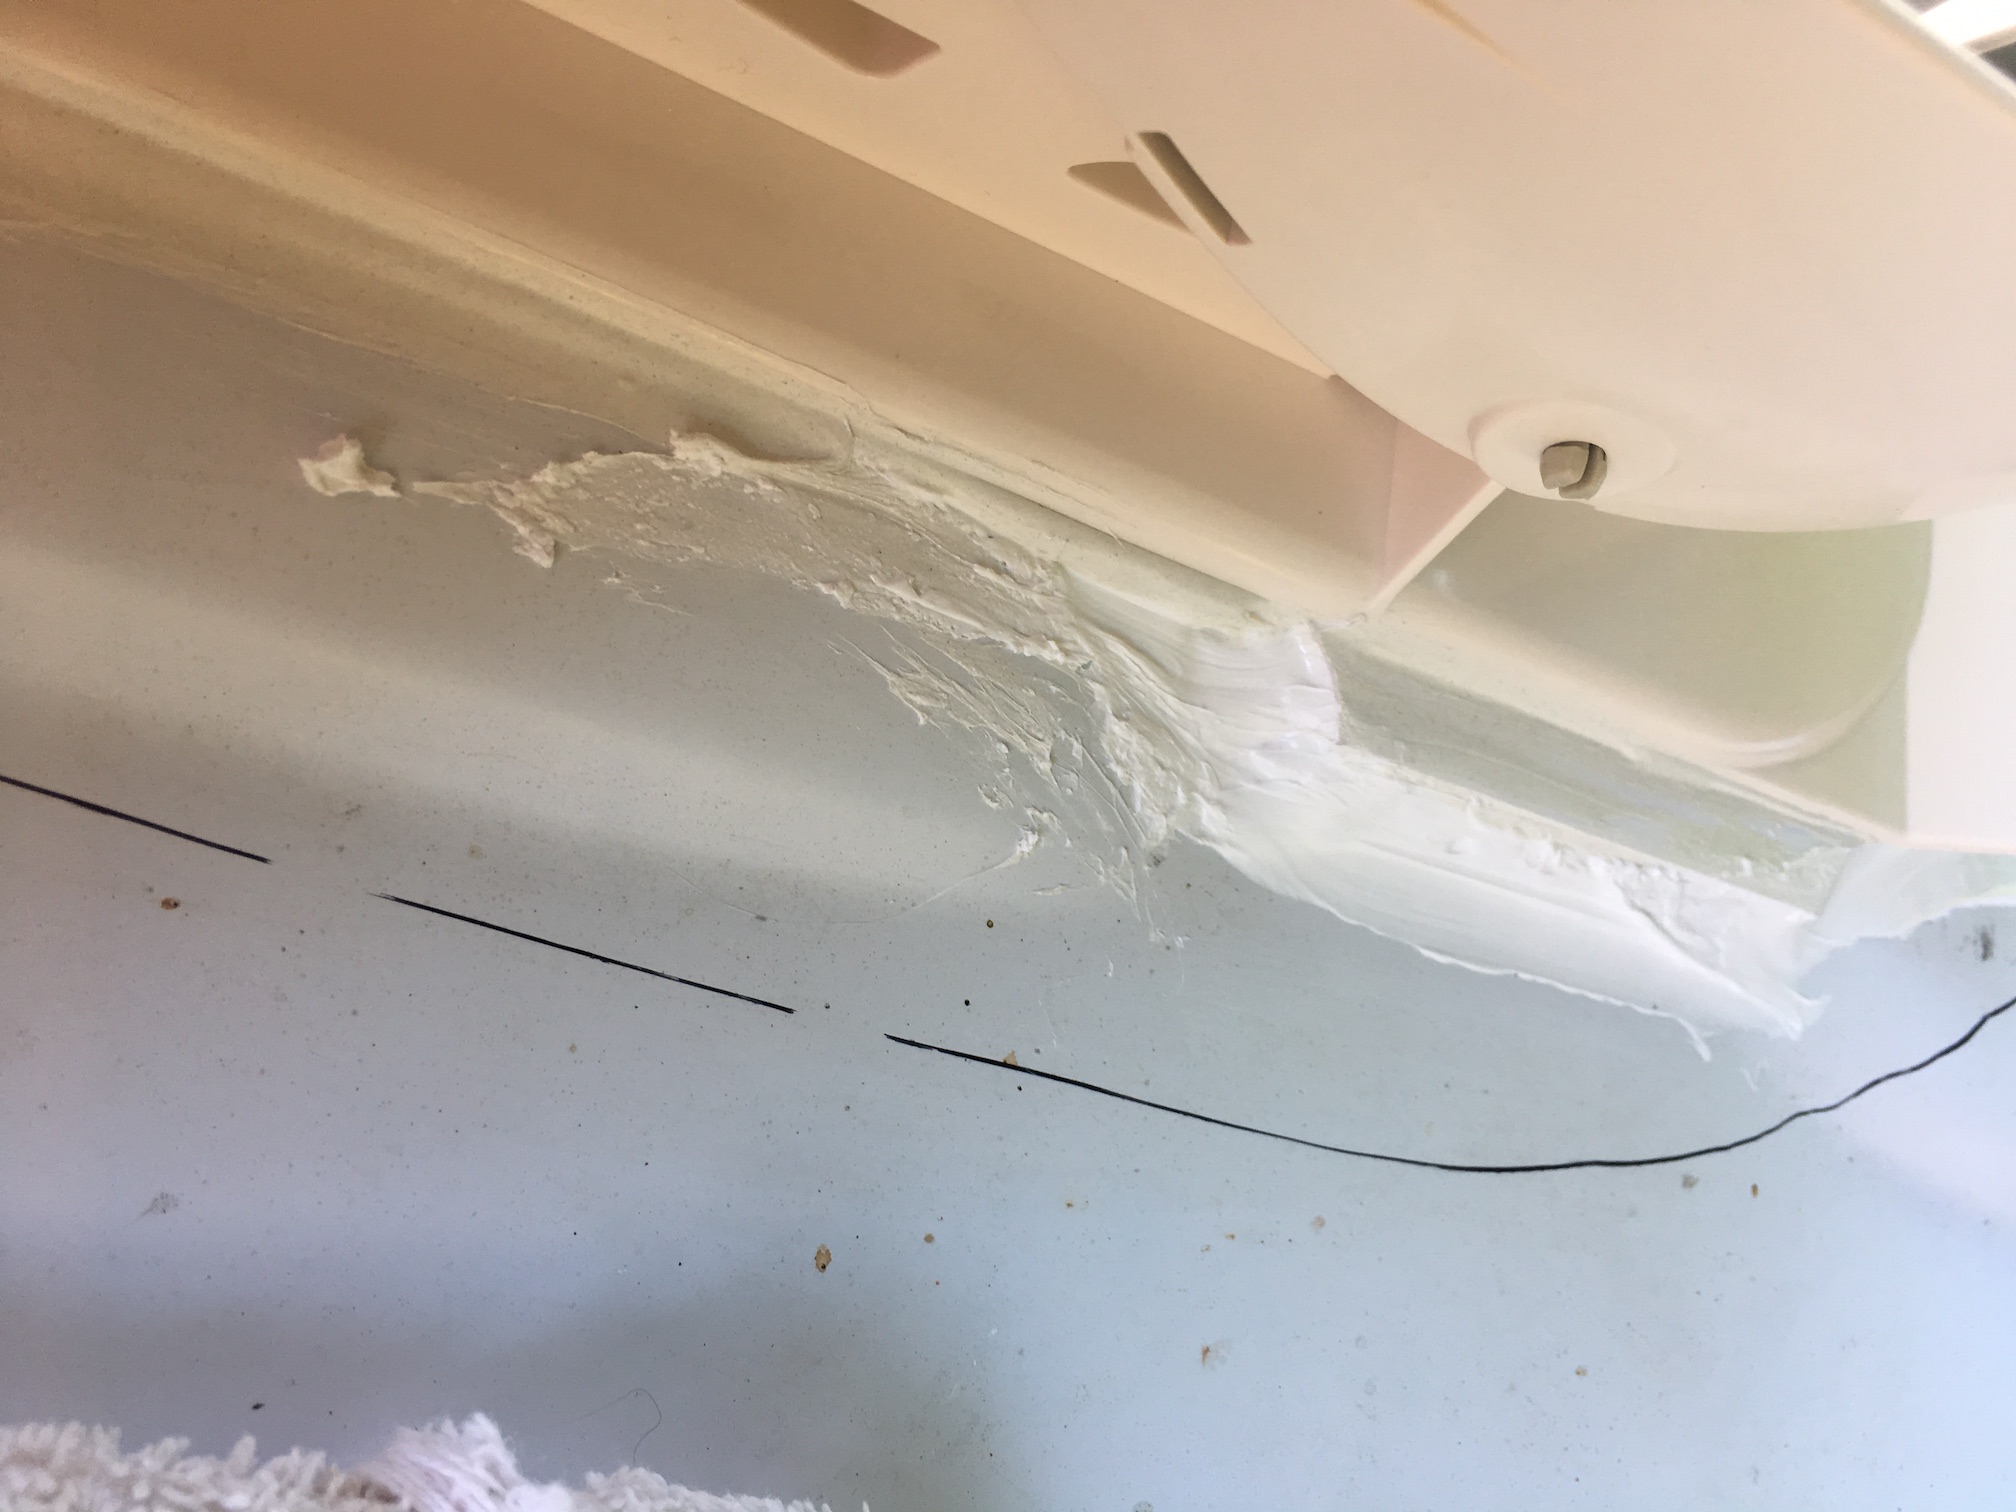
Next I went back onto the roof and attempted to clear up the bulgy bits of sealant. Not very successfully – it looked rather a mess.
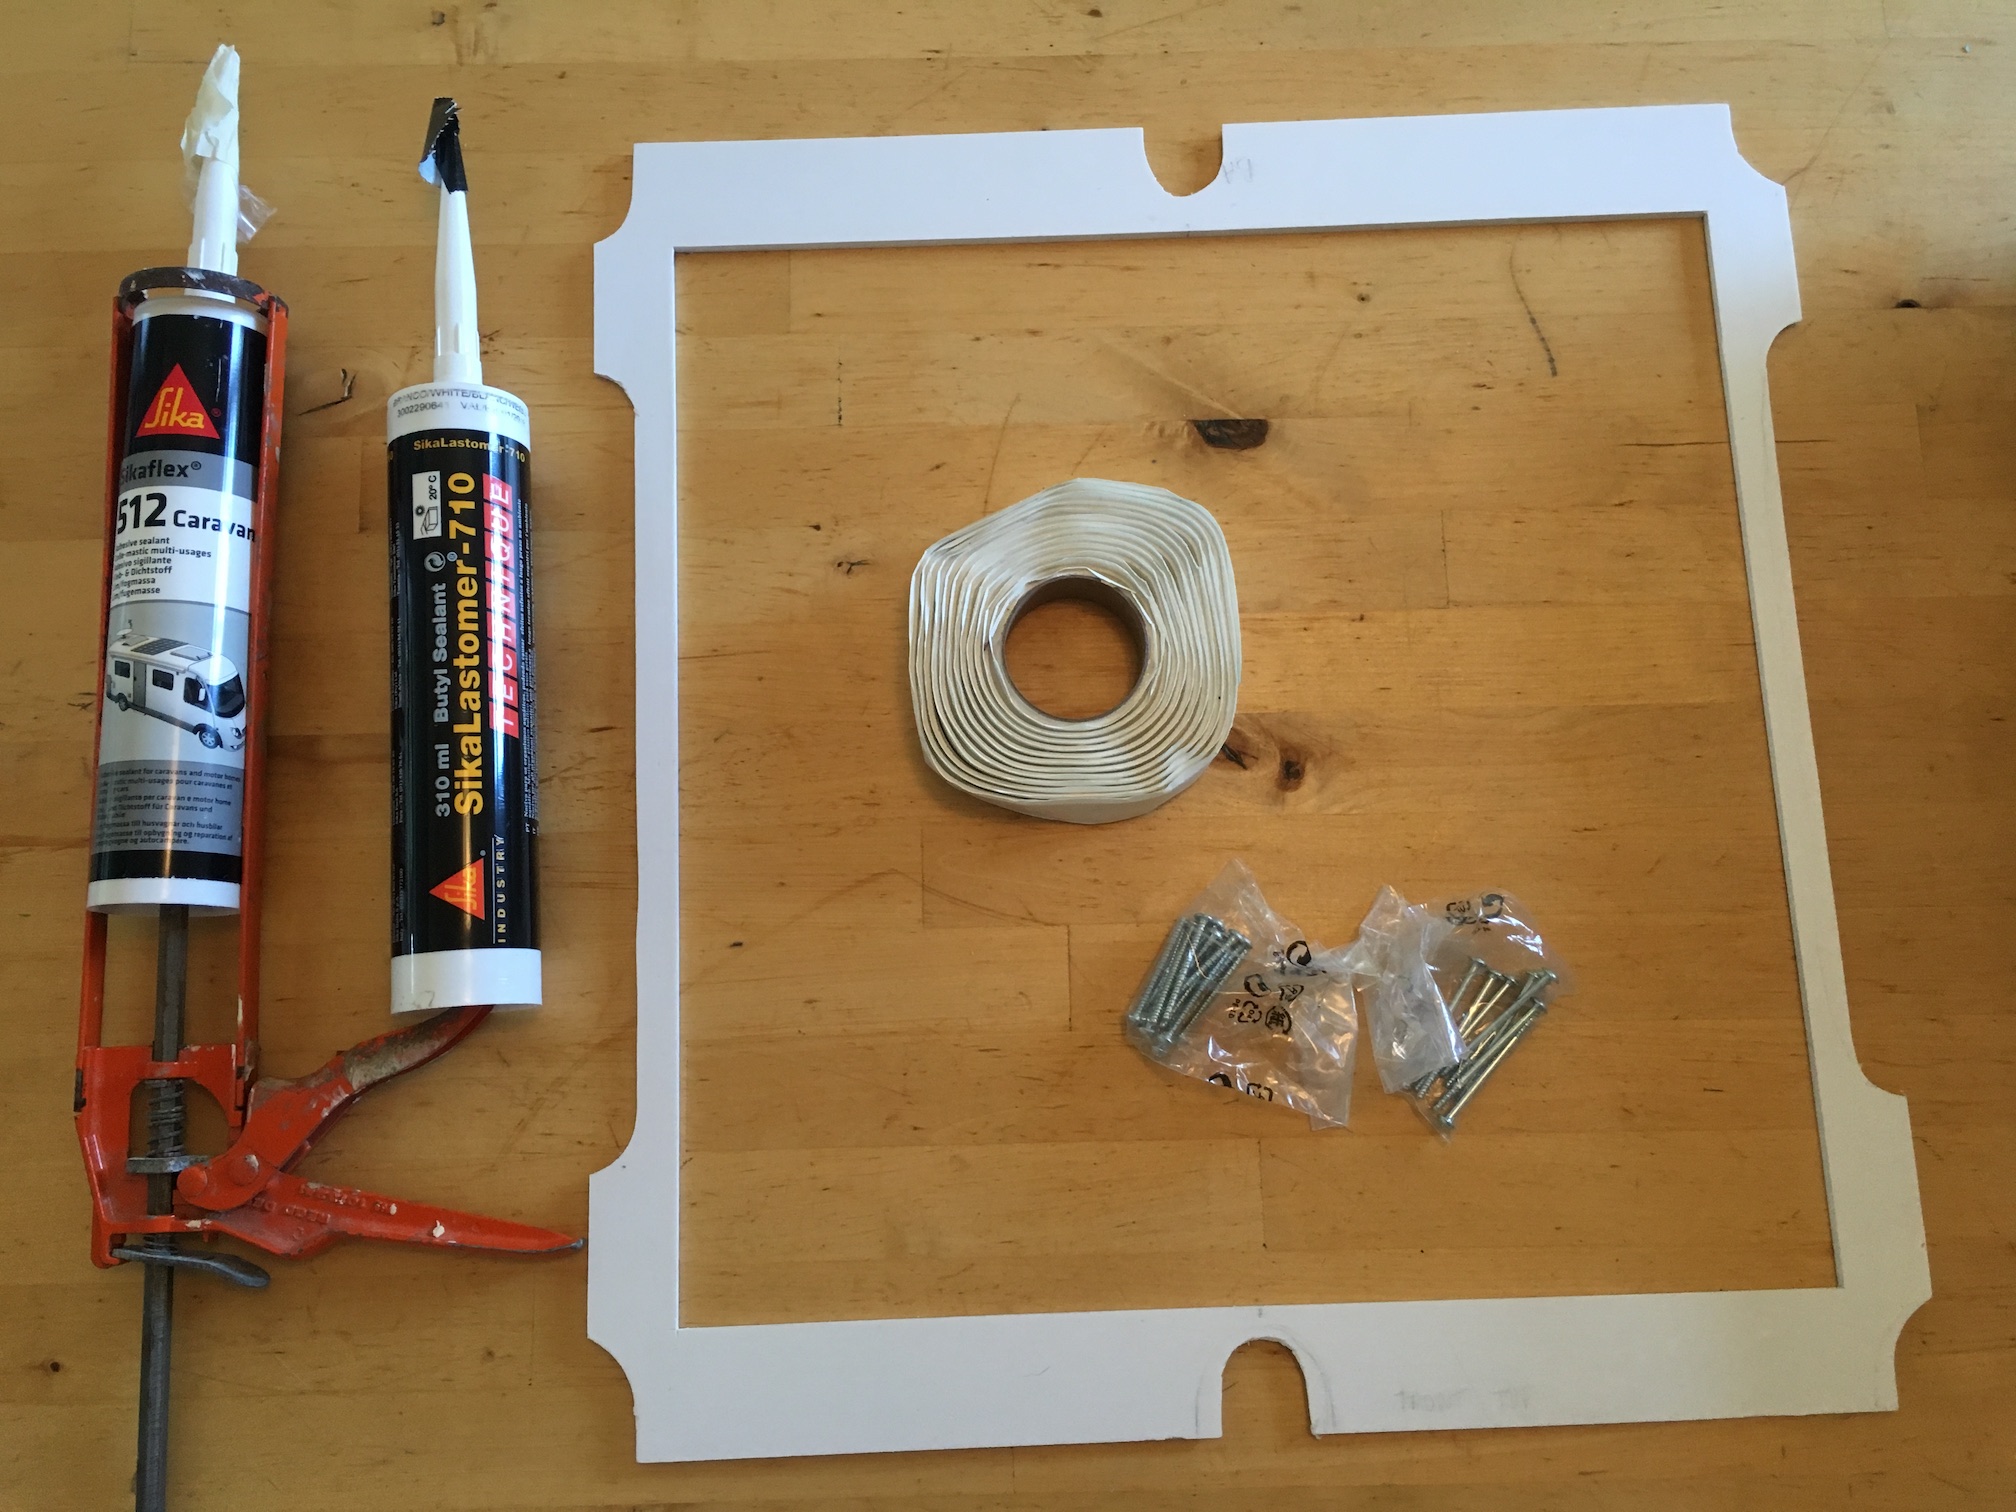
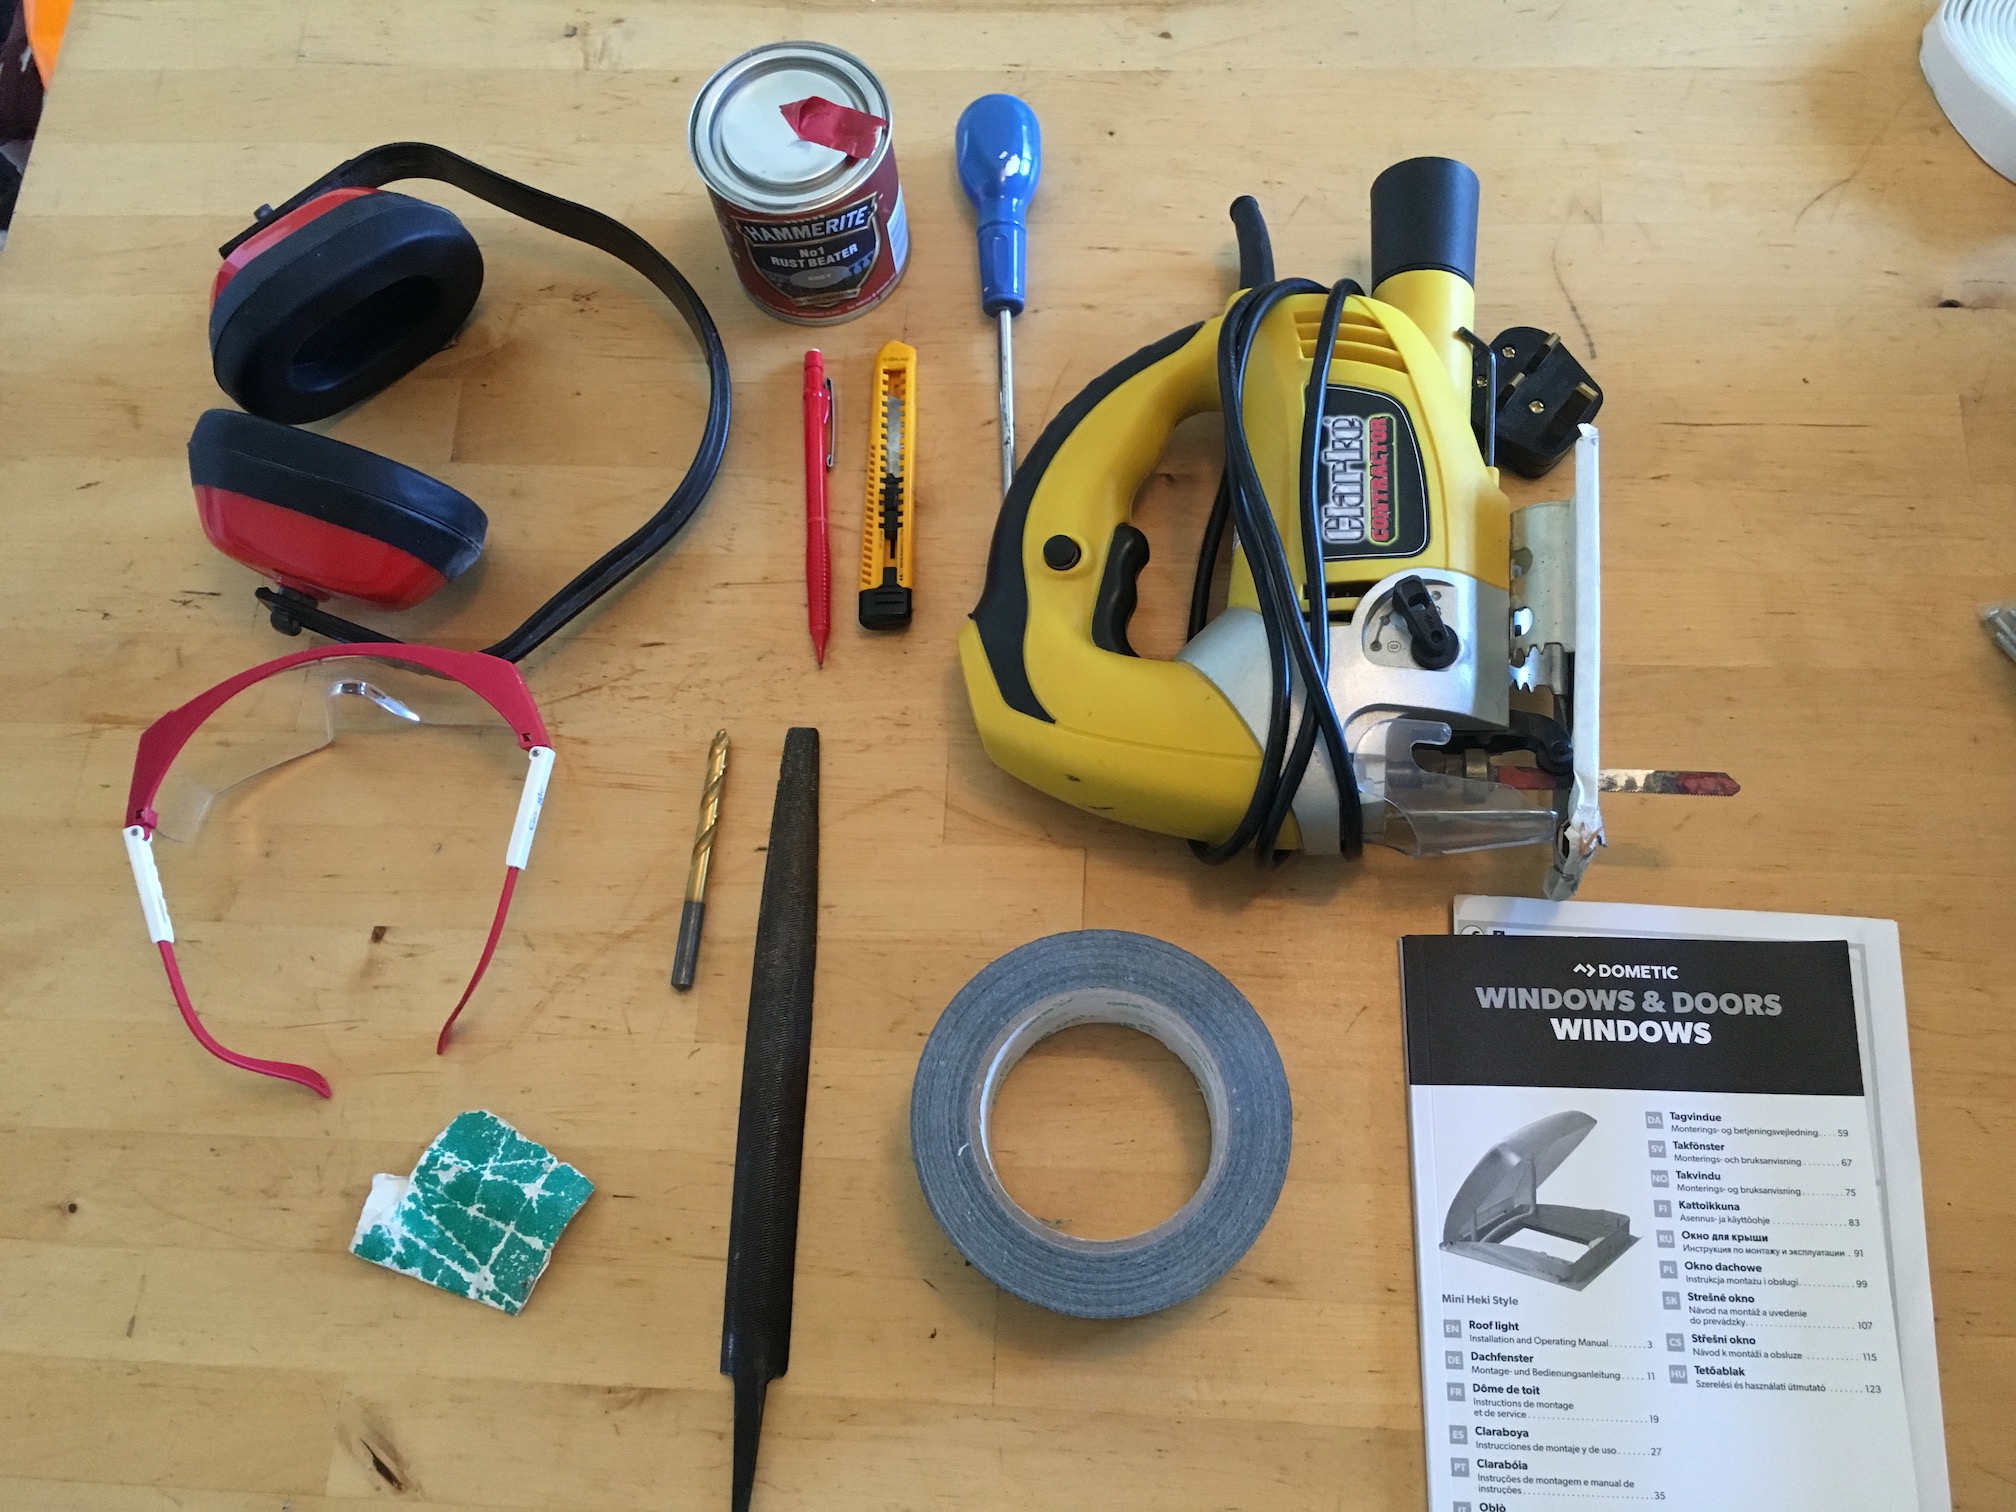
Here are the tools I needed for the job.
Ladder, Towel, Jigsaw with metal blade, Drill and 10mm drill bit for metal, extension cable, hoover, ear muffs, googles, Hammerite paint and small brush, metal file, Sharpie, ruler, set square, tape measure, pencil, punch and hammer, duck tape, masking tape, large bin liner, paper towel, degreaser (strong detergent), sandpaper, butyl tape (20mm X 9 metres was plenty) SikaLastomer 710, Sika Caraven sealant 512, caulking gun, screw drivers, a few bits of wood and angle brackets and a couple of large clamps, a sheet of 6mm plastic, Stanley knife.
Here is the Plastic insert I made, Sikaflex caravan sealant 512, Sika Lastomer 710,
Here’s the video:

Leave a comment