So this post was drafted as we nearly came to the end of fitting the gas tank and bits and pieces. We were waiting on an inspection by a gas safe engineer who pressure tested the system with a small amount of gas before we filled it with gas. Of course there was always the possibility that he would take one peek at the set up and condemn it before we even got to the test. As it was, he made a few small changes and also discovered that the whole set up was somewhat leaky and the engineer pretty much redid all the joints. He also pointed out that for about the same price as we had paid for everything in the end, they could have installed an almost identical setup and saved us all the pain. (For the record, that is the Propex engineers in Southampton).
Part 1 finished with us waiting for some special brackets to be made because our Sprinter is apparently unusual in that it is missing an essential bit of steel that the gas tank should have bolted on to. We had an 81cm gap instead of a 55cm gap.
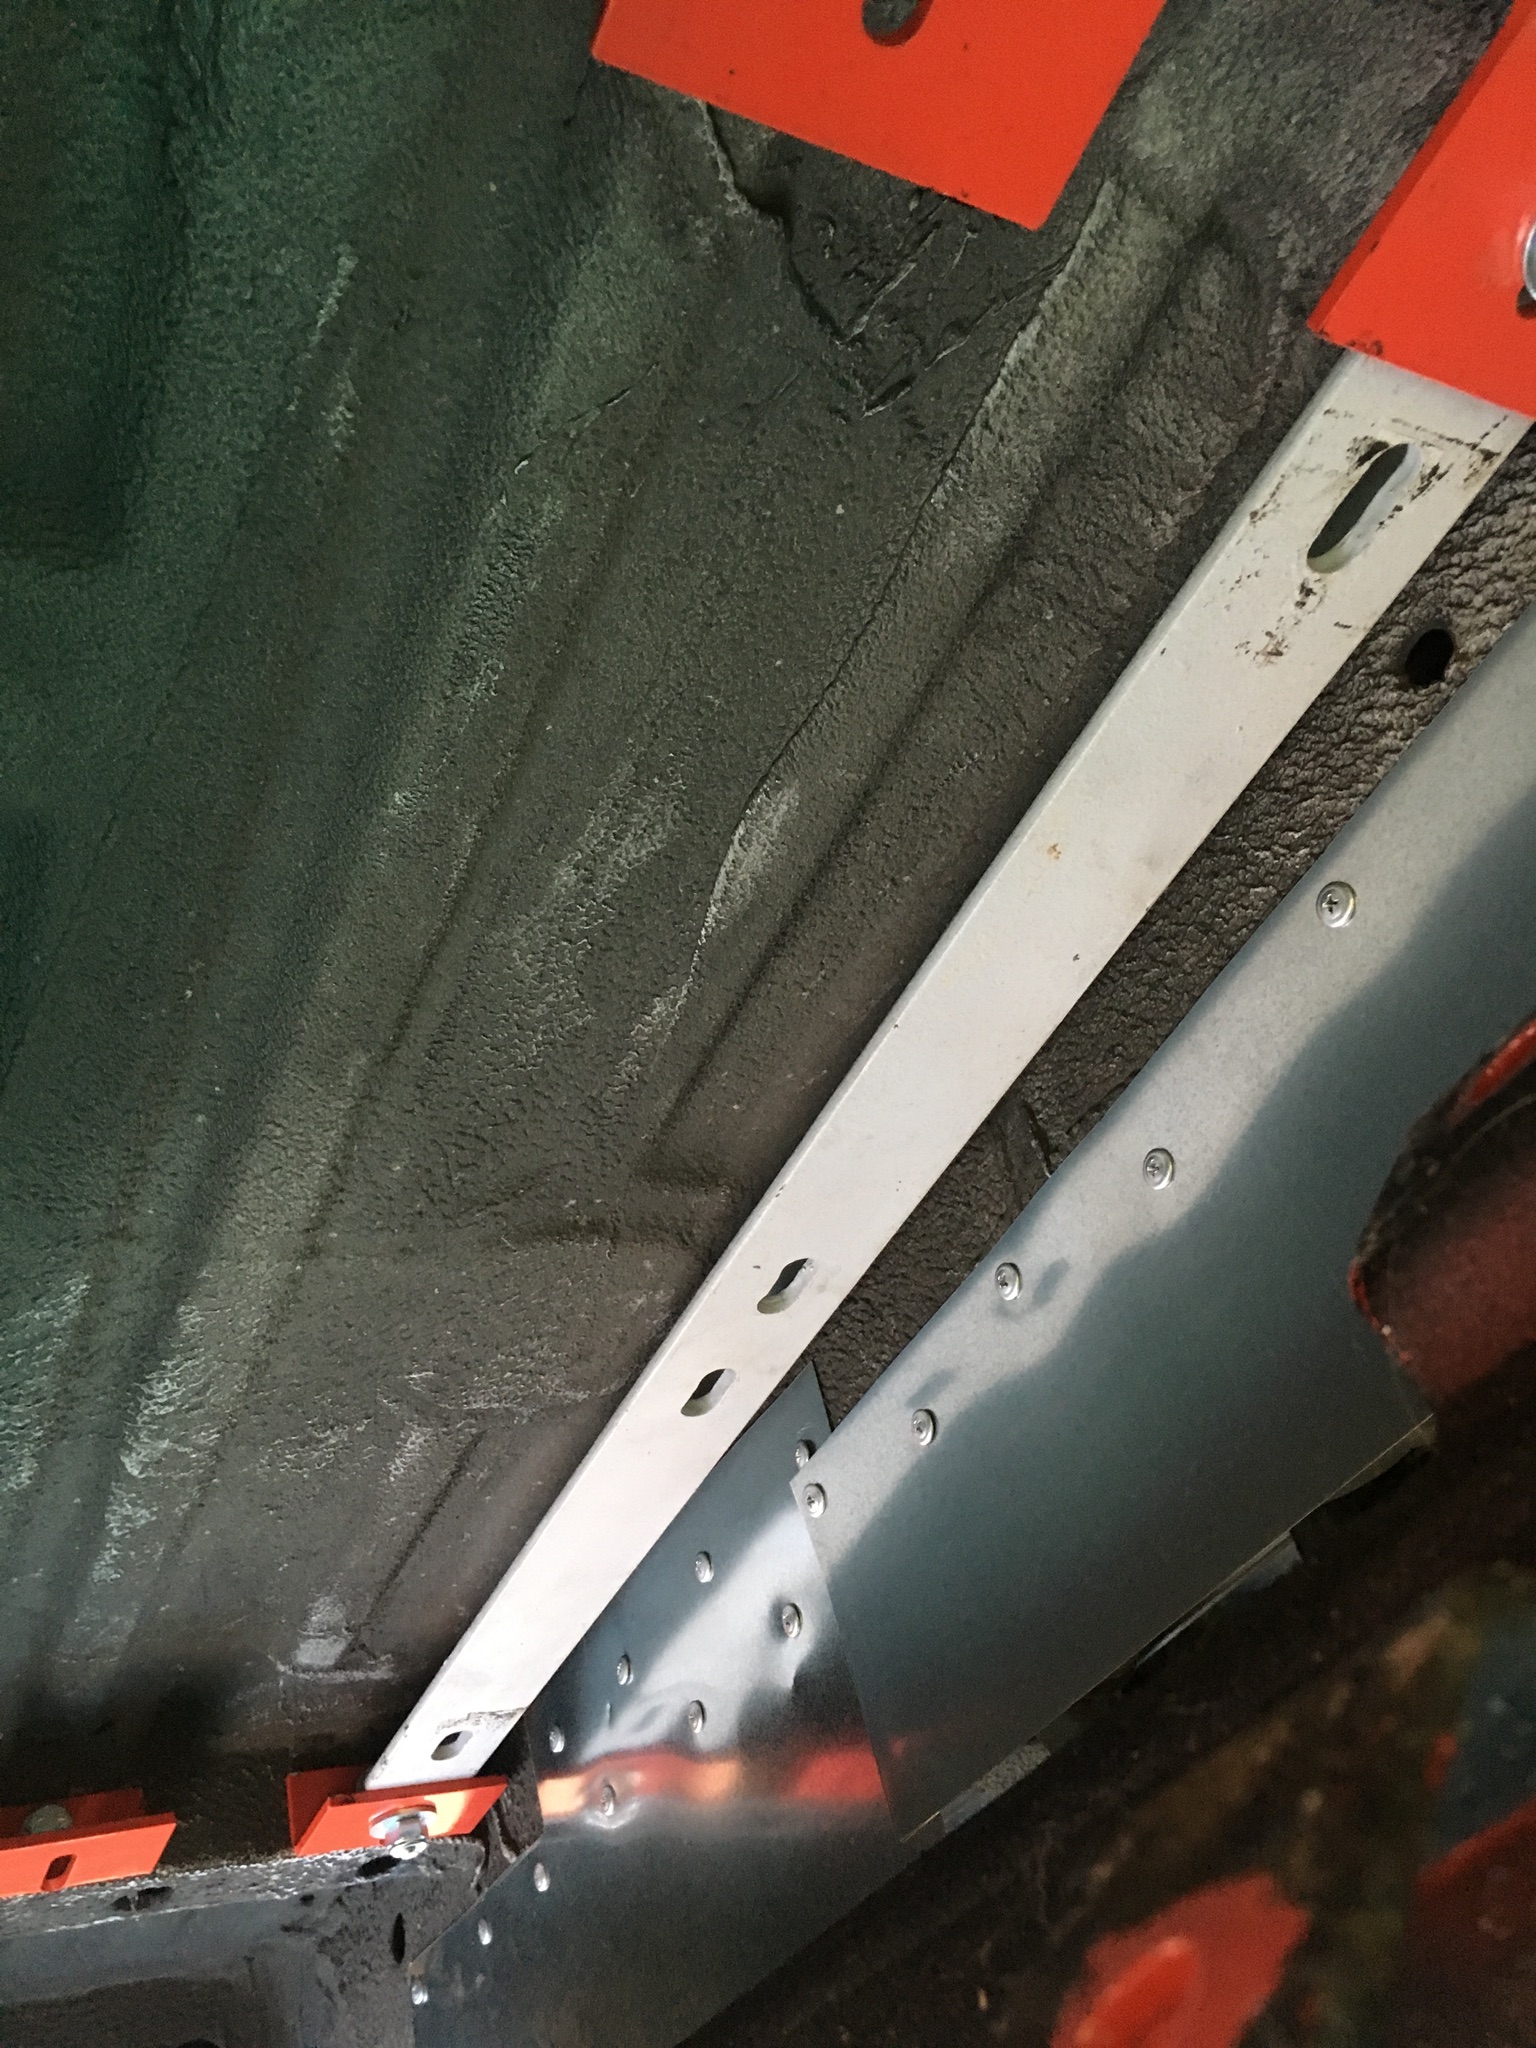
Anyway, at a cost of another £45 two steel angle irons were cut to length, had one side of the angle shaved from 5cm to 4cm and then had holes drilled at appropriate points (twice because I got my mm and cm mixed up and the first lot of holes were 60mm apart, not 60cm)
Then we used the original brackets from Gasit and bolted these to the outriggers under the van.
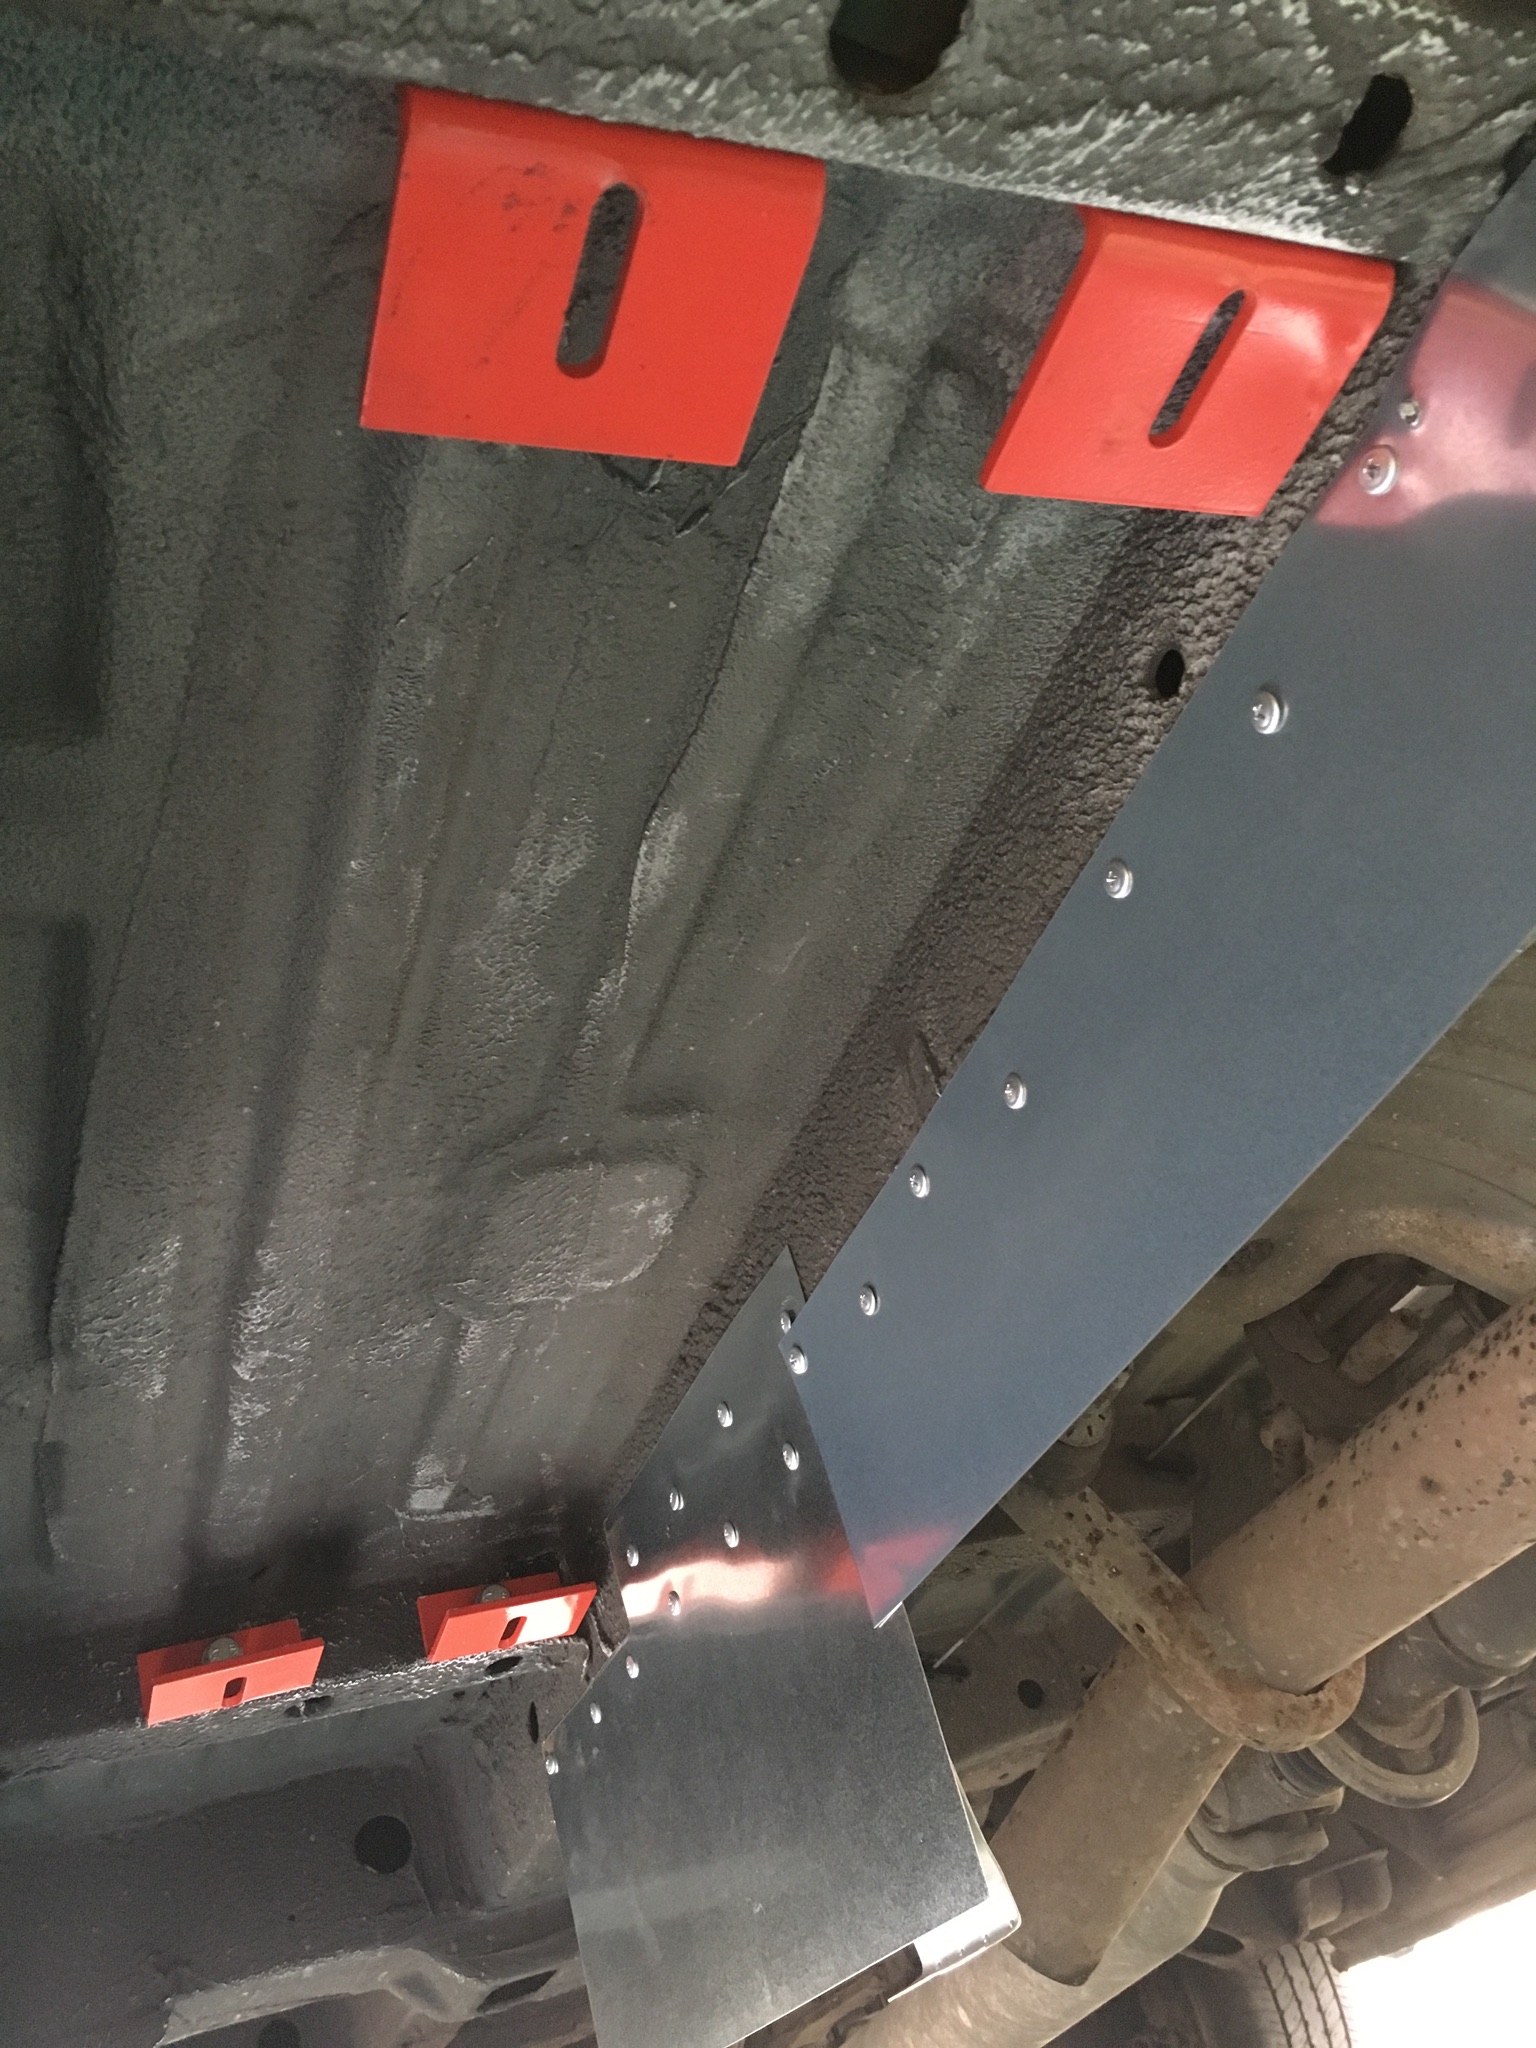
As you can see, we had another worry. This time that the exhaust would be venting onto the tank and it’s fittings, and the heat would make us into an IED. So we tried to fashion a heat shield from sheets of galvanised steel that we got from Wickes ( actually sold as protective door plates I think) which we screwed directly to the main chassis beam that runs the length of the van.
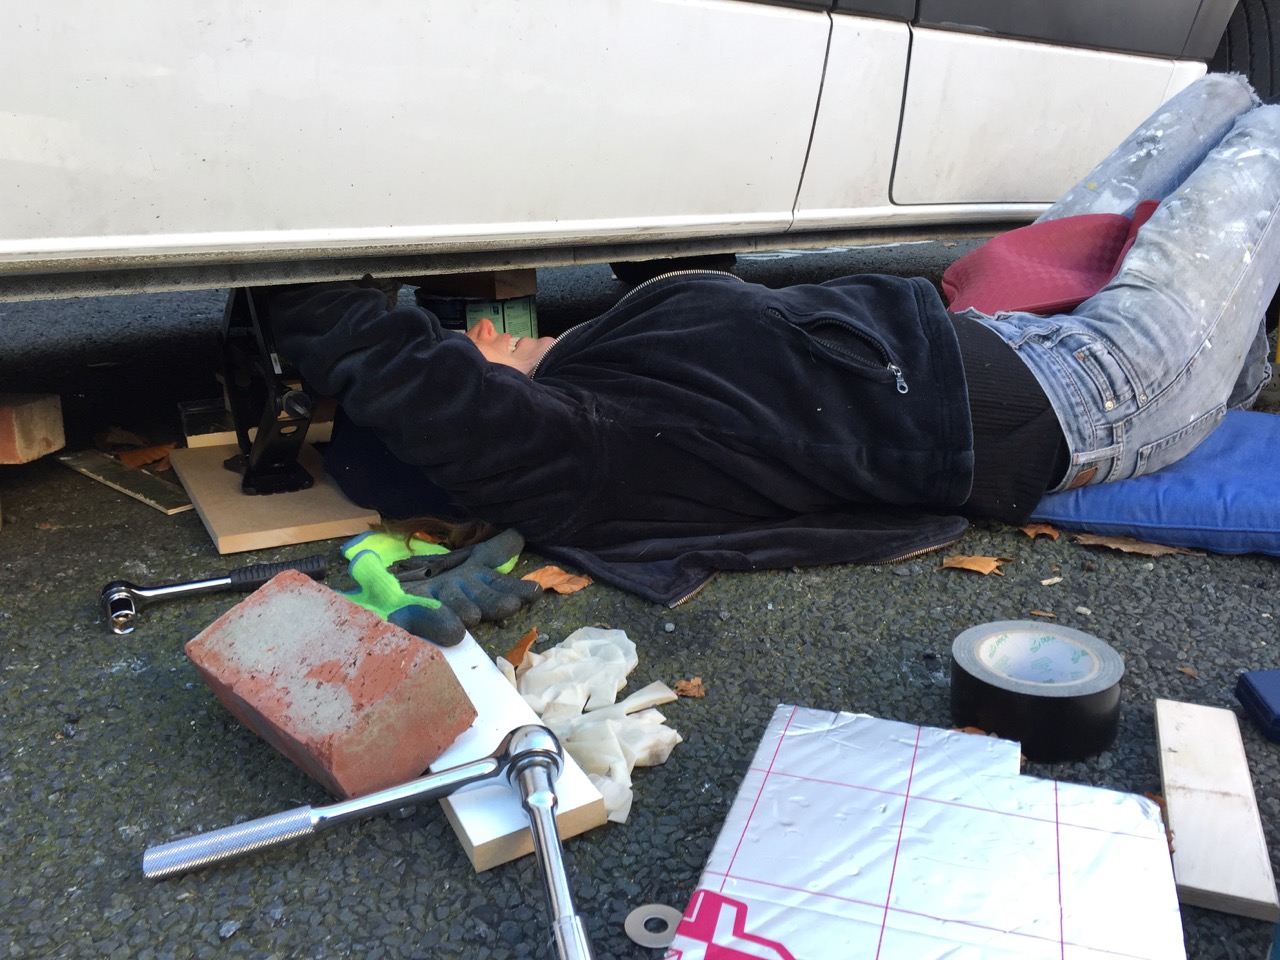
The next job was to fit the angle irons to the red brackets followed by the feet of the gas tank to the angle irons. The problem was that the bolts attaching the angle iron to the bracket and tank closest to the heat shield would no longer be accessible after the second angle iron was in place so we had to fit the tank and one angle iron first, and then somehow squeeze in the second angle iron and the next set of bolts, all in a very awkward space, with the tank supported on a car jack and some paint pots and in sub zero temperatures
You can see that even though we set the tank as close to the main chassis beam as we could, there was still barely enough room to manoeuvre and also very little space to access the airbox (where the tank in and out valves are housed)
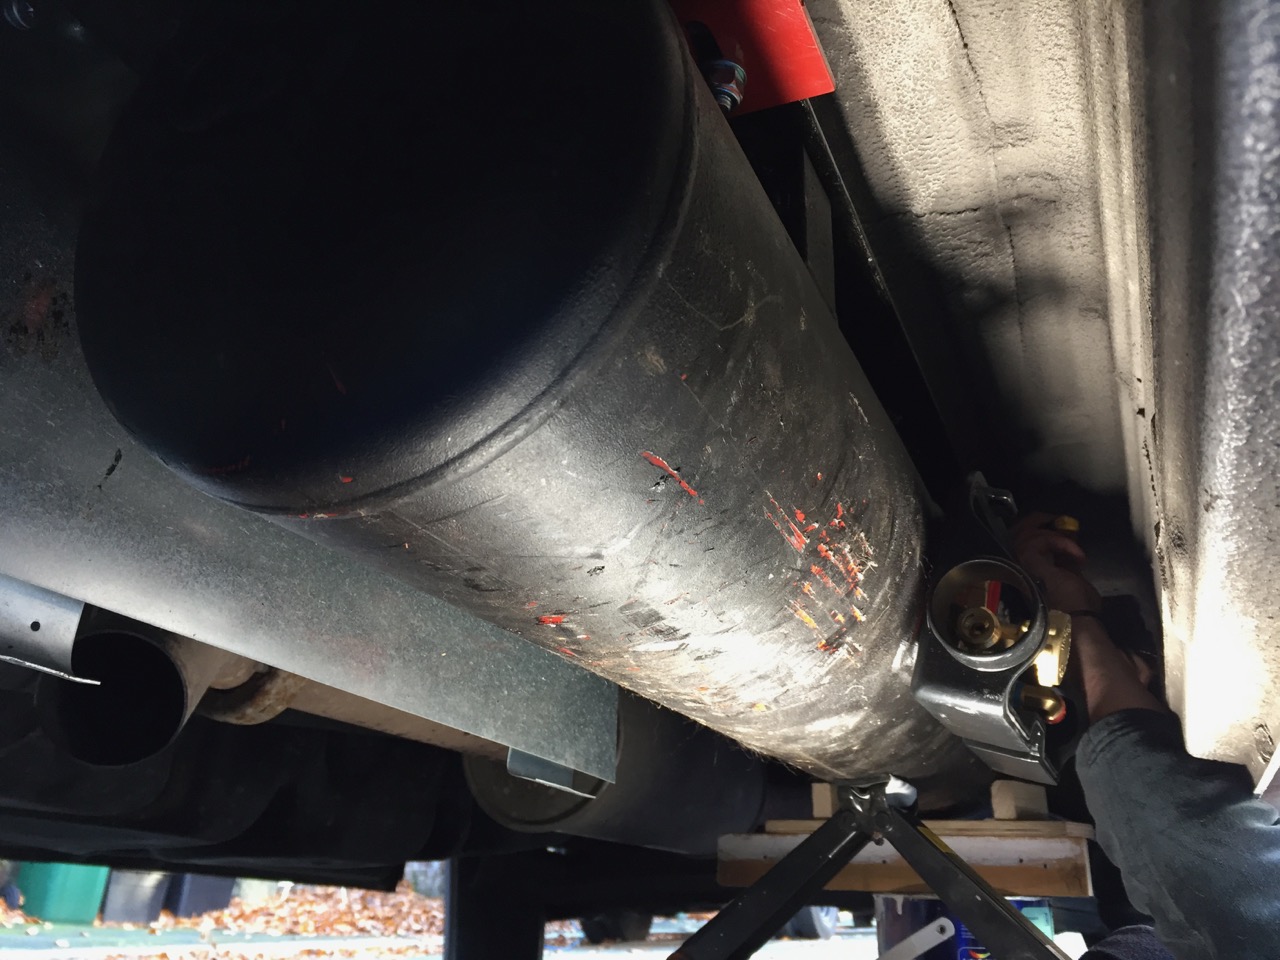
You can also see that the underbody seal stuff just rubs off the tank. It stayed pretty sticky for about 2 weeks after spraying it on which made the whole job even more unpleasant. It’s like tar.
Once the tank was secured we drilled the hole for the fill point in the pillar behind the driver door. This is hollow and has a handy rubbery bung underneath to allow access into the pillar.
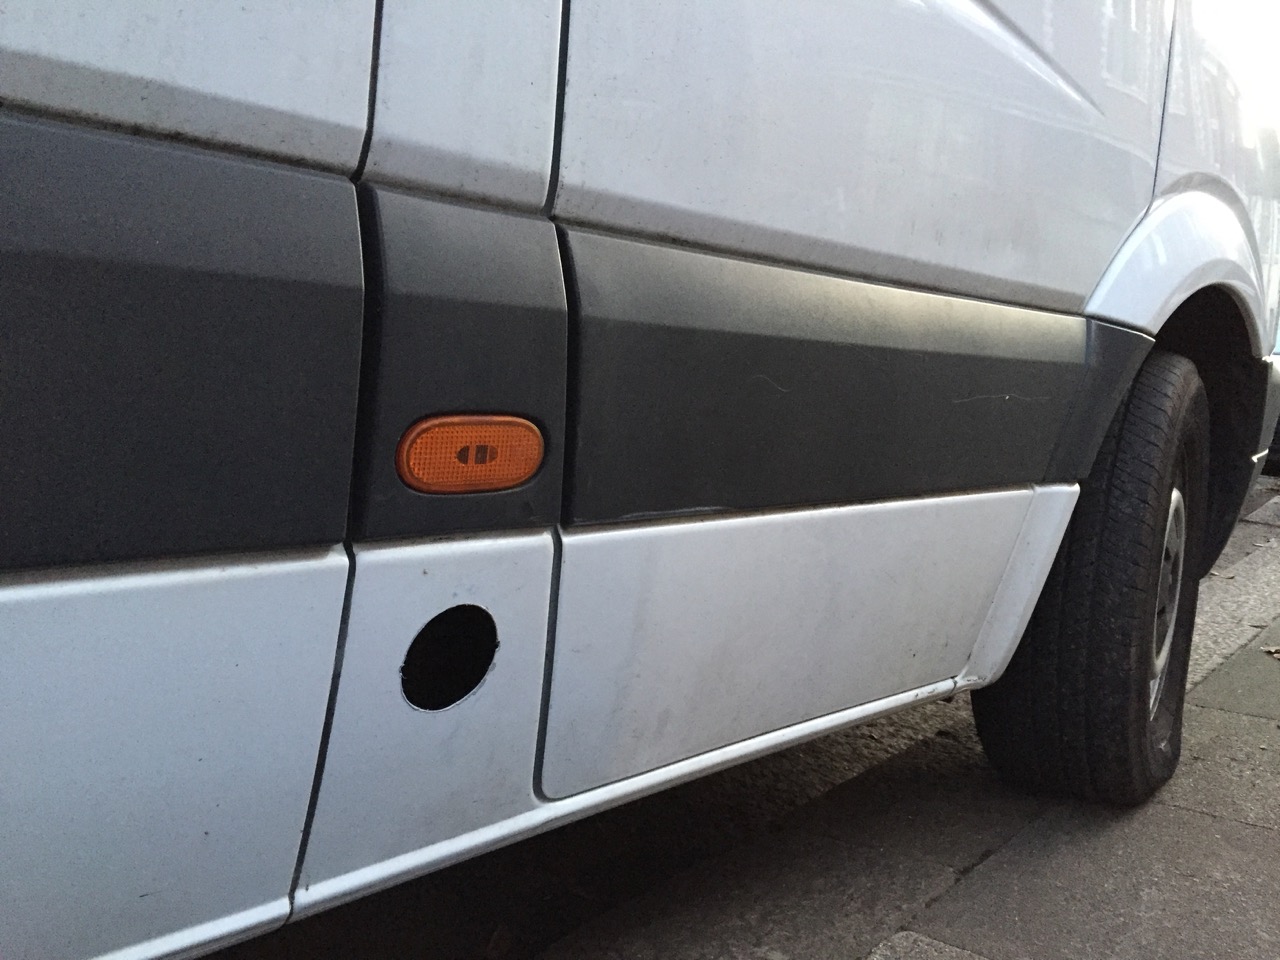
I had ordered an angled fill point, but a straight one probably would have been better.

We fitted a 75cm angled fill hose to this fillpoint and fed it through a hole drilled through the side of the pillar which you can just see in this picture. I was worried that the hose would chafe so glued in a bit a plastic drainpipe to this hole to guide the fill pipe round the corner. 75cm was only just long enough. A longer fill pipe would have been better here, but this bit was a breeze compared to fitting the tank.
The fillpoint looks fine from the outside too
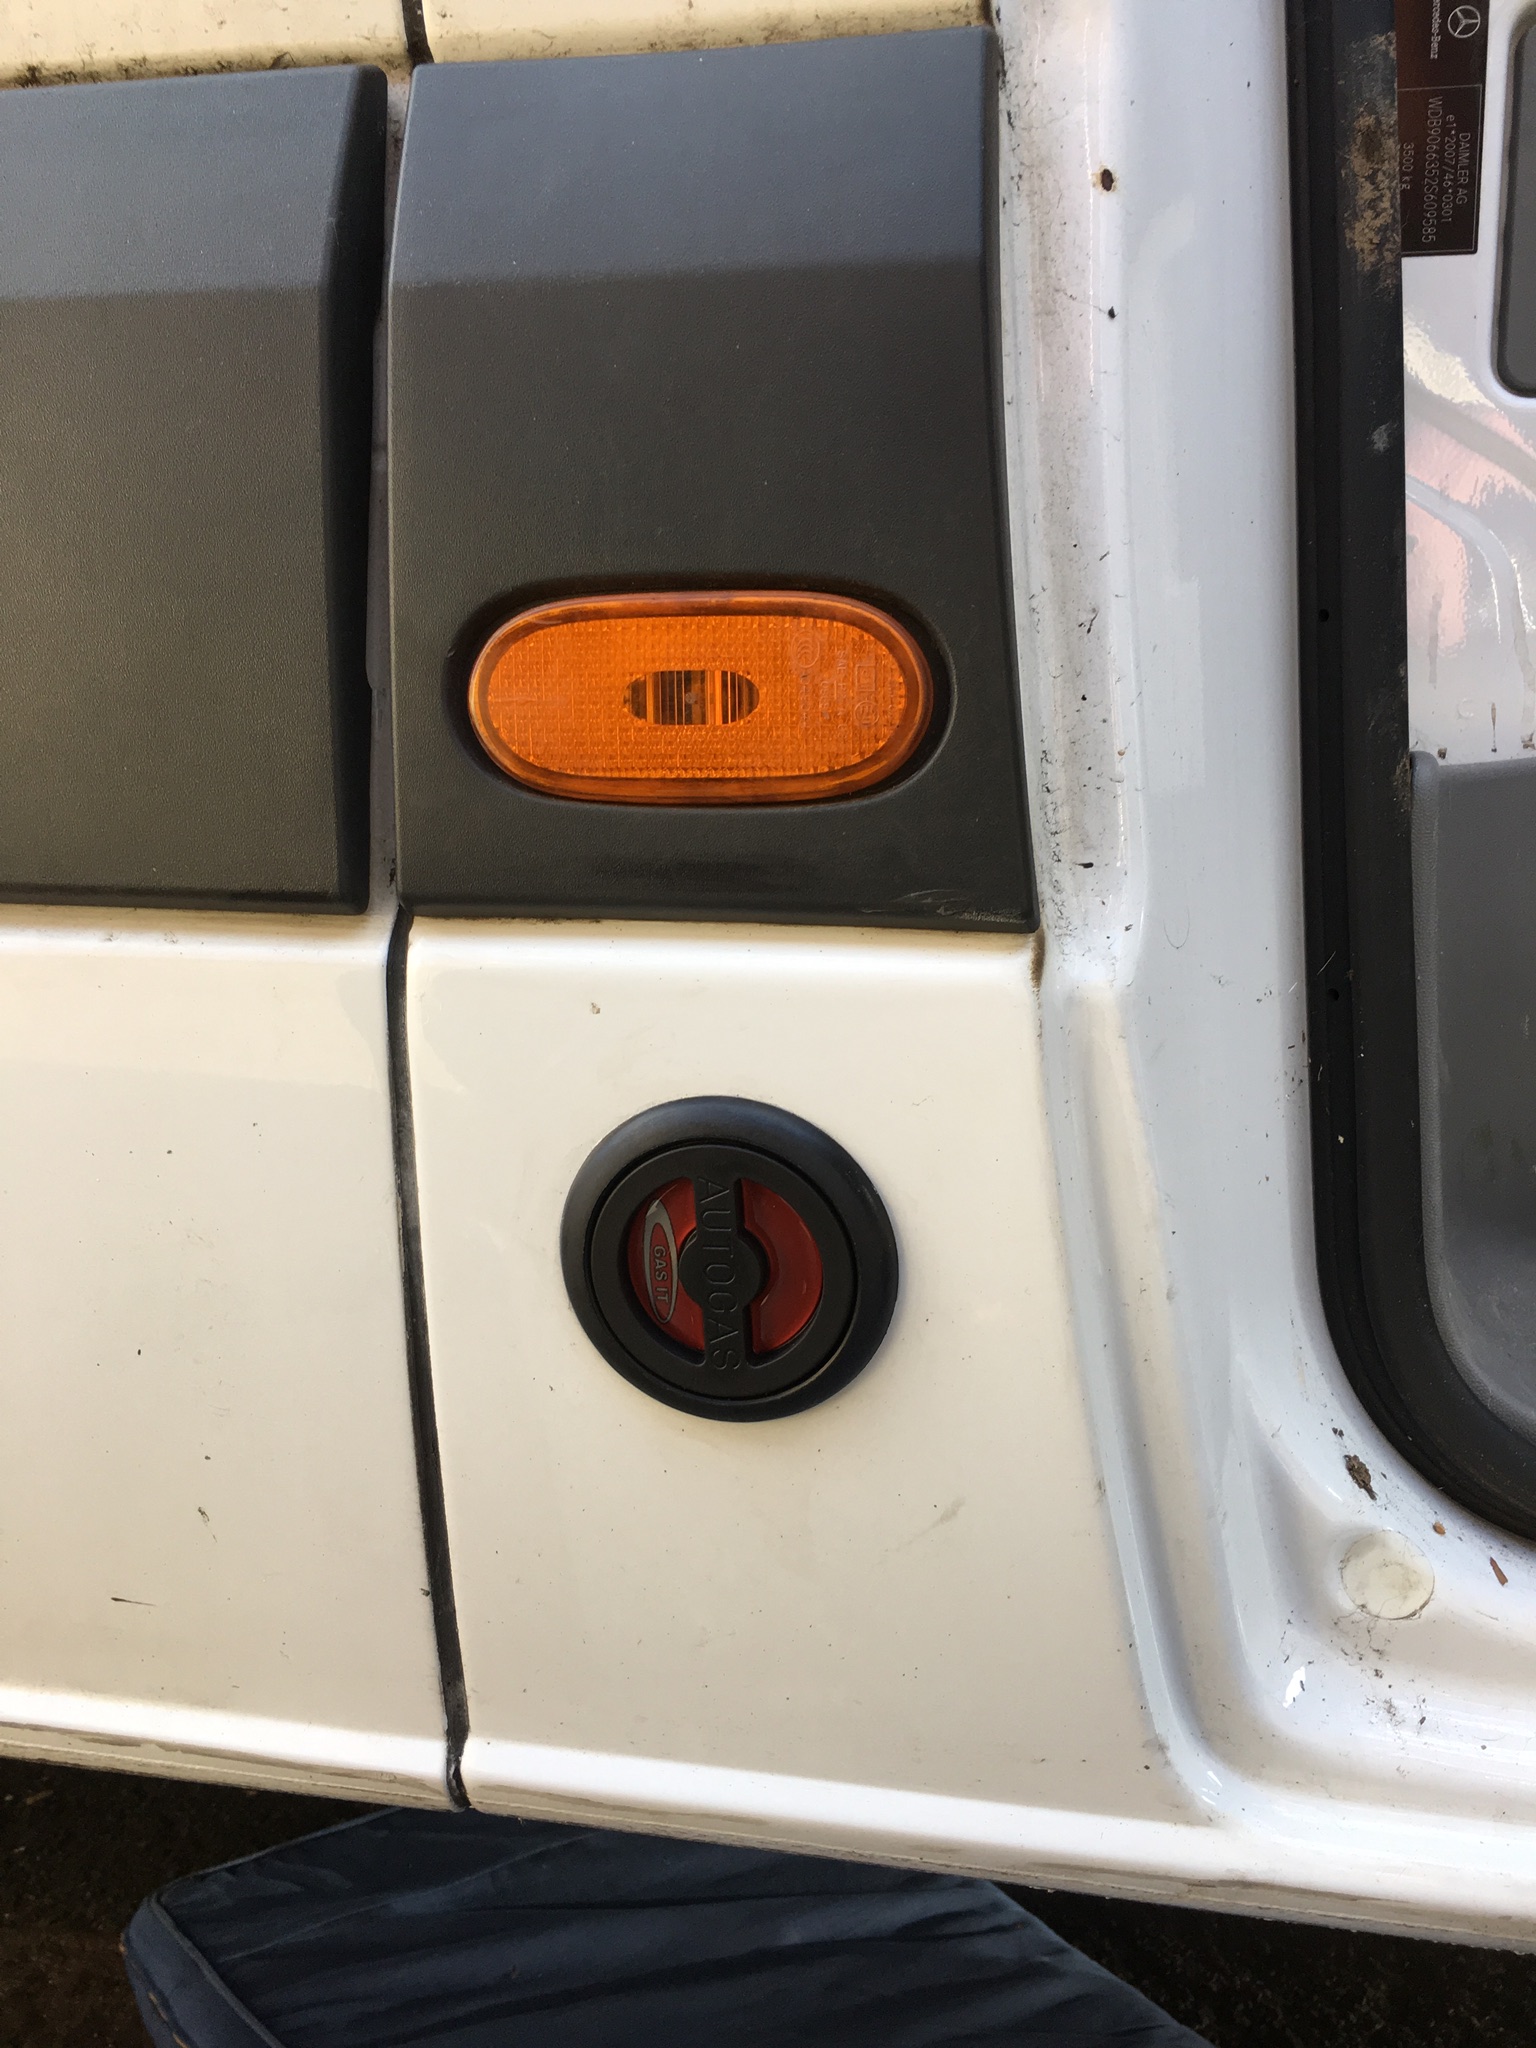
As it turns out, You are not supposed to fit these things in this orientation. The gas safe man ended up turning it around 90 degrees so that the cap ends up horizontal.
Part 3 will detail fitting the regulator and propex heater.

Leave a comment