Once I had a set of images I was pretty happy with, I had to figure out how to put them together to make a coherent flow. I looked at pairings that would work across spreads. I thought about how I could lead on from one image ot the next, but also how I could make punctuation; to stop flow, or to loop back to something shown earlier.
I also tried to consider each photograph as part of a whole, rather than as a singular image. Many of these photos don’t work on their own, but do add something, when used as part of a group.
This post is part of a series covering the production of a photozine. Other posts in the series:
You can buy a copy of the zine here.
After an initial edit of all the photos for the project on the computer, I tried making book dummies (AKA maquettes) to get a feel for how the zine could flow. My default way of working is to think with my hands. So I started by printing off small images of all the photos in my long-list on an office laser printer.

I made a rough pass at filtering these down to a set that worked well together. I tried to find some pairs that I could use on spreads. I thought about some kind of narrative – however abstract – that the viewer could follow through the zine. I wanted to create some variation in rhythm, so I used some photos across double-page spreads, and some others with blank pages opposite.
At this initial stage, I knew I was never going to get everything right, so I just tried to make one possible version, to see how it felt.

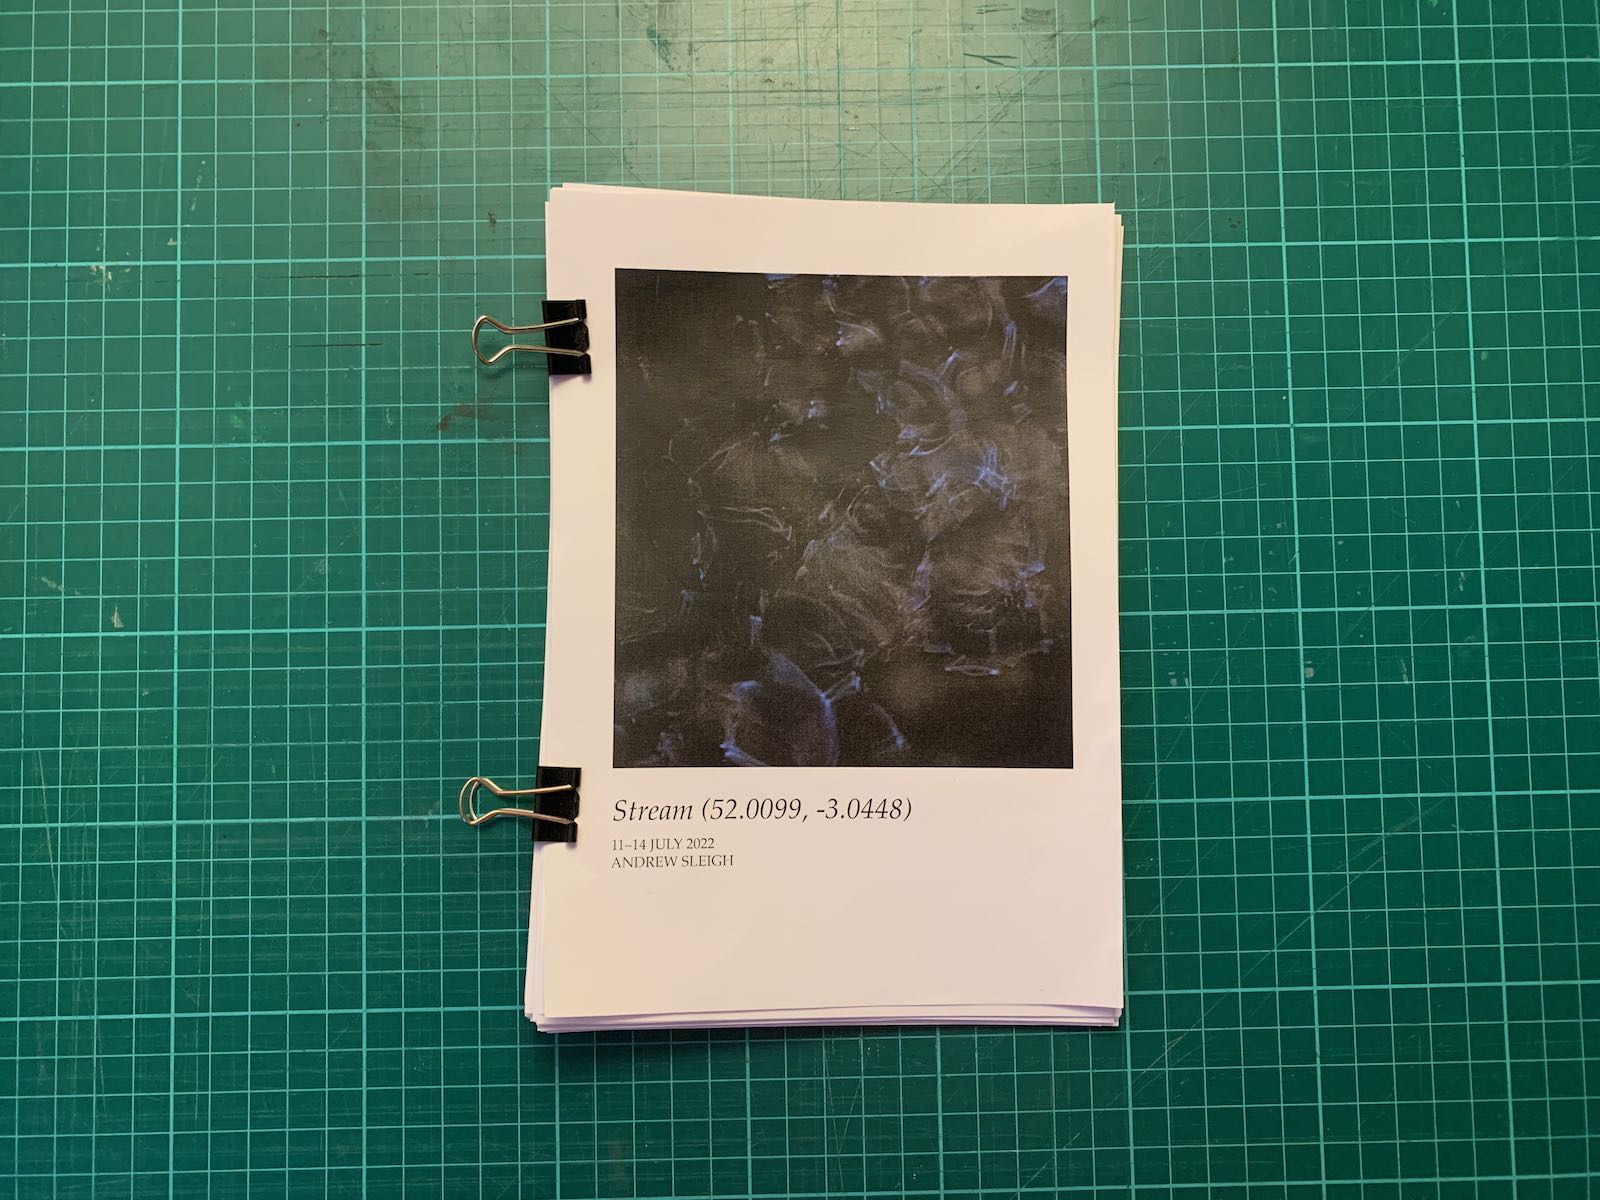
At the same time, I also tried another approach. I printed all the photos 2-up onto A4 sheets so I could split them to A5 pages, each with one photo. Then, following the same approach, I could lay out all the pages on the table, make an edit and then bind them into a zine of sorts with binder clips. This was a productive approach; I could flick through the zine and get a good feel for how it worked as a publication. I ended up making a few of these so I could preserve earlier edits and revisit different sequencing options.
Digital layouts
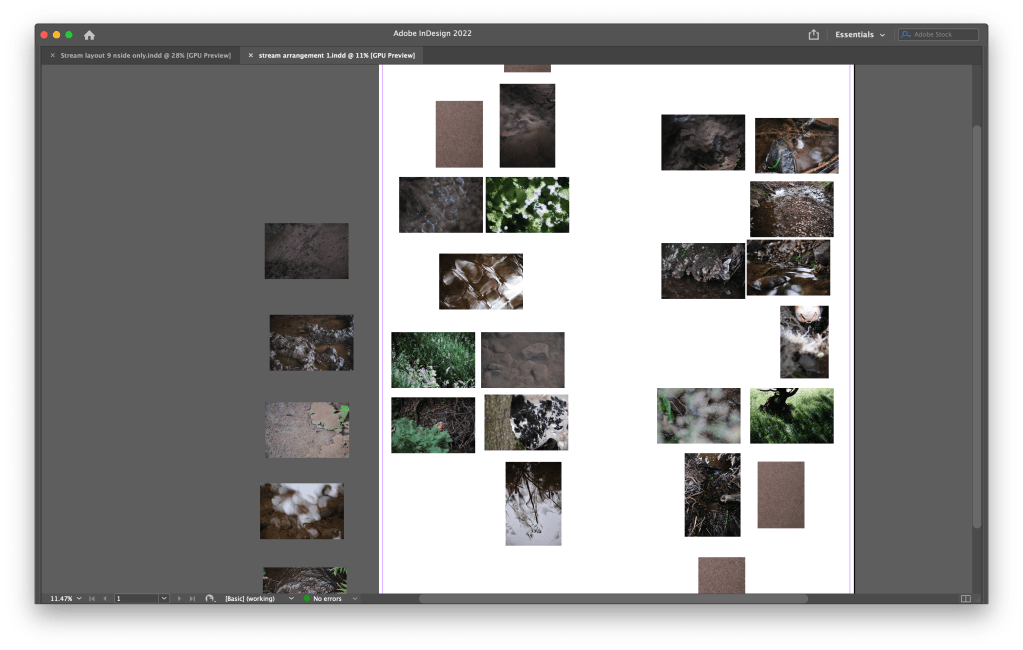
After trying some manual techniques, I turned to the computer, and tried the same process in InDesign. I made one large page – the equivalent of my kitchen table – and dumped all the photos onto the page so I could arrange them freely.
Then I made a working document and added all the photos I’d selected to the pages, using my paper dummies and the InDesign edit as guides.

I quickly settled on a simple layout, with 5 mm borders on each page; photos placed centrally. I cropped the single-page landscape photos to 4:3 ratio to make them a little larger on the tall portrait pages.
Then I used InDesign’s Print Booklet feature to print dummies on the work laser printer, and looked at options for making the covers.
This post is part of a series covering the production of a photozine. Other posts in the series:
You can buy a copy of the zine here.

Leave a comment