I’ve made a few zines before, mostly for close to zero budget. For this project, I wanted the reproductions to be good, and also wanted to make a lovely object, so I had to spend some money to get it commercially printed. But printing (even digitally) in small quantities is very expensive, so part of the challenge in this process is to think of creative ways to reduce the cost.
This post is part of a series covering the production of a photozine. Other posts in the series:
You can buy a copy of the zine here.
Finding a printer
After watching numerous videos about how to do this, the common advice seemed to be to use a local printer, so I found a handful in Brighton, and emailed them to get cost estimates for the kind of zine I wanted to make.
Printers don’t know what a zine is, so you have to call it a brochure or booklet when you’re requesting a quote.
The simplest possible format is a saddle-stitched booklet, where the paper is folder over in the middle, and stapled (aka ‘stitched’) to form the spine. This is fine for most small zines, but beyond a certain page count, you’ll need to go up to something like a perfect-bound booklet.
I also wanted a printer who could help me find the best way forward, so threw in a few questions, partly to get that advice, and partly to see who would be most helpful.
In my case, here in Brighton, UK, I had a good response from One Digital who were happy to send me multiple quotes, as I tried different ways to get the cost down. In fact, they were excellent throughout the process – very friendly and helpful – and I wouldn’t hesitate to recommend them to anyone, Brighton-based or not.
Choices I made
People like the feel of matte paper, but coated paper is much better for reproducing photographs, so I went for a silk coated (i.e. not super-glossy) stock for the pages. I figured that by using uncoated matte paper for the cover, I could achieve that nice feel in the hand, without sacrificing image quality on the inside pages.
I tried costing up some coloured paper stock (GF Smith Colorplan) for the covers, which feels great to touch, but is very expensive, so I tried to think of some way I could add my on covers on. I considered buying the zines bound, then removing the staples, adding my own cover and then re-stapling. I also thought about having the zines bound without covers, and making some kind of sleeve or envelope.
The plan I settled on was to order the inside zine spreads unbound (ie just flat sheets of untrimmed spreads), printing my own covers separately, and then folding, binding and trimming the whole assembly myself. A lot of work, but it would allow me to add some nice details, and for the small print run I was considering, a bearable job.
Some printers charge the same for bound or unbound printing (due to the nature of their process) but with One Digital, this approach would actually save me a little money – but only a little, as printers have to charge VAT on unbound printing.
Before I went down this road, I wanted to see if I could
- Do a good job of making up my own booklets, so I did some research into DIY zine making, and made some prototypes to learn and test my skills.
- Make a better cover by hand than the commercially printed alternative
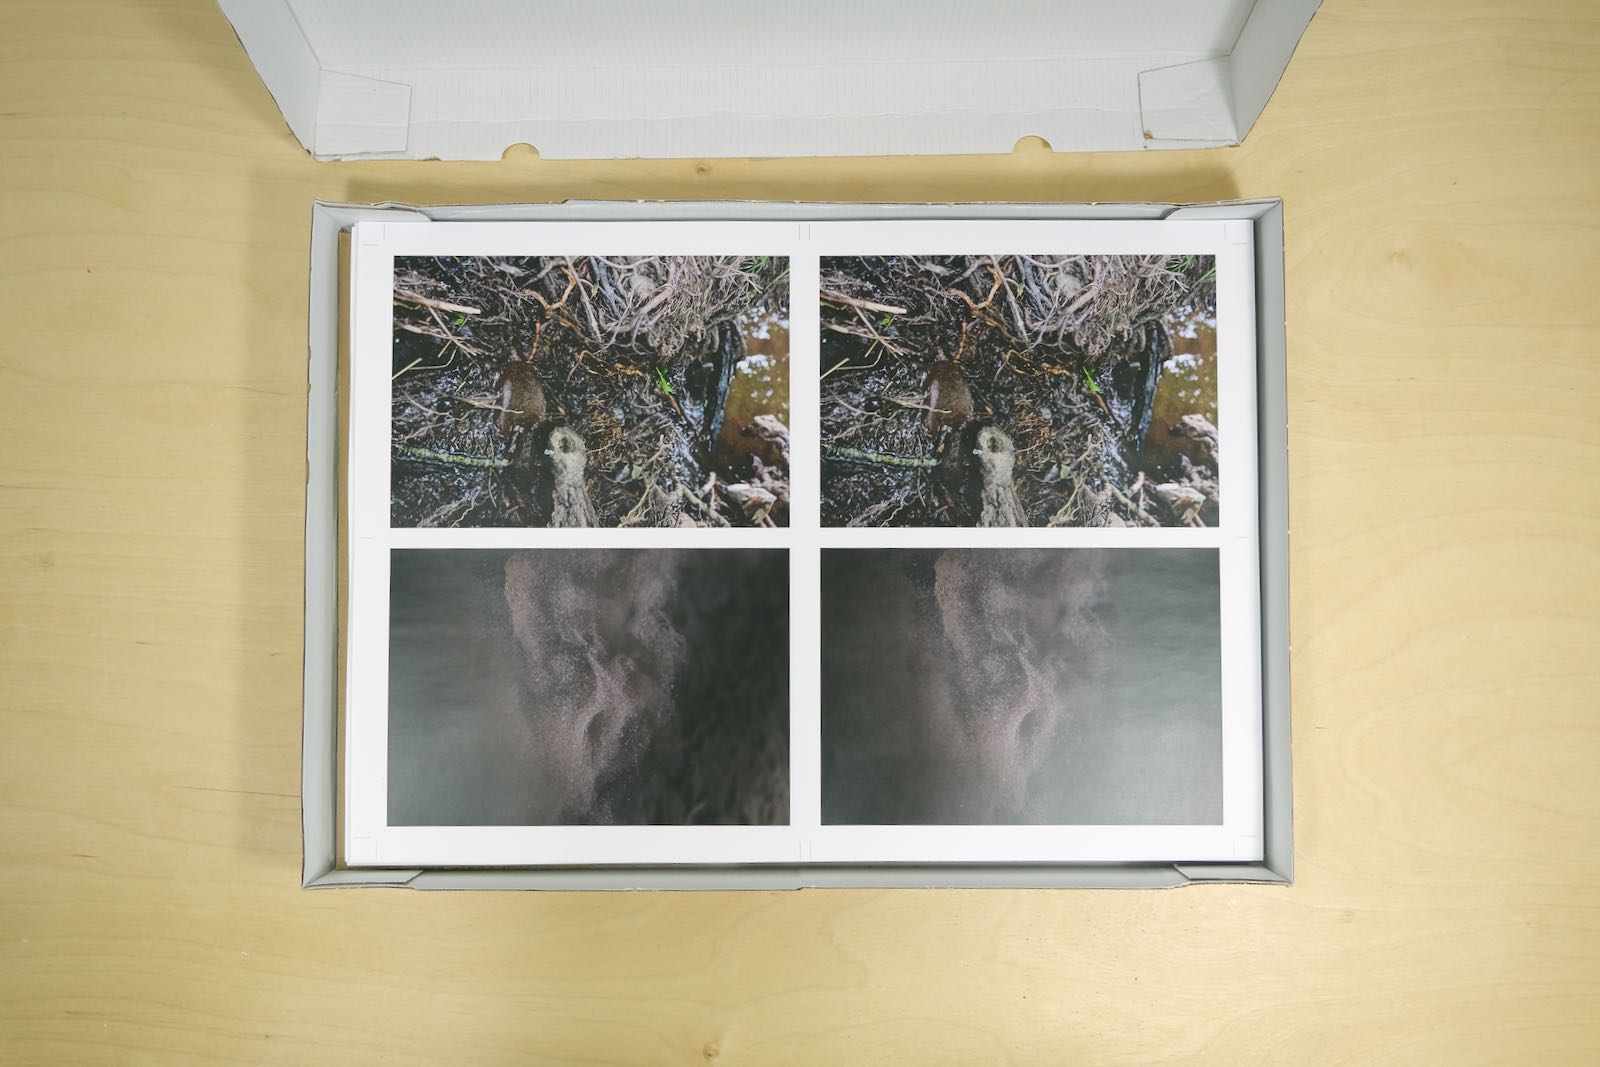
Once I was confident I could produce the zines by hand, I went ahead and placed the order. The printers provided a soft proof (PDF, mostly to check pagination), and then a hard proof (paper spreads printed on the actual stock), both of which were fine. One day after signing off, they were ready to collect.
Costs
Final printing costs (excluding the covers, which I made myself) were:
- 25 copies
- 24 page A5 booklet (ie 7 x A4 sheets, printed both sides)
- Silk 130gsm paper
- Digital print
- Soft and hard copy proof
£95
+£19 VAT
= £114
The covers added about 80p onto the cost of each copy.
This post is part of a series covering the production of a photozine. Other posts in the series:
You can buy a copy of the zine here.

Leave a comment