It’s easy to get a zine printed, bound and trimmed to a very high quality. I wanted to do something interesting with the covers, so I decided to have just the inside pages printed, and supplied to me flat, unbound. I sourced paper separately for the covers and produced the artwork with a laser cutter. Then I had to turn a pile of untrimmed flat spreads into a folded, bound, trimmed booklet.
This post is part of a series covering the production of a photozine. Other posts in the series:
You can buy a copy of the zine here.
Tutorials
There are loads of good YouTube videos that show you how to make your own saddle-stitched zine. I found these ones to be pretty good, and they covered the two options I was considering for the saddle stitch itself:
- DIY Staple Saddle Stitch Bookbinding https://www.youtube.com/watch?v=BysUiyjB0jY
- DIY Saddle Stitch Bookbinding with Thread https://www.youtube.com/watch?v=aWHkY5jOoqM
Practicing
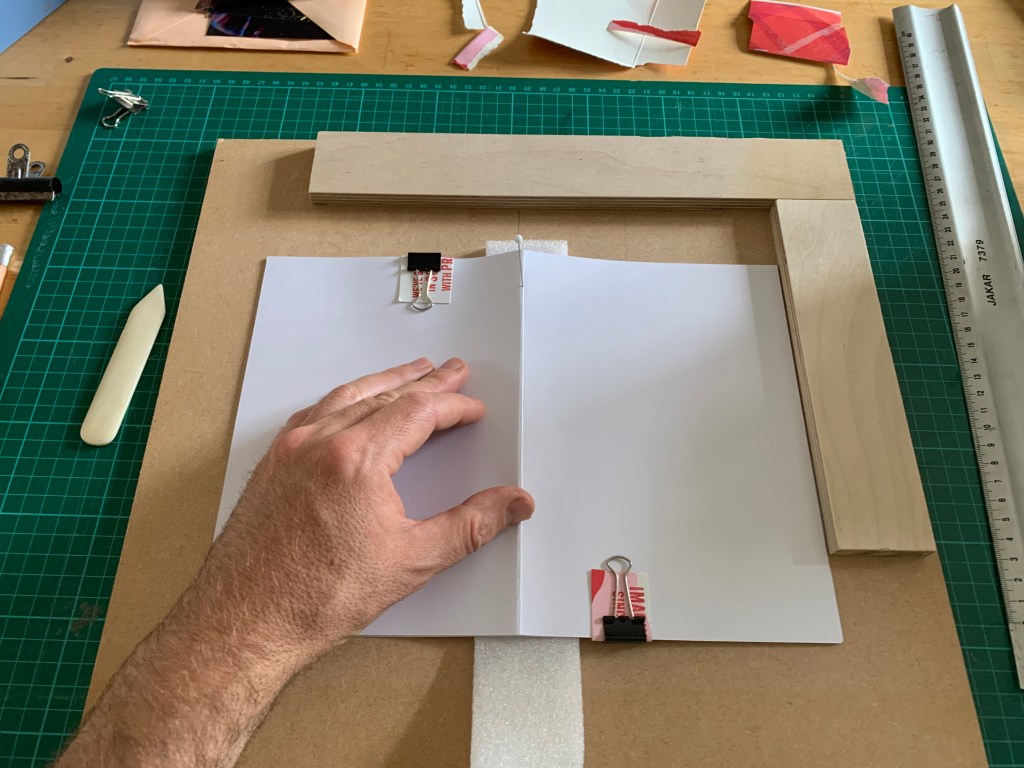
In my first practice attempts, I folded the booklets, then stitched the binding. I made a simple jig to help keep the pages aligned while folding.

I used protective card over the binder clips to stop them damaging the pages (not important for a prototype, but I wanted to test the whole process as much as possible).

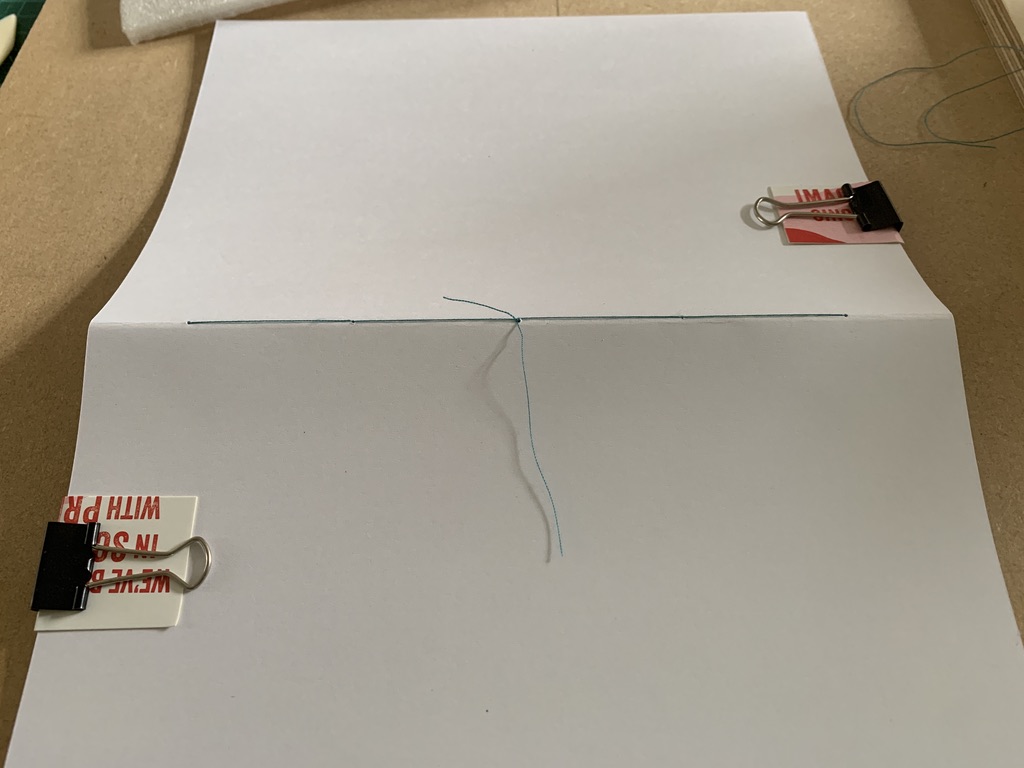
I tried stitching the booklets with thread (as opposed to staples), and enjoyed both the process and outcome, so decided to go with this technique for the zines.
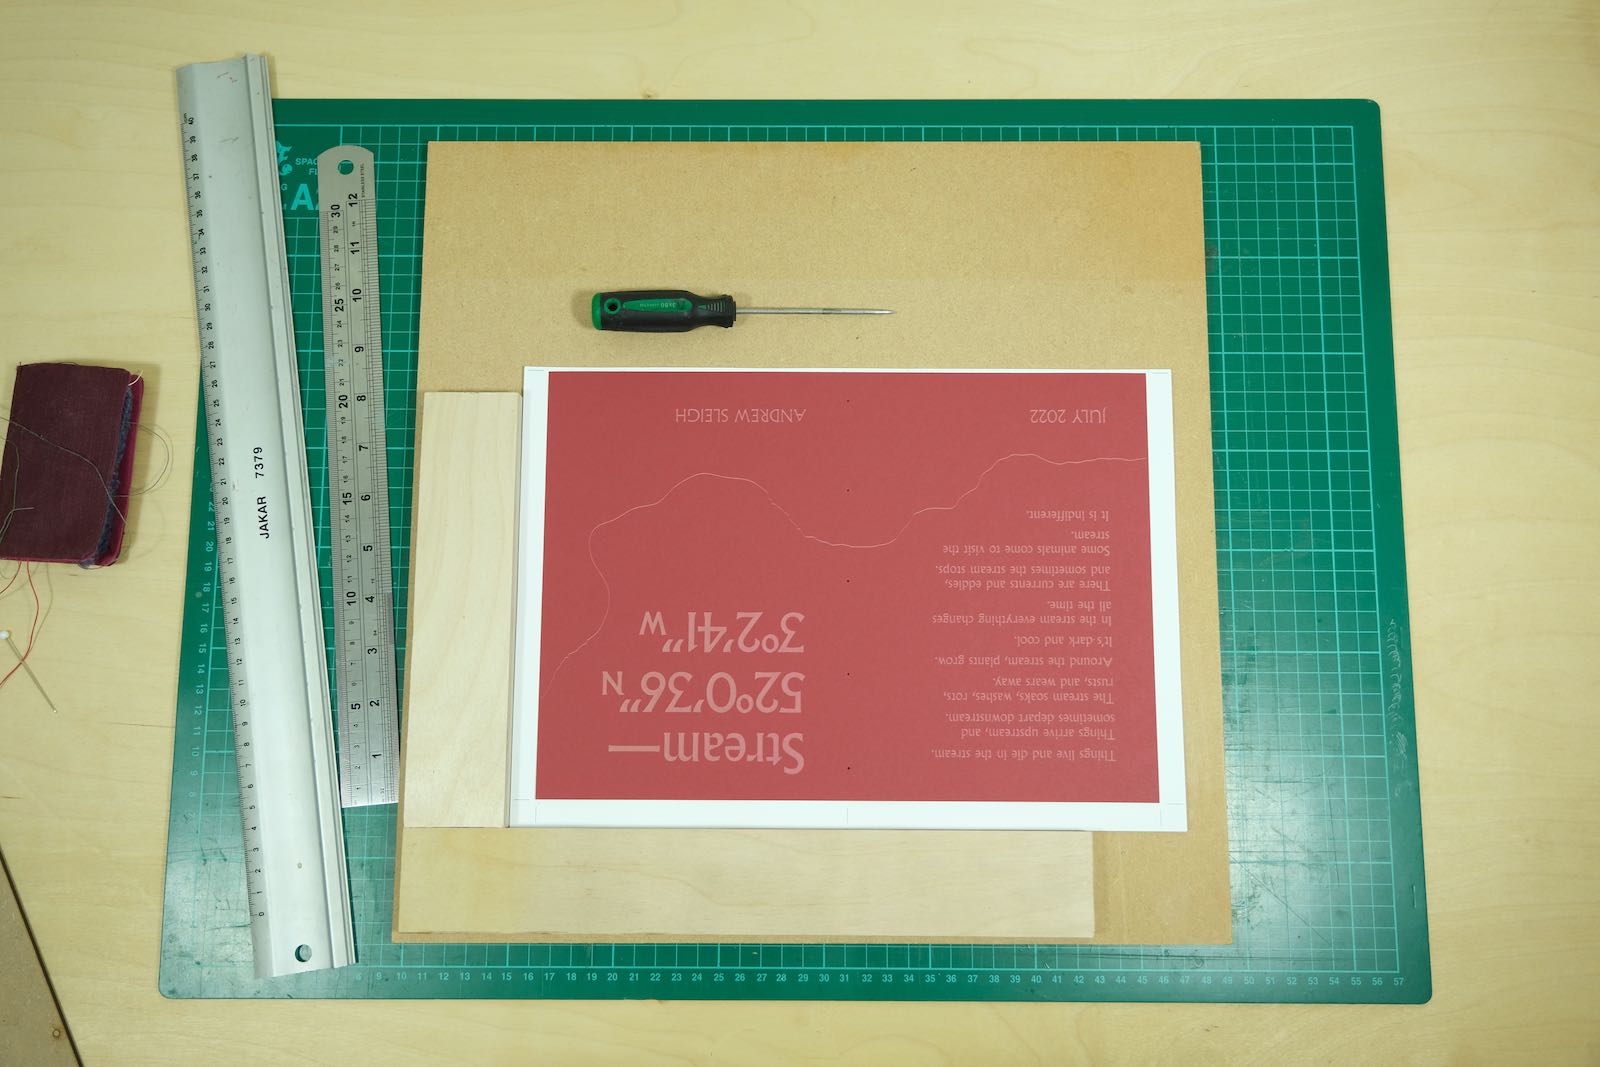
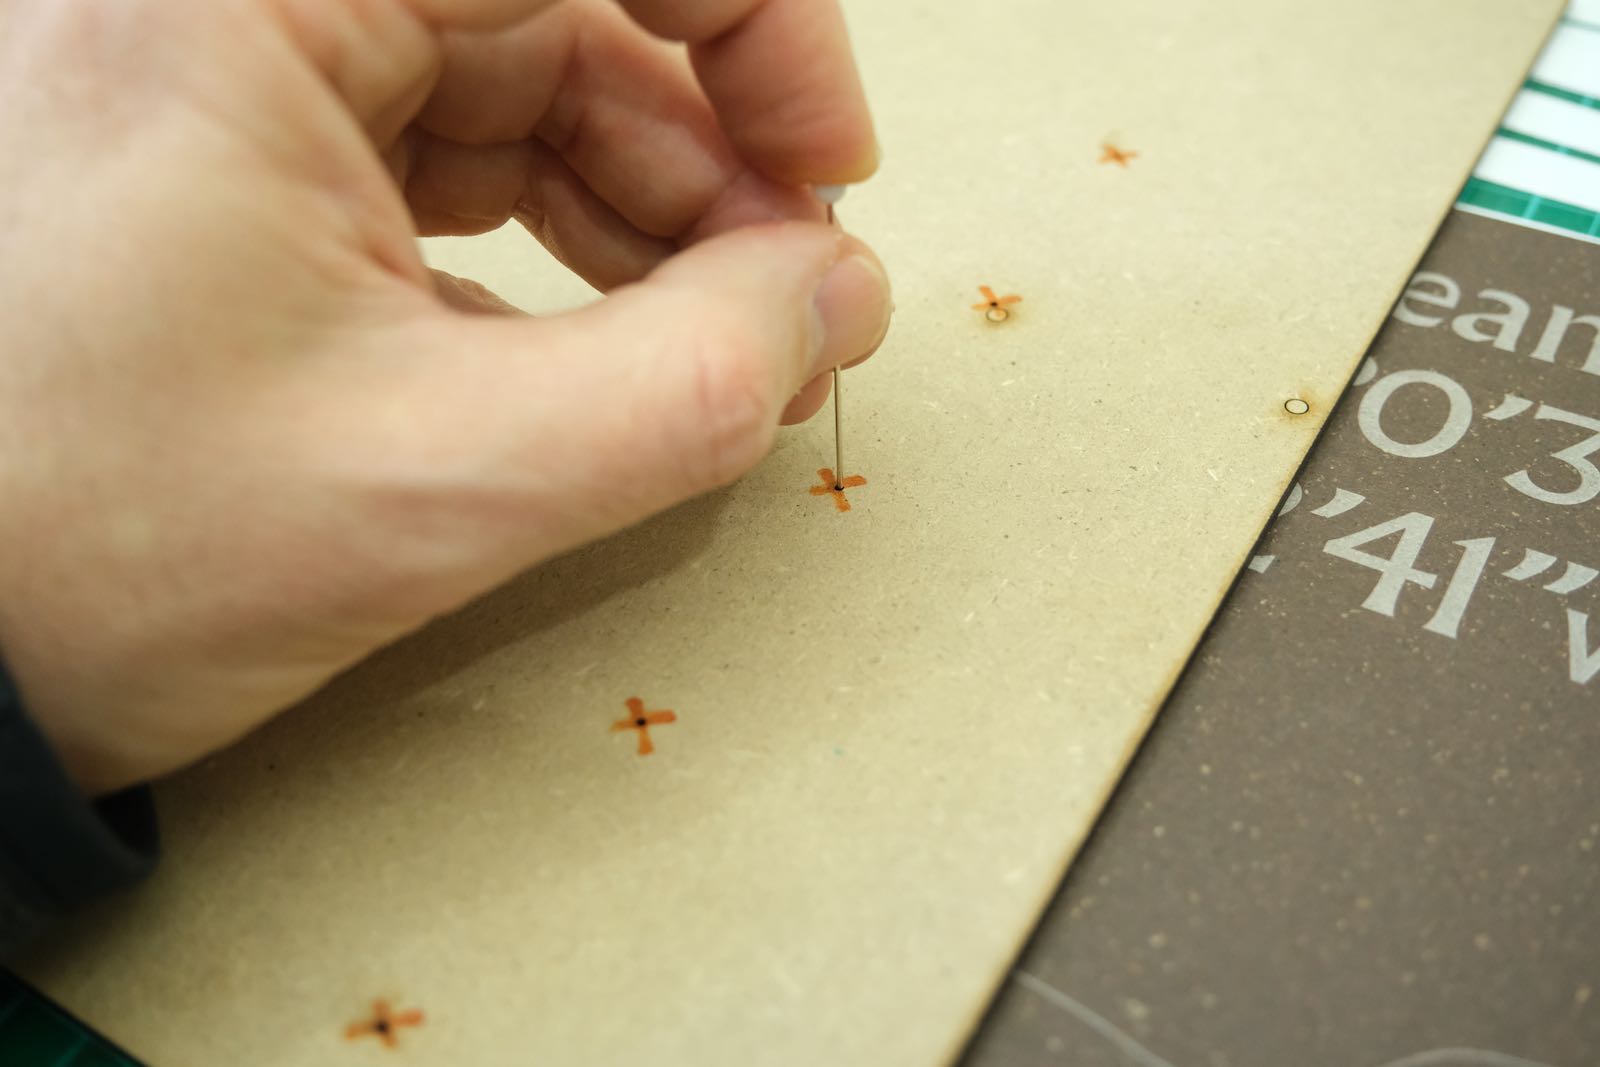
When it came to binding the actual printed pages, the spreads came untrimmed, so I couldn’t use the jig to fold the pages before stitching the spine. Instead, I lined up the inside pages with my jig, carefully placed the cover on top, using the crop marks as a guide, and placed a hole-stitching template (also laser-cut) on top of that.

Folding and trimming
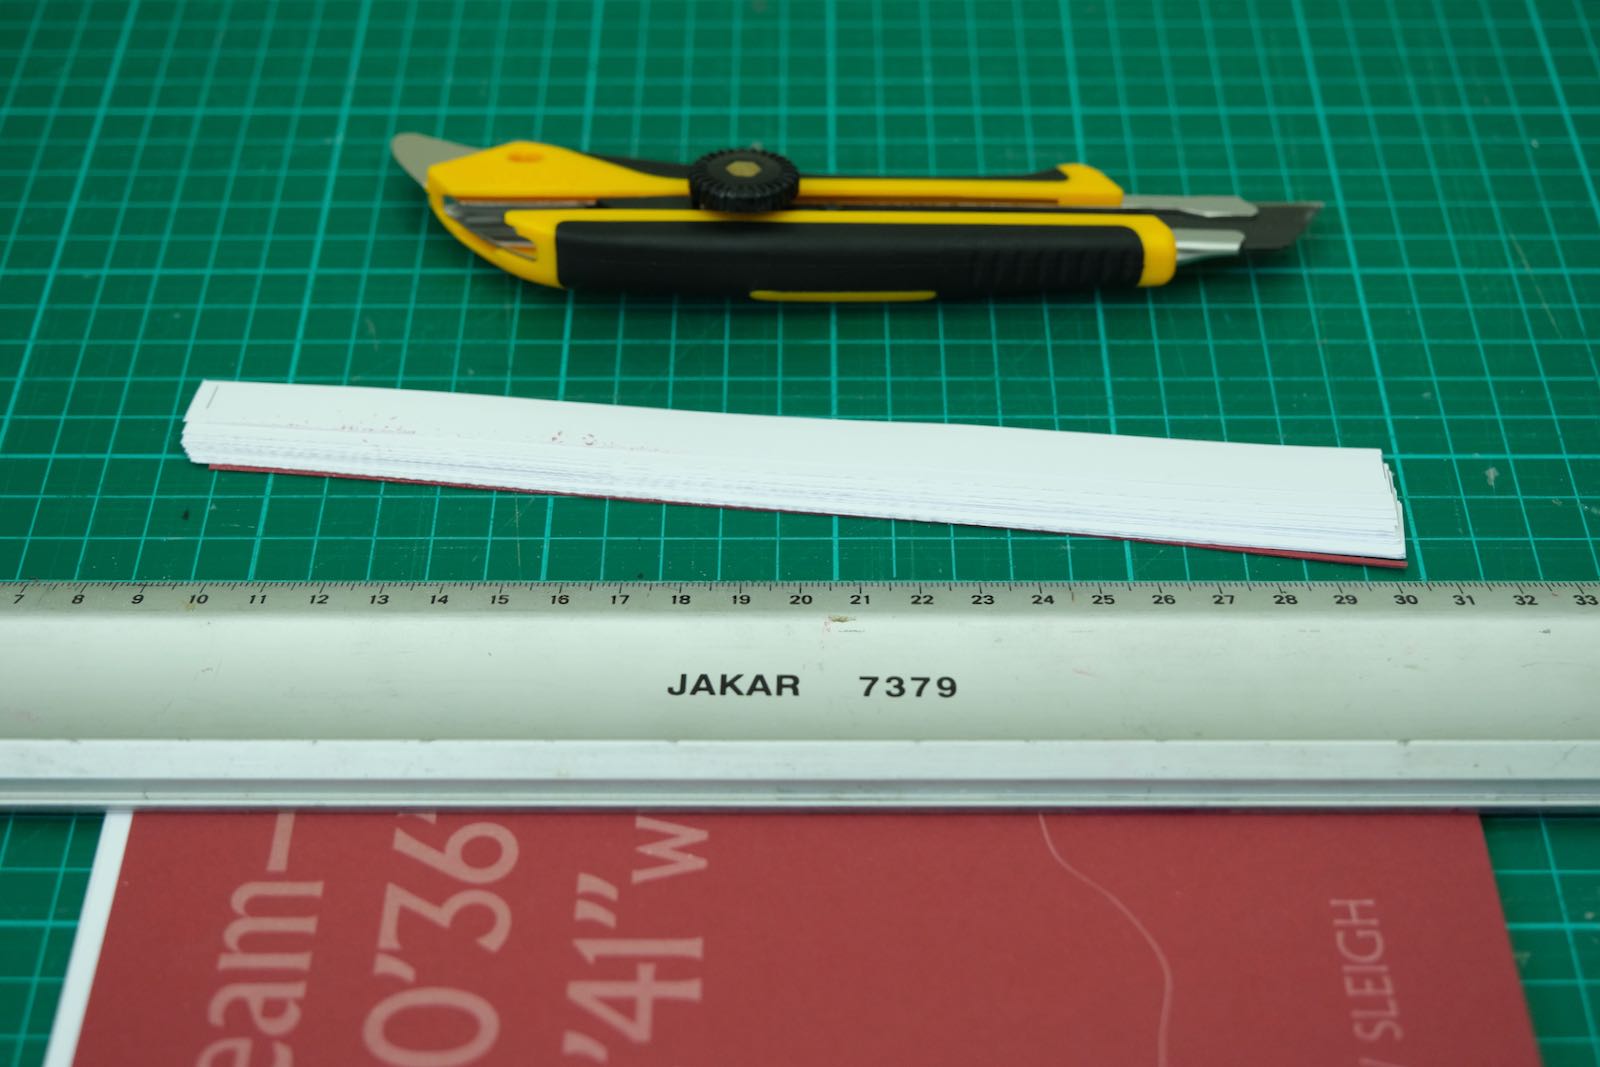
Once I’d stitched the binding, I folded the booklets and trimmed the edges to size with a very sharp blade
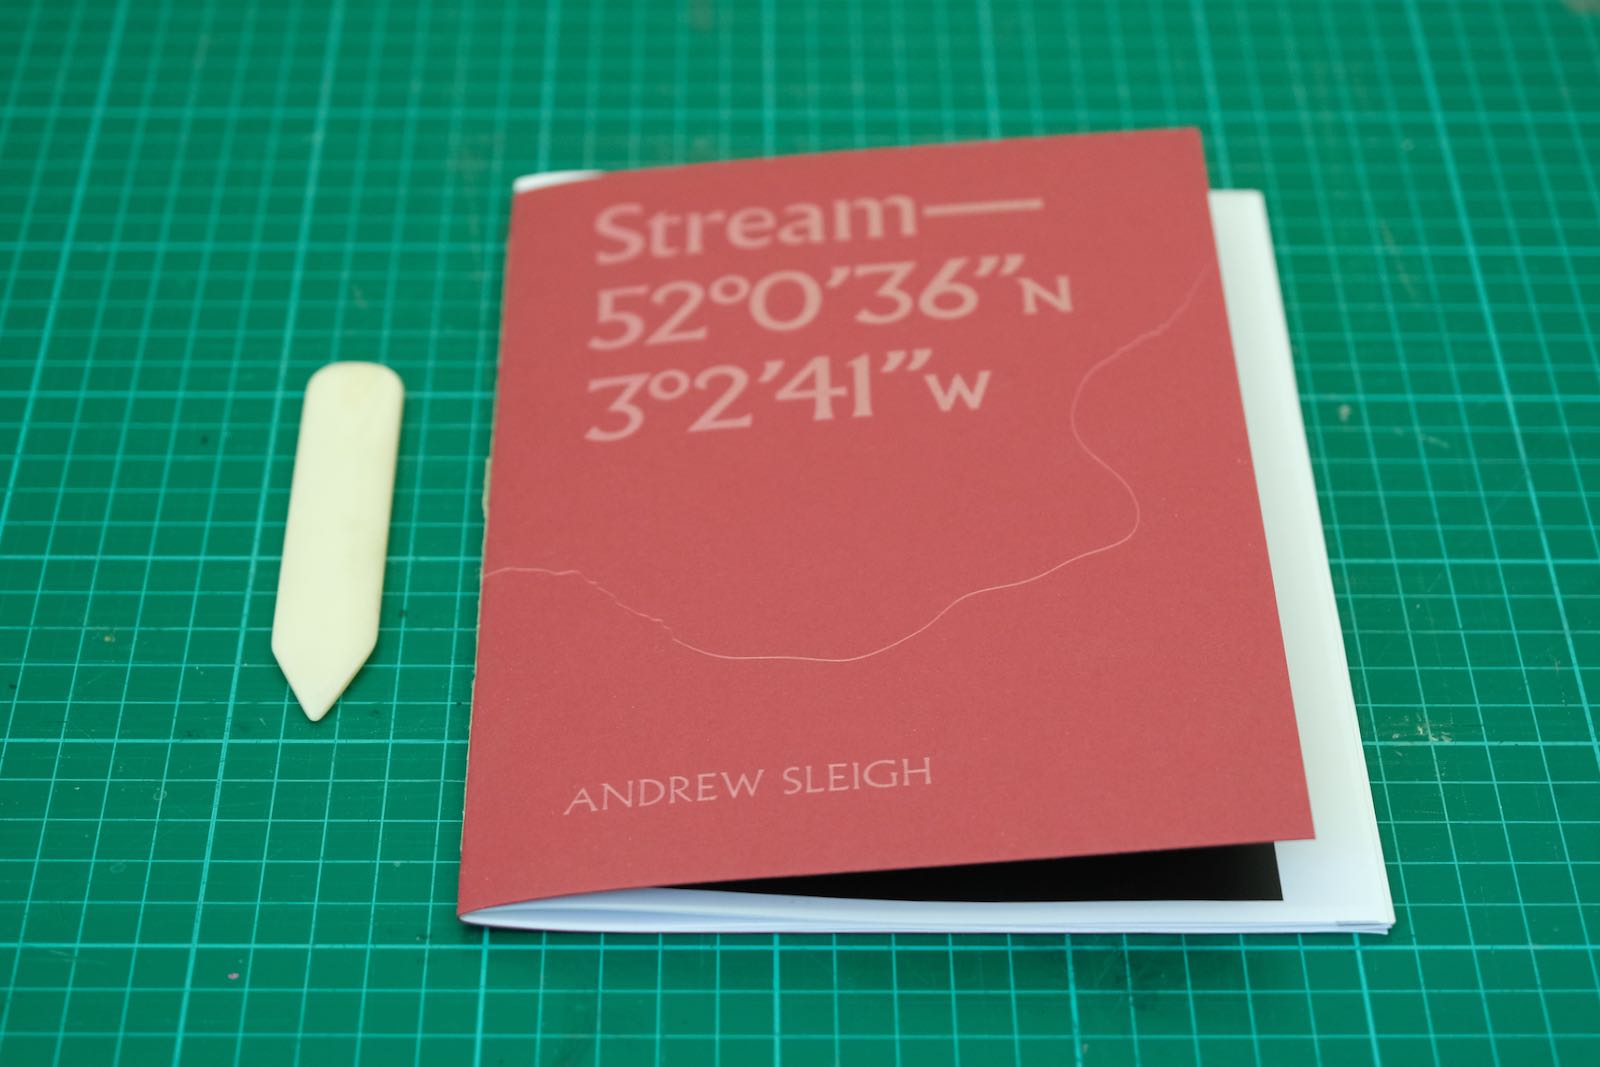
After that, I just left the zines overnight n small batches with some heavy books on top to flatten them.
Design considerations
Creep
I was concerned about the amount of creep in the centre pages. In my page layout, the photos are printed with a small border, so a large amount of creep could be quite noticeable.

I compensated for this in the layout by progressively pulling in the outside borders (opposite the spine) of the images of the centre-most pages. (I calculated 0.2 mm of spread per page.)
Double page spreads
In my initial sequencing I used a few images spread across double pages. But I was worried that I wouldn’t able to align the pages precisely enough for these to work in the final product – and once I’d committed there would be no way to recover if it didn’t work out. So in the final sequencing, I removed all the double page spreads except the one that falls in the middle of the booklet, where the spread is a natural one.

Almost there
By this point, I was almost done, and my thoughts turned to the final details, documentation, and distribution.
This post is part of a series covering the production of a photozine. Other posts in the series:
You can buy a copy of the zine here.

Leave a comment